30
Chapter 2
Qu i ck St ar t
7.
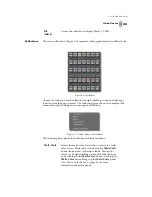
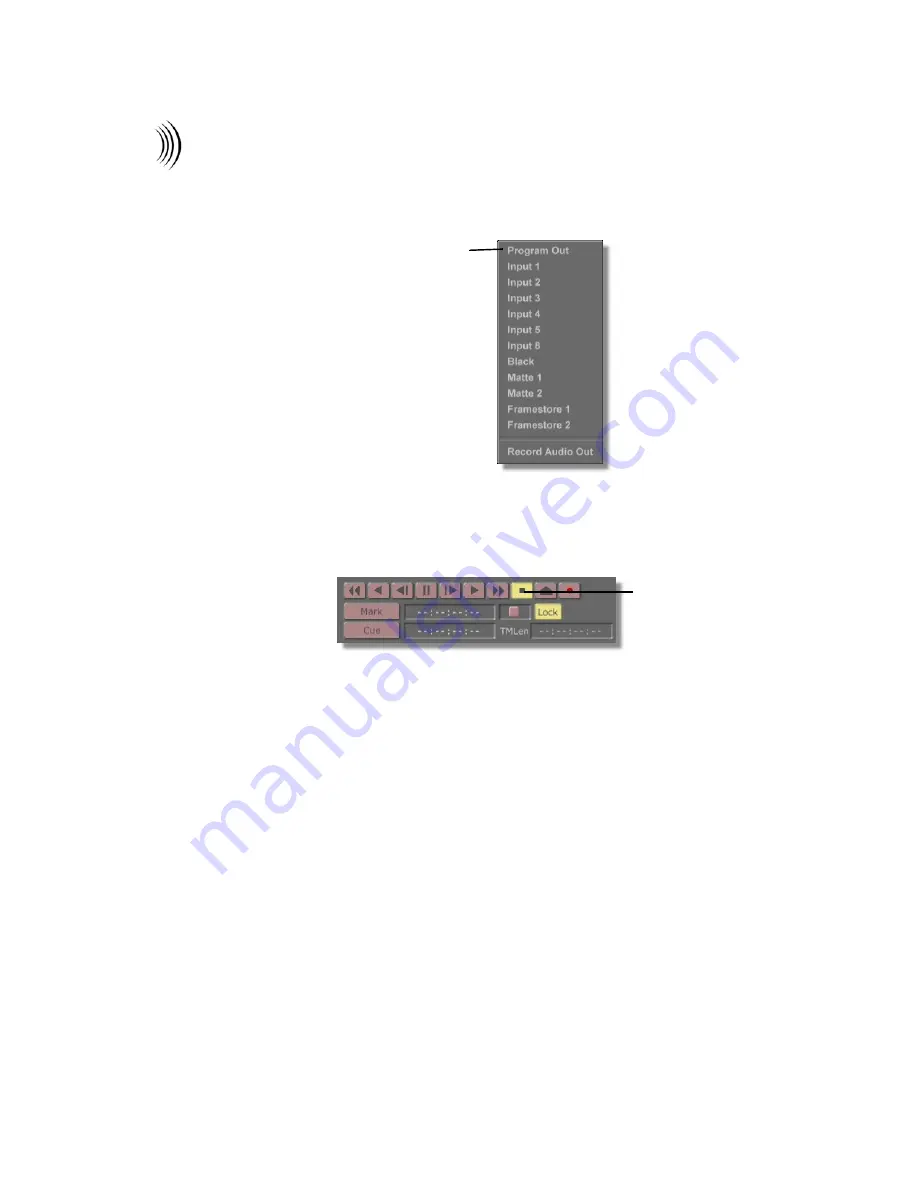
Click on the
Source
button and choose
Program Out
from the pop-up
menu (Figure 2.35).
Figure 2.35: Time Machine Pop-Up Menu
This chooses
Program Out
as the source of the clip being digitized.
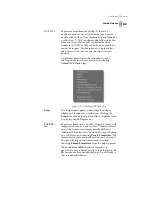
8.
Click the
Record
button on the transport controls.
Figure 2.36: Stop Button
In the status window you see the word
Recording
.
With the
Record
button selected, Time Machine digitizes what is seen on the
Program monitor.
9.
Click the
Auto
button in your GlobeCaster Switcher three times, allowing
time for the wipe to complete its transition before each click.
You see the framestore in the Program monitor transition into the framestore
in the Preview monitor three times.
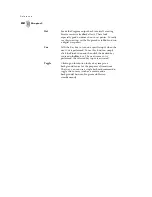
10. Click the
Stop
button on the transport control.
In the status window you see the word
Stopped
.
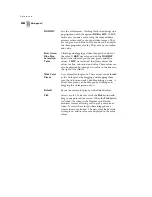
Program
Out
Menu
Option
Stop
Button
Summary of Contents for GlobeCaster STUDIO 4000
Page 1: ...Switcher Manual ...
Page 4: ...ii Table of Contents ...
Page 5: ...CHAPTER 1 SWITCHER MANUAL DOCUMENT OVERVIEW ...
Page 6: ...2 ...
Page 11: ...CHAPTER 2 SWITCHER MANUAL QUICK START ...
Page 12: ...8 ...
Page 36: ...32 Chapter 2 Quick Start ...
Page 37: ...CHAPTER 3 SWITCHER MANUAL REFERENCE ...
Page 38: ...34 ...
Page 89: ...CHAPTER 4 SWITCHER MANUAL TUTORIALS ...
Page 90: ...86 ...
Page 111: ...SWITCHER MANUAL APPENDICES ...
Page 112: ...108 ...
Page 120: ...116 Appendix I Keyboard Commands ...
Page 125: ...SWITCHER MANUAL INDEX ...
Page 126: ...122 ...
Page 132: ...128 FCC Notice ...
Page 138: ...134 GlobeCaster System License Agreement ...
Page 144: ...140 Application Notes ...


