90
Chapter 4
Tut o r i a l s
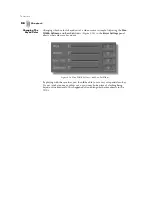
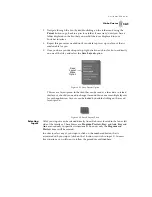
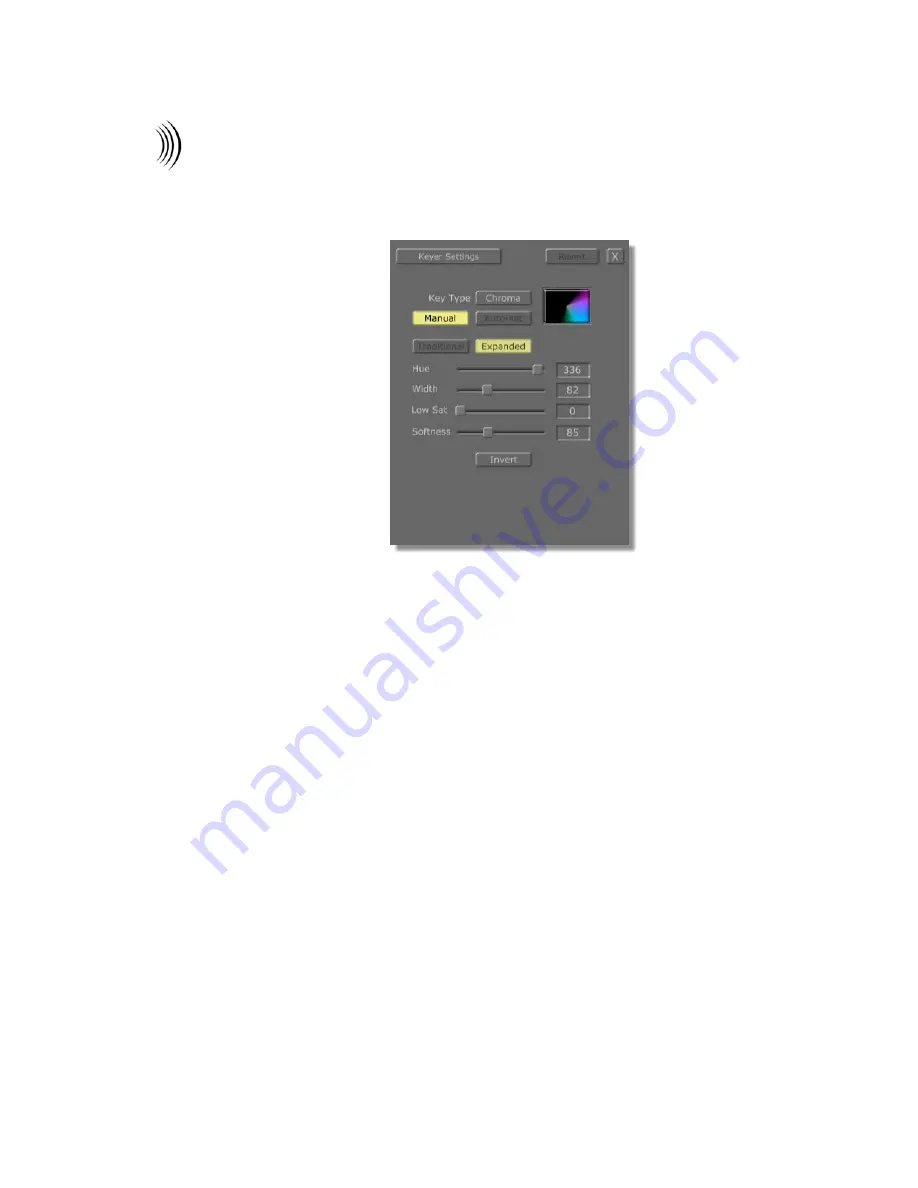
You see the
Keyer Settings
panel (Figure 4.4) in the upper left corner of your
screen.
Figure 4.4: Keyer Settings Panel
5.
Click on the
Key Type
button in the
Keyer Settings panel
and choose
Chroma
from the pop-up menu.
6.
Click the
Auto-set
button. This sets which color is keyed out, based on which
source is selected on the Preview bus.
NOTE:
If the
Manual
button is
selected (is yellow)
you cannot use the
Auto-set
function.
Turn off the manual
function by clicking
on the
Manual
but-
ton.
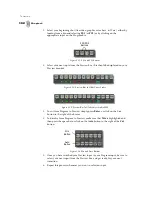
You see the color picon in the
Keyer Settings
panel turn black with a small
blue dot in the center. The picon in this panel represents a color wheel. The
colors visible in the wheel are the colors that are keyed out. Since our still is
mostly blue, the keyer is now set to key out, or remove, the blue from it. The
Auto-set
function uses an algorithm to choose the best possible shades of blue
to remove from the image, without removing the other colors in the picture.
7.
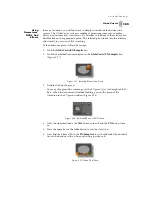
Click the
Blk
button on the
Program
bus to set the program out to black.
You see the Program monitor change to black.
8.
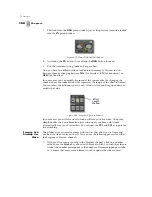
Click the
FS
button that corresponds to the framestore of the three balloons
on the
Key
bus.
Summary of Contents for GlobeCaster STUDIO 4000
Page 1: ...Switcher Manual ...
Page 4: ...ii Table of Contents ...
Page 5: ...CHAPTER 1 SWITCHER MANUAL DOCUMENT OVERVIEW ...
Page 6: ...2 ...
Page 11: ...CHAPTER 2 SWITCHER MANUAL QUICK START ...
Page 12: ...8 ...
Page 36: ...32 Chapter 2 Quick Start ...
Page 37: ...CHAPTER 3 SWITCHER MANUAL REFERENCE ...
Page 38: ...34 ...
Page 89: ...CHAPTER 4 SWITCHER MANUAL TUTORIALS ...
Page 90: ...86 ...
Page 111: ...SWITCHER MANUAL APPENDICES ...
Page 112: ...108 ...
Page 120: ...116 Appendix I Keyboard Commands ...
Page 125: ...SWITCHER MANUAL INDEX ...
Page 126: ...122 ...
Page 132: ...128 FCC Notice ...
Page 138: ...134 GlobeCaster System License Agreement ...
Page 144: ...140 Application Notes ...


