Global Water
800-876-1172
•
globalw.com
- 30 -
•
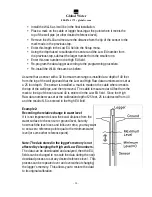
Install the WL16 as it will be in the final installation.
•
Place a mark on the cable or logger housing at the point where it meets the
top of the well pipe (or other desired reference level).
•
Remove the WL16 and measure the distance from the tip of the sensor to the
mark made in the previous step.
•
Enter this length in the Low EU field in the Setup menu.
•
Using the depth used to calibrate the sensor and the Low EU number from
the previous step, subtract the larger number from the smaller one.
•
Enter this new number in the High EU field.
•
Re-program the data logger according to the programming procedure.
•
Re-install the WL16 the same as before.
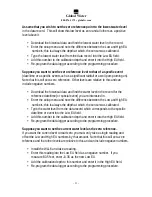
Assume that a sensor with a 30 foot maximum range is installed at a depth of 40 feet
from the top of the well pipe and that the Low and High Raw data numbers were set at
a 25 foot depth. The sensor is installed, a mark is made on the cable where it meets
the top of the well pipe, and then removed. The cable is measured at 40 feet from the
mark to the tip of the sensor and 40 is entered in the Low EU field. Since the High
Raw data number was set at the calibration depth of 25 feet, 25 is subtracted from 40
and the result of 15 is entered in the High EU field.
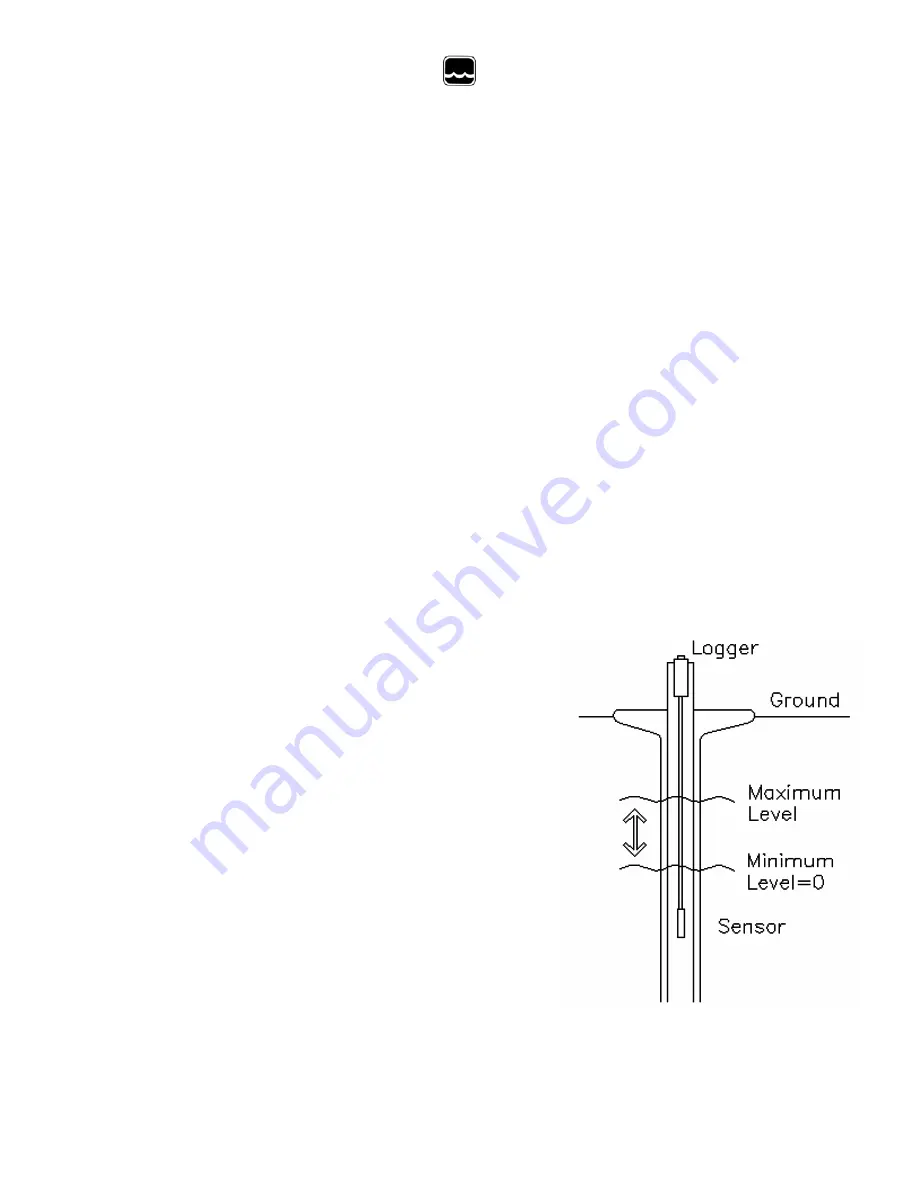
Example 2:
Recording the relative change in water level:
If it is not important to know the exact distance from the
water surface to the sensor or ground level, but only
how much the level rises and falls over time, you may want
to set a zero reference point equal to the minimum water
level (or some other reference point).
Note: The data stored in the logger’s memory is not
affected by changing the High and Low EU numbers.
The data can be downloaded and analyzed, then the EU
fields can be changed to re-scale the data during the next
download process to set any desired reference level. This
process can be repeated over and over without changing
the logger’s memory. This allows you to restore the data
to its original calibration.

