background image

From the library of Superior Sewing Machine & Supply LLC - www.supsew.com

Summary of Contents for WF 1505

Page 1: ...WF 1505 SINGLE NEEDLE WALKING FOOT FLAT BED SEWING MACHINE INSTRUCTION OPERATING MANUAL ...

Page 2: ...From the library of Superior Sewing Machine Supply LLC www supsew com ...

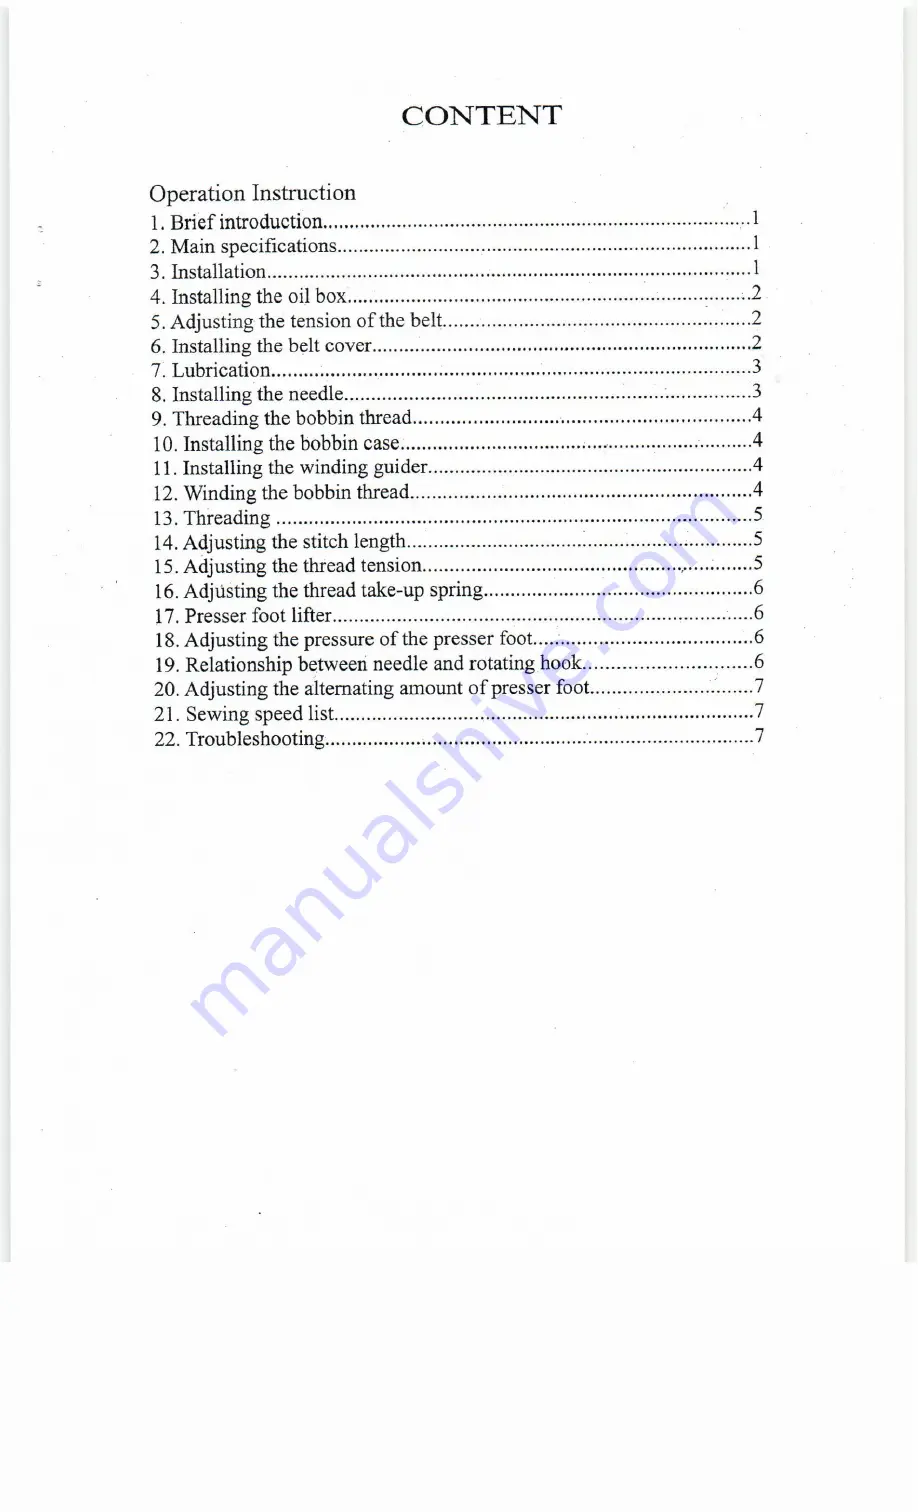
Page 3: ...case 4 11 Installing the winding guider 4 12 Winding the bobbin thread 4 13 Threading 5 14 Adjusting the stitch length 5 15 Adjusting the thread tension 5 16 Adjusting the thread take up spring 6 17 Presser foot lifter 6 18 Adjusting the pressure ofthe presser foot 6 19 Relationship betweeri needle and rotating hook 6 20 Adjusting the alternating amount ofpresser foot 7 21 Sewing speed list 7 22 T...

Page 4: ...From the library of Superior Sewing Machine Supply LLC www supsew com ...

Page 5: ...Operation Instruction From the library of Superior Sewing Machine Supply LLC www supsew com ...

Page 6: ...onnecting hook bracket CD and the rubber cushion on the table by screw 2 lnstalling the oil reservoir Set the oil reservoir onto the table by six screws as shown in the Fig 3 Install the knee control connector knee control lift crank and bent bar J according to the direction ofthe knee control lift bar shaft 4 Adjust the direction ofpart ID by set screw 1 Application Medium and heavy duty Max sewi...

Page 7: ...he belt with the force of9 8N There should be a slack of 15mm Note Please turn offthe motor before adjustment 6 Installing the belt cover Fig 4 I Tighten the column j into the screw hole on the machine head 2 Install the belt cover right CD on the machine head by set screw and 3 Connect the belt cover left to the claw AB of the belt cover right CD 4 Tighten the belt cover left by set screws f and ...

Page 8: ...il from oil hole until it reaches the red line Check it one time a day Ifthe oil is under the red line it should be refilled b When adjusting the oil amount ofthe rotating hook loosen the nut I and then adjust it by adjusting screw Turn it rightward the amount ofthe oil can be increased on the contrary the amount can be reduced Note Excess lubrication results in leaking 8 Installing the needle Fig...

Page 9: ...ase by pressing it until crack occurs 11 Installing the winding g uider Fig 9 I Set the winding guider CD onto the top cover of the machine head by set screw 2 Insert the bobbin thread g uider into the machine head 12 Winding the bobbin thread Fig 10 I Thread in numerical order from CD to then wind the bobbin winder 2 Press down the bar A 3 Loosen the set screw B and adjust the adjusting pIate unt...

Page 10: ... normal sewing 15 Adjusting the thread tension Fig 13 1 Adjusting the tension ofthe needle thread Turn the nut CD clockwise to increase the tension ofthe needle thread on the contrary to reduce the tension ofthe needle thread 2 Adjusting the tension ofthe bobbin thread Turn the screw clockwise to increase the tension ofthe bobbin thread on the contrary to reduce the tension ofthe bobbin thread 5 l...

Page 11: ... foot back to its original place 18 Adjusting the pressure ofthe presser foot Fig 16 Turn the adjusting screw CD rightward to increase the pressure turn it leftward to reduce the pressure After adjustment tighten the set nut 19 Relationship between needle and rotating hook Fig 17 l Adjust the stitch length dial to 0 2 Turn the balance wheel to lift the needle bar from its lowest position by 2 1mm ...

Page 12: ...g the tension ofthe threaad take up spring 7 Over fast or slow the timing between needle and rotating hook I Over fast or slow the timing between needle and rotating hook 2 Too weak the pressure ofthe presser 2 Puckering foot 3 The clearance between the up end of the needle and the rotating hook is not right 4 Wrong needle 1 Without threading the bobbin thread under the spring of the thread tensio...

Reviews: