21
GB
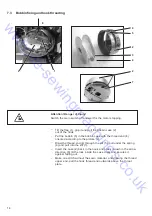
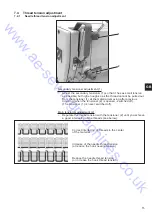
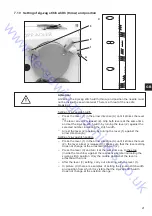
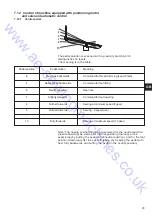
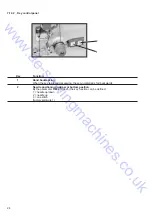
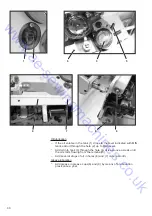
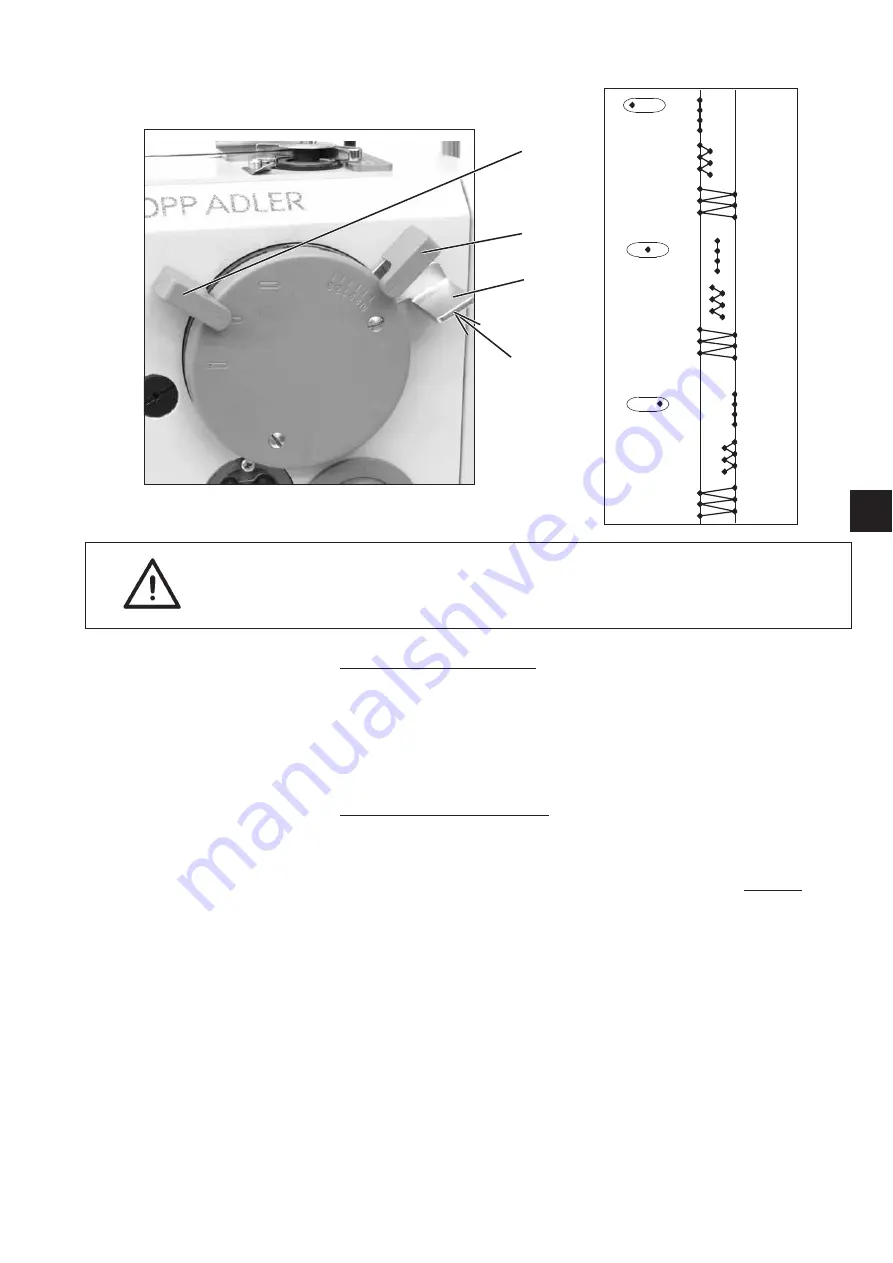
7.10 Setting of zig-zag stitch width (throw) and position
Attention!
At setting the zig-zag stitch width (throw) and position the needle must
not be inside the sewn material. There is a threat of the needle
breaking!
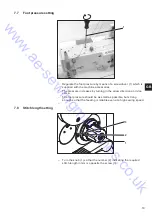
Setting of zig-zag stitch width
–
Press the lever (1) in the arrow direction (A) until it strikes the lever
(2)
- the lever arrest is released (2). Grip both levers at the same time
and set the zig-zag stitch width by turning the lever (2) against the
selected number indicating the stitch width.
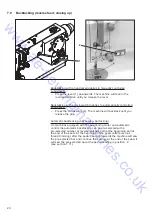
–
Arrest the lever (2) position by turning the lever (1) against the
arrow direction (A).
Setting of zig-zag stitch position
–
Press the lever (1) in the arrow direction (A) until it strikes the lever
(2)- the lever arrest is released (3). Make sure that the lever setting
does not change at the arrest switching off (2).
–
Press the lever (3) and turn it at the same time up to the stop
(inside the machine) against the respective symbol indicating the
zig-zag stitch position. Only the middle position of the lever is
arrested with a lock.
–
After the lever (3) setting, carry out arresting with the lever (1).
–
In picture (C) there are examples of setting the zig-zag stitch width
and position from which it is visible that the zig-zag stitch width
does not change at the position change.
3
2
1
A
C
www.ae-sewingmachines.co.uk


