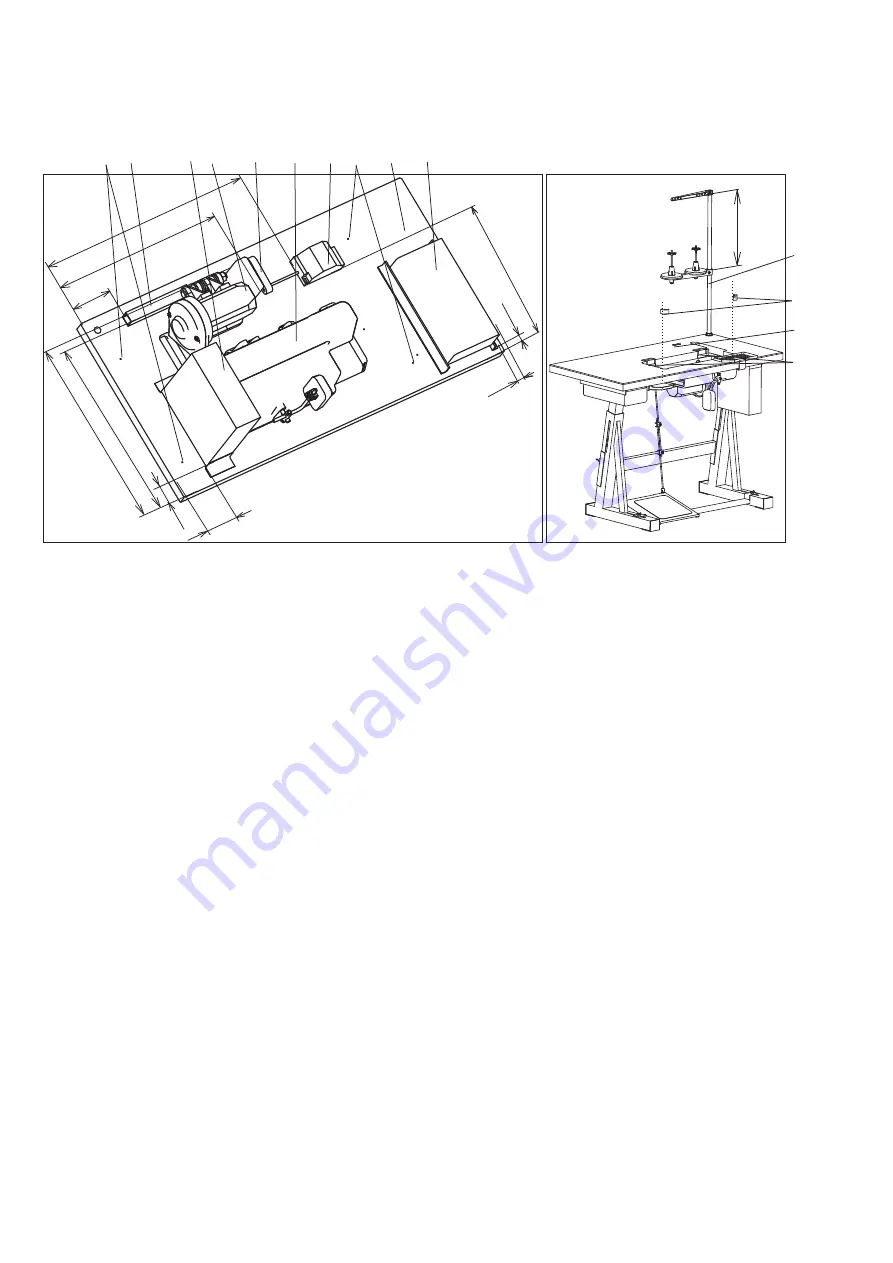
3.2.2
Mounting of table top with DC1550/DA321G positioning motor
–
Turn the table top (1) upper side down.
–
Screw the drawer (2) on.
–
Set the oil tray (3) so that the oil tray inside aligns with the recess
in the table top and screw it on.
–
Screw the motor(4) on.
–
Screw the motor control box (5) on.
–
Screw the set value sensor (6) on.
–
Screw the lighting transformer (7) on - /attachment/.
–
Screw the cable canal (8) on.
–
Mount the electric cables according to section 5 of these
Instructions and fix them to the table top with clamps.
–
Screw the stand frame to the table top - pre-drilled holes (9).
Then turn the stand to the normal position.
–
Mount the yarn stand (10) according to the picture, insert it into the
hole in the table top and fix it with a nut with washer.
–
Fix the support blinds (11).
–
Stick rubber hinge bottoms (12) and rubber corners (13) with a
suitable contact glue. Stick horizontal fitting surfaces of the hinge
bottoms only. You can also fix the hinge bottoms by means of wood
screws which must be then screwed down so deep so that there is
no contact of the wood screws and the machine head.
6
380
10
13
11
12
49
490
640
100
15
120
390
15
9
8
5 4
6
3
7
9
1
2
430
500
www.ae-sewingmachines.co.uk


