background image


Manual for


FP Board


Hardware Installation 


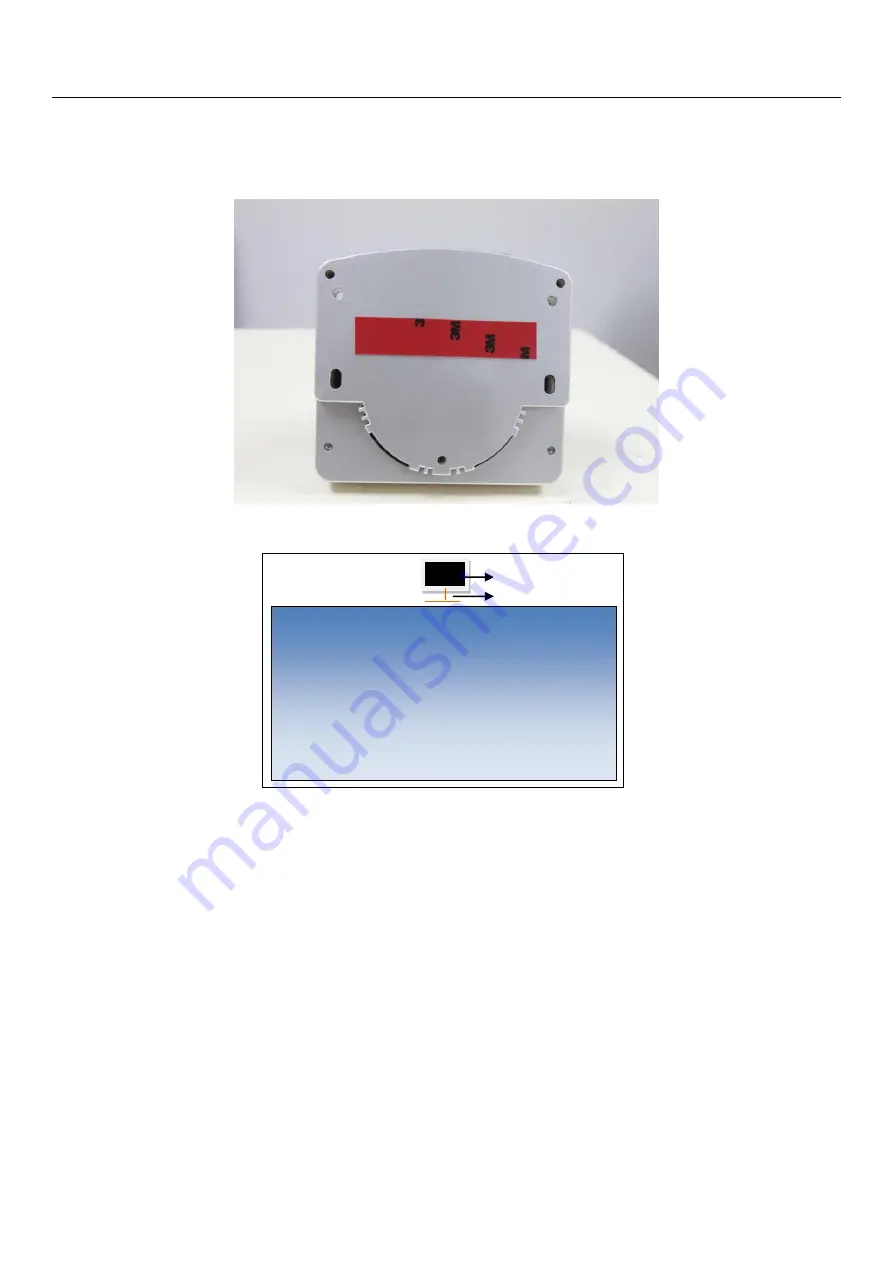
1, There is a red tape on the base of FP Board as below. Please keep it and don’t peel off the red sheet. 


2, Prepare a flat whiteboard: Please leave a space between the projection screen and whiteboard edge as marked as below. 


3, If you choose to install with screws, please according to the following steps: 


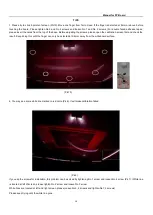
Take the cover of FP Board Base( Pic1). Put 4 screws and mount FP Board on the area marked in black area in the above picture. 

The base of FP Board should be at the same level with the surface of whiteboard.   

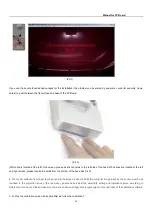
Set the bar perpendicular to the board. Tighten the upper screws and then the down screws (Pic2). The base of FP Board should be 

touched on the board with a little space 

(Later we will adjust the angle of FP Board through fastening or loosening the 

screws.) 


FP BOARD 

5cm 

Summary of Contents for FP Board

Page 1: ...Manual for FP Board FINGER TOUCH PORTABLE INTERACTIVE WHITEBOARD FP BOARD MANUAL V 2 0...

Page 2: ...Manual for FP Board Contents Introduction 1 Specification Data and Package 2 Working Environment 2 Hardware Installation 3 Calibration Software 6 tBoard Software Manual 9 Tips 14...

Page 3: ...record of both mark pen and finger writing 6 months replacement 2 years limited warranty for the FP Board model Features 1 Support finger touch 2 Multi writing 3 Remote control with our new pen Option...

Page 4: ...power requirements 110 240V 50 60HZ 2A weight 0 65kgs requirements Windows XP Vista Windows 7 software Calibration software and Application Software certification CE FCC Package Includes Finger Touch...

Page 5: ...lease according to the following steps Take the cover of FP Board Base Pic1 Put 4 screws and mount FP Board on the area marked in black area in the above picture The base of FP Board should be at the...

Page 6: ...the red layer and put the FP Board onto the board or wall You d better to use your hands to press the FP Board to the flat surface about 20 seconds to make sure it can be sticky strongly Pic3 4 Conne...

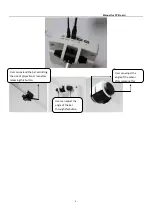
Page 7: ...5 User can extend the bar according the size of projection screen after releasing this button User can adjust the angle of the bar through this button User can adjust the angle of the sensor after re...

Page 8: ...e Calibration Software and Application Software file folders into your PC Calibration 1 Open the file of CALIBRATION SOFTWARE run Whiteboard Calibration You can get a screen from sensor like below 2 C...

Page 9: ...be seen from the calibration screen like below If some corner is not included please extend the bar or minimize the projection screen Each corner must be involved 3 Please choose Automatic Calibratio...

Page 10: ...the calibration you can use the finger or the pen as a mouse on the projection screen 5 The calibration software will be minimized at the right corner Put the mouse on the icon and right click You ca...

Page 11: ...drive Please skip this step with Windows 7 Please Note do not RUN the software from the CD directly Step 2 Open the dotNetFX35 and then run Step3 Open the folder Application Software and run There wil...

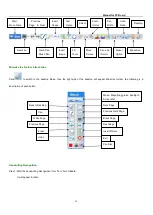
Page 12: ...the current page could be exported as the format of PNG JPG BMP ISF and XPS Change Background used to change the background of current page Tool Group Includes Protractor Triangle Ruler Timer Media P...

Page 13: ...ecognition from Tool list of tBoard It will appear toolbar Back to Desktop Pen White Page Previous Page Erase Undo Note Page Previous Note Page Black Page Next Page Insert Picture Exit Pen Size Start...

Page 14: ...2 Step 2 Using the Handwriting Recognition in Word file Excel file and tBoard In Word and Excel file Open the Word and Excel file from computer procedure and you will use it as like the Picture 1 and...

Page 15: ...ture 3 Picture 3 Virtual Keyboard Step 1 Open the Handwriting Recognition then click the virtual keyboard in the toolbar Step 2 The soft keyboard could be used in the Word file Excel file and IE etc M...

Page 16: ...reen first and check the result Keep doing this until the finger can only be detected at 2 4mm away from the whiteboard surface Pic10 2 You may see some white line marked in red circle Pic6 It will ma...

Page 17: ...at the left and right screen please inserts the cards from the bottom of the base like Pic9 3 The maxim distance from finger touch bar end to the screen is about 55CM the computer image taken by the s...

Page 18: ...it also won t pop up the context menu if the time is too short 8 If it reported the software error when inserting the USB dongle Please make sure the red light of the USB dongle keeps flashing or you...

Reviews: