9 Inspection and maintenance
22
Installation and maintenance instructions Energy 0020201109_01
1
7.
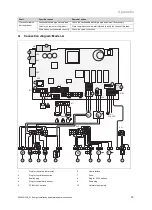
Mark the type of gas that is used on the gas conversion
information label.
8.
Stick the gas conversion information label to the elec-
tronics box.
9.4
Draining the product
Draining the heating circuit
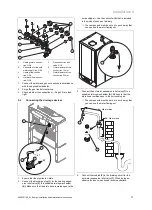
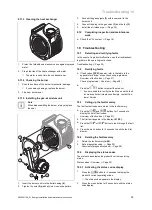
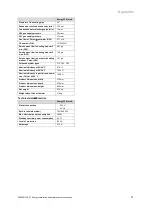
1
1.
Close the stop cocks in the heating system's flow and
return.
2.
Open the drain cock
(1)
.
3.
Ensure that there is an air inlet.
Draining the hot water circuit
4.
Close the cold water inlet valve on the system.
5.
Close the stop cock at the cold water inlet on the under-
side of your product.
6.
Open a valve in the domestic hot water position in order
to remove the pressure, and then reconnect the valve.
7.
Prepare a drain on the product's cold water inlet or
on the drain cock on your pre-installation jig (if this is
present in your system).
8.
Create an air inlet by loosening the outlet connector.
9.5
Removing and installing the air intake pipe
Removing the air intake pipe (Authorised compet-
ent person)
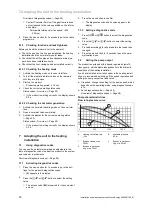
A
1
1.
Unclip the air intake pipe
(1)
and remove it.
2.
Clean the inside of the air intake pipe.
▽
If necessary, use a soft cloth to help you and make
sure that the foam on the inside is not damaged.
Installing the air intake pipe (Authorised compet-
ent person)
3.
To reinstall the air intake pipe, carry out the steps de-
scribed above in reverse.
9.6
Checking the pressure in the heating water
expansion vessel
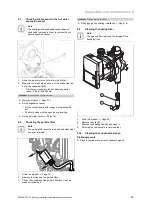
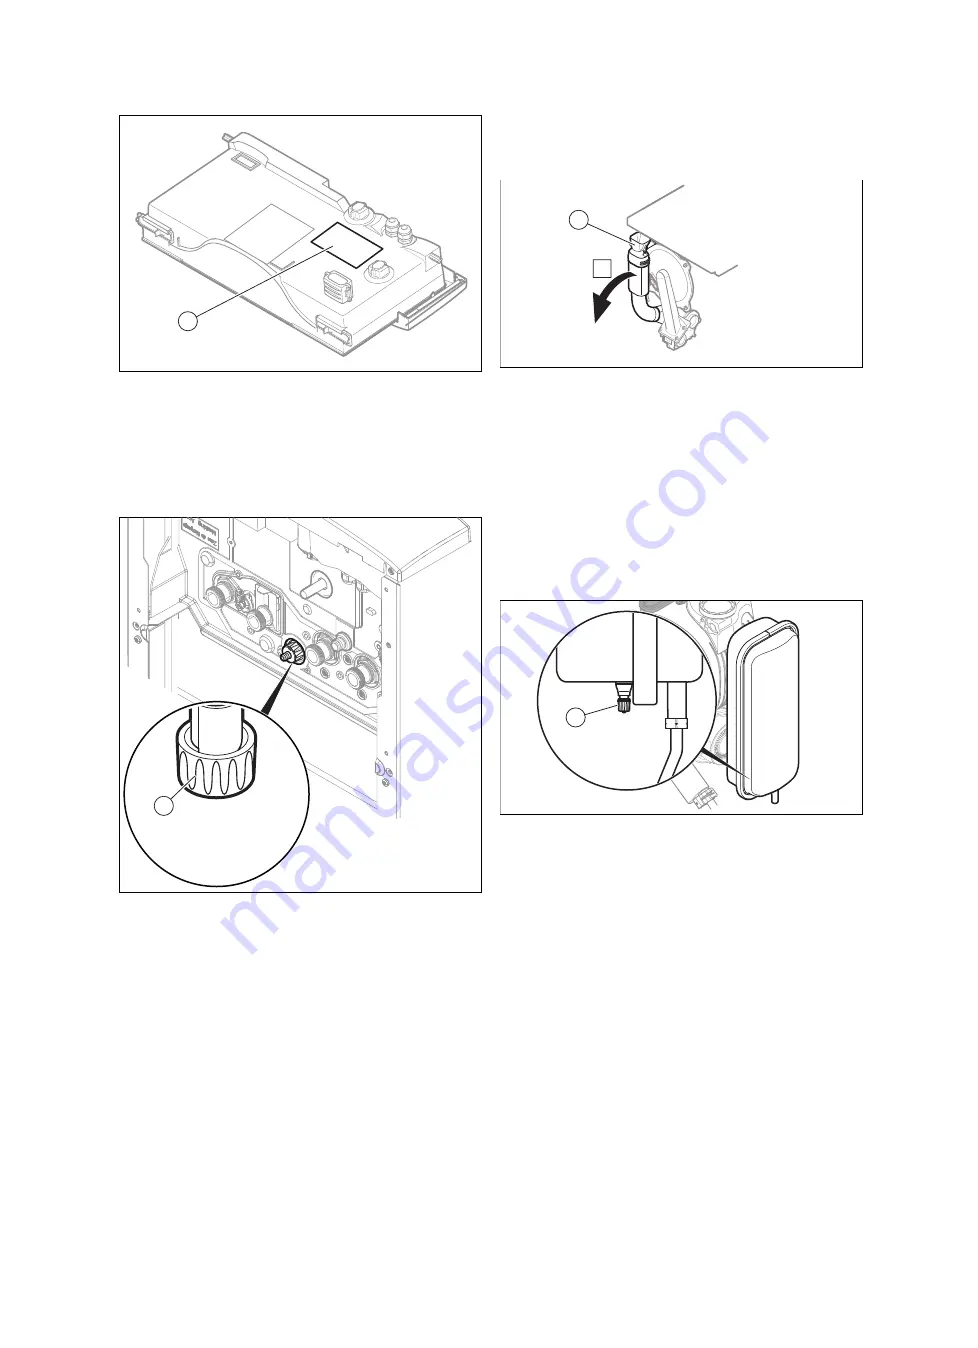
1
1.
Drain the product. (
→
Page 22)
2.
Measure the pre-charge pressure of the expansion ves-
sel at the expansion vessel valve
(1)
.
–
Pre-charge pressure of the heating expansion ves-
sel: 0.75 bar (75,000 Pa)
3.
If the pressure is below 0,75 bar (depending on the
static pressure of the heating installation), use nitrogen
to fill the expansion vessel. If this is not available, use
air. Check that the drain valve is open when topping up.
4.
Fill and purge the heating installation. (
→
Page 16)


