1
Thank you for choosing the GlucoMen® areo 2K meter.
We have designed this compact blood glucose and β-ketone meter for
faster and easier testing of your blood glucose and β-ketone we hope it
will be of great help in the management of your diabetes. This manual
explains how to use your new meter. Before testing, carefully read through
this manual and the package inserts that come with it: GlucoMen® areo
Sensor, GlucoMen® areo β-Ketone Sensor, GlucoMen® areo Control, and
GlucoMen® areo Ket Control. Pay particular attention to listed warnings
and cautions. Please keep this manual at hand for future reference. If you
have any questions, please contact A. Menarini Diagnostics for assistance
(references at the end of this manual).
1. Intended use
Your GlucoMen® areo 2K meter, GlucoMen® areo Sensor, and GlucoMen®
areo β-Ketone Sensor are in vitro diagnostic medical devices to
quantitatively measure glucose and β-ketone levels in fresh capillary whole
blood. They are intended for self testing to monitor and control blood
glucose and β-ketone levels by people with diabetes mellitus; they can
also be used in a clinical setting by healthcare professionals. They are not
intended for diagnosis or screening of diabetes and DKA or for neonatal
use. Do not alter your treatment on the basis of test results of this meter
without previously consulting your doctor or healthcare professional.
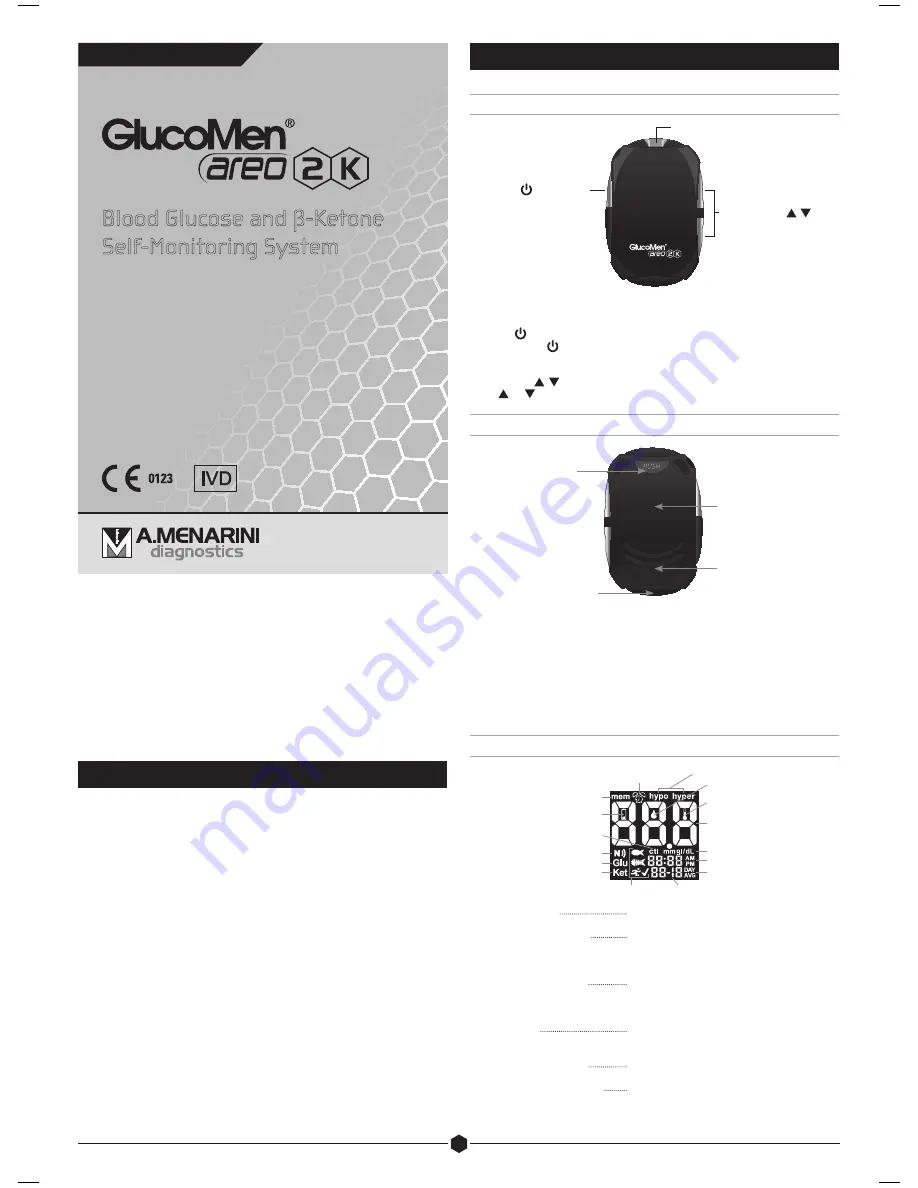
Blood Glucose and ß-Ketone
Self-Monitoring System
2. System overview
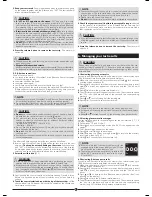
2.1 Meter
FRONT
TEST STRIP PORT
UP/DOWN ( / )
BUTTONS
ENTER (
) BUTTON
TEST STRIP PORT
Test strip should be inserted here.
ENTER ( ) BUTTON
Press and hold for 2 seconds to access meter memory (§6.1) or longer
(4 seconds) to enter setup mode while not testing (§7).
UP/DOWN ( / ) BUTTONS
Press or to scroll through different options and/or values.
BACK
BATTERY HOLDER
NFC ANTENNA
DATA TRANSFER PORT
RELEASE BUTTON
RELEASE BUTTON
Press this button to remove used test strip.
BATTERY HOLDER
Houses two CR2032 3V lithium coin cell batteries.
DATA TRANSFER PORT
Connection port for PC data cable and Bluetooth device from A. Menarini
Diagnostics.
METER SCREEN
CLOCK/ALARM ICON
HYPO/HYPER ICONS
DROP ICON
MAIN DISPLAY AREA
UNIT OF MEASUREMENT
TIME
AVERAGE
DATE
MARKERS ICONS
MEMORY ICON
CTL ICON
GLUCOSE ICON
KETONE ICON
WRONG TEMPERATURE
ICON
NFC ICON
LOW BATTERY ICON
MEMORY ICON:
indicates that you are using the memory
(§6).
CLOCK/ALARM ICON:
“clock” appears while setting the time
(§7.1); “alarm” appears while setting the
acoustic reminder(s), and will be displayed
if any alarm is on (§7.2).
HYPO/HYPER ICONS:
appear while setting the hypoglycaemic
and hyperglycaemic thresholds and if
your test results are below or above these
values (§7.4).
DROP ICON:
blinks to indicate that the meter is ready
for blood or control solution testing (§4.2,
4.3).
MAIN DISPLAY AREA:
displays test results, stored test values,
result averages and messages.
UNIT OF MEASUREMENT:
shows the unit of measurement of your
blood glucose meter (mg/dL or mmol/L
for glucose, not changeable; mmol/L only
for β-ketone).
USER MANUAL
MASTER


