72
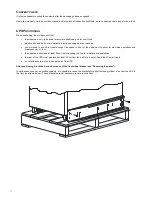
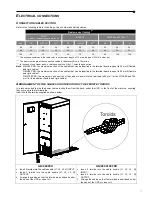
At the bottom of the units is a holed bar that can be used for a steady anchor for the cables by means of appropriately sized
clamps.
Notes:
-
Clasp the clamps only after having tightened the cables in their relative power terminals.
-
Preform the cables so that they are not forced into the power terminals when the clamp is tightened.
P
RELIMINARY OPERATIONS FOR CONNECTION
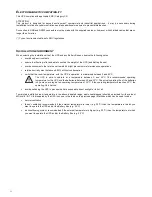
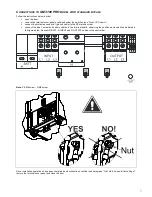
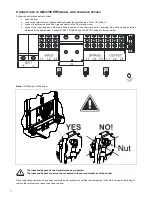
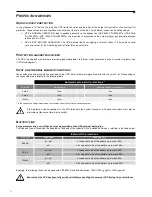
The following operations are to be performed with the UPS disconnected from the power mains, off and with
all equipment switches open. Before making the connection, open all machine switches and verify that the
UPS is completely isolated from power sources: battery and AC power line. In particular, check that:
- the UPS input line is completely disconnected
- the external UPS battery line switch/fuses are open
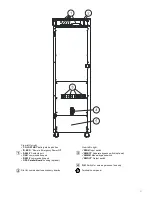
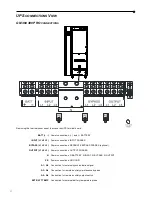
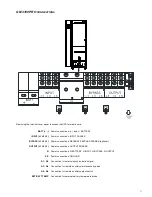
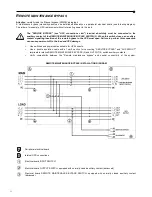
- all UPS switches: SWIN, SWBYP, SWOUT and SWMB in the open position
- check with a millimetre that there are no dangerous voltages
The first connection should be that of the protective conductor (ground cable) to be connected to the PE
marked screw. The UPS should work with ground system connection.
The input Neutral must always be connected.
ATTENTION: a three-phase four-wire distribution system is required.
The standard UPS version must be connected to a 3 Phase + N PE (ground protection) TT, TN or IT
type power line. Comply with phase rotation
TRANSFORMER BOXES (optional) are available to convert distribution systems from 3-wire to 4-wire.
ATTENTION:
in the event of non-linear three-phase loads, the Neutral conductor (N) current can reach a
value up to 1.7 times that of the phase current. Properly size the Input/output Neutral line keeping this fact in
mind.
Carefully read instructions contained in the Battery Box manual before connecting batteries.
Check that battery voltage is the same as allowed by the UPS (consult the Battery Box data plate and the
UPS manual)
ATTENTION: the maximum length of the connection cables to the Battery Box is 10 metres
Summary of Contents for GM 3100 PRO
Page 37: ...37 MENU DISPLAY ...
Page 91: ...91 DISPLAY MENU ...
Page 145: ...145 DISPLAYMENÜS ...
Page 199: ...199 MENU ECRAN ...
Page 253: ...253 MENÚ PANTALLA ...
Page 272: ......
Page 273: ......
Page 274: ......
Page 275: ...0MNMSTK60NP5LUD ...

