background image

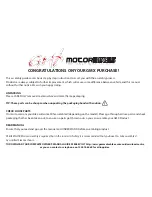
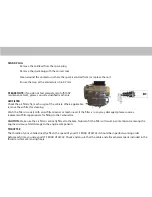
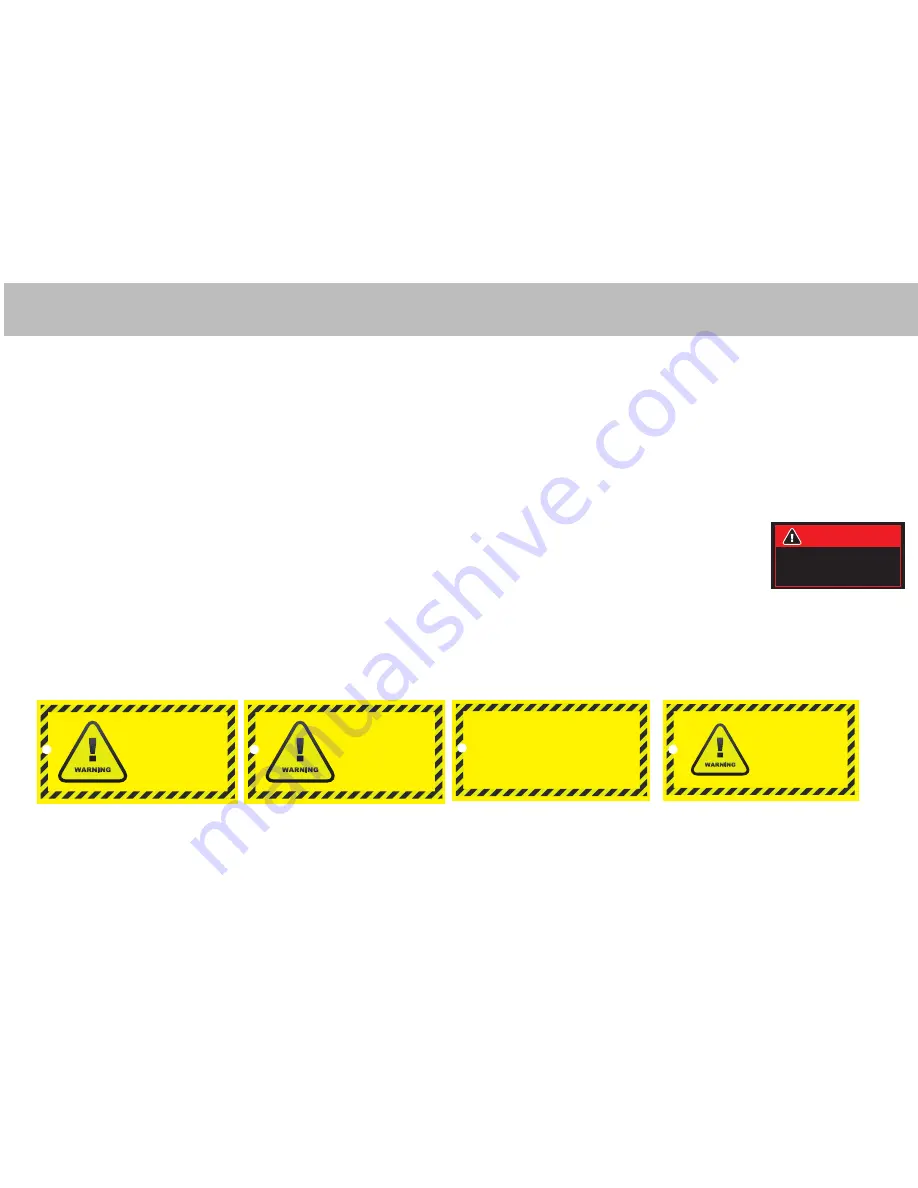
CHECK BRAKES

ARE ADJUSTED

CORRECTLY PRIOR

TO RIDING.

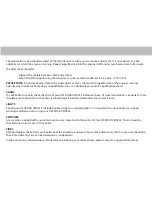
YOU MUST CHECK 

THAT THE CHAIN 

IS ADJUSTED 

CORRECTLY PRIOR 

TO RIDING. 

PLEASE READ AND UNDERSTAND ALL INSTRUCTIONS AND WARNINGS PRIOR TO ASSEMBLY AND OPERATING OF YOUR VEHICLE.

Swing tags have been placed on your vehicle for you to identify checks that are located within this manual. Once you have performed the 

check required remove these swing tags and nylon loops attaching them to the vehicle.

MAKE SURE TO REMOVE THE SWING TAGS AND TAKE SPECIAL NOTICE TO REMOVE THE NYLON LOOP. 

The tags and loops that need to be removed from this model: GMX 125cc Rider X

ONCE SWING TAGS AND NYLON LOOPS ARE REMOVED YOU ARE ACKNOWLEDGING THAT THESE 

CHECKS HAVE BEEN PERFORMED 

There may be a “Spare Parts Package” within the carton so please check all of the packaging 

and DO NOT THROW OUT 

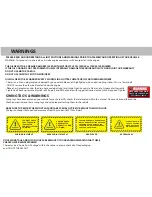
WARNINGS

SWING TAG’S & WARNINGS

BRAKE ADJUSTMENT x2

CHAIN ADJUSTMENT 

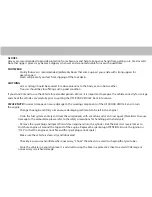
ALWAYS LEAVE IN 

THE OFF POSITION 

WHEN NOT IN USE 

OR REMOVE KEYS

KEY REMOVAL

WARNING

Please use unleaded fuel

90 Octane or above

UNLEADED FUEL ONLY

WARNING: This product is powered by a 4 stroke engine and comes with transport oil in the engine.

THE OIL NEEDS TO BE DRAINED AND REPLACED WITH MOTORCYCLE OIL 10W/40 or 10W/50 IS REQUIRED

IF THE OIL CHANGE IS NOT PERFORMED YOU MAY INTERNALLY DAMAGE THE ENGINE AND CLUTCH AND VOID YOUR WARRANTY 

DO NOT USE MOTOR CAR OIL 

DO NOT USE OIL WITH FRICTION MODIFIERS

OIL WILL NEED TO BE CHANGED EVERY 3 MONTHS IN A HOTTER CLIMATE OR THE NOTHERN HEMISPHERE 

- There is an oil drain plug located underneath you quad/dirt bike and is highlighted with an oil drain plug sticker. This is a 14mm bolt. 

- DO NOT remove the other bolt located under the engine.

- Place an oil receptacle under the drain hole, undo bolt and let oil drain from the vehicle. Please note: Dispose of oil correctly

- Tighten bolt back up, remove dipstick (oil fill point) and fill the vehicle with suggested correct amount of oil required. Tighten

TO AVOID DAMAGE TO GEARBOX AND 

MOTOR. WHEN SELECTING GEAR AND

CHANGING GEARS, RELEASE THE 

THROTTLE. DO NOT USE EXCESSIVE 

FORCE ON GEAR LEVER.

GEAR LEVER

Summary of Contents for RIDER X

Page 1: ...d this entire manual before riding DO NOT RETURN TO STORE NOTE Manual illustrations are for demonstration purposes only Illustrations man not reflect exact appearance of actual procduct WWW GMXMOTORBIKES COM AU ATV OFF ROAD GMX RIDER X ...

Page 2: ... CHECK LOOSE PARTS On most occasions your bike will come 90 assembled depending on the model Please go through all lose parts and check packaging that has been taken out to ensure no parts get thrown out so you can assemble your GMX Product READ MANUAL Ensure that you read and go over the manual and UNDERSTAND before assembling product PLEASE NOTE Minor assembly is required but in the interest of ...

Page 3: ...E OR REMOVE KEYS KEY REMOVAL WARNING Please use unleaded fuel 90 Octane or above UNLEADED FUEL ONLY WARNING This product is powered by a 4 stroke engine and comes with transport oil in the engine THE OIL NEEDS TO BE DRAINED AND REPLACED WITH MOTORCYCLE OIL 10W 40 or 10W 50 IS REQUIRED IF THE OIL CHANGE IS NOT PERFORMED YOU MAY INTERNALLY DAMAGE THE ENGINE AND CLUTCH AND VOID YOUR WARRANTY DO NOT U...

Page 4: ...embly is required and in the interest of safety and warranty it is recommended that you have this product assembled by a qualified skilled small engine mechanic You may need to provide proof of being assembled by a skilled mechanic if not a report from a small engine mechanic advising of the issues to process your warranty claims The warranty is a parts replacement warranty and labor is not includ...

Page 5: ...e training from a certified instructor 3 Always follow the age recommendation of the specific GMX model 4 Children under the age of 16 should be supervised by an adult at all times Safety is the sole responsibility of parental guardians 5 Never operate an OFF ROAD VEHICLE without wearing an approved motorcycle helmet that fits correctly For more information on correctly fitting a helmet please con...

Page 6: ...up any slope Never go over the top of a slope at a high speed 17 Always follow proper procedures for going down slopes and for braking on slopes Check the terrain carefully before you start down any slope Never go down a slope at high speed Go straight down the slope where possible 18 Never attempt to turn the OFF ROAD VEHICLE around on any slope until you have mastered the turning technique descr...

Page 7: ...t likely to come in contact FUEL HANDLING Precautions should be taken when handling any type of petrochemicals Gasoline can catch fire and is toxic to life and the environment GMX motorbikes recommend the following safety tips to avoid accidents injury death Always turn off the engine when re fuelling Do not refuel right after the engine has been running and is still very hot Do not spill gasoline...

Page 8: ...it is open and in full supply OFF When the fuel lock is in the OFF position the fuel circuit is closed This is recommended when the bike is not in use STARTING THE ENGINE Warning Never operate this engine or any engine in an enclosed space Failure to operate combustion engines with correct ventilation can result in Carbon monoxide poisoning and even death by suffocation Set the key into the igniti...

Page 9: ...e handle all the way down closed position PLEASE NOTE Warm up the engine for 3 5mins prior to each usage Over revving the engine is harmful to the engine especially when cold The running in of the engine is considered to be for the first 500km during this time avoid steep inclines and high speeds Avoid over revving the engine at all times Turning off the engine In a stand still position in neutral...

Page 10: ... by an approved mechanic The following list has been provided for you by GMX Motorbikes as an advisory process before each ride This should be completed at the discretion of the rider and any faults discovered during the checklist should be FULLY resolved before riding the OFF ROAD VEHICLE FRONT AND REAR BREAKS When checking the breaks ensure all cables are in place and there are no leaks Check th...

Page 11: ...ck the oil levels if the engine is low on oil top up to a suitable level The dipstick should always be replaced firmly and securely The oil supplied with the vehicle is transport oil that should be changed after the first 4 hours of usage Replacing the oil Remove the sump plug Drain the oil from the engine Replace the sump plug Refill the engine with a high quality oil suitable for the engine PLEA...

Page 12: ...sh the filter or soak it with an air filter cleaner or machine oil if the filter is in any way damaged please source a replacement filter appropriate for fitting to the Carburettor CAUTION Make sure the air filter is correctly fitted to the bike failure to fit the filter will result in contaminants entering the engine and cause fatal damage to the engine components THROTTLE The throttle of your ve...

Page 13: ...ly check the chain of your OFF ROAD VEHICLE before each use Its general condition is important there should be no obstructions to the chain it should be well lubricated and under the correct tension LIGHTS Should your OFF ROAD VEHICLE include front rear lights or signalling lights it is important to ensure these are in good working condition prior to using your OFF ROAD VEHICLE SWITCHES Any switch...

Page 14: ...the following list is an advisory guideline of the equipment that should be obtained before using your OFF ROAD VEHICLE for the first time and to be used for every ride regardless of experience and skill level HELMET A helmet is the most important piece of protective equipment and should be worn at all times the vehicle is being ridden Select a helmet that complies with Australian Standards Ensure...

Page 15: ...NOTE Incorrect storage can cause damage to the working components of the OFF ROAD VEHICLE and in turn the engine Change the engine oil Dirty oil can cause damaging sediments to be left in the engine Drain the fuel system entirely and treat the components with a machine oil or anti rust agent Stale fuel can cause damage to the carburettor please refer to the safety precautions for handling petro ch...

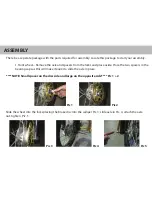
Page 16: ...rom the forks and place aside Place the two spacers in the bearing caps as this will make it easier to slide the axle in place NOTE Small spacer on the disc side and large on the opposite side Pic 1 2 Pic 1 Pic 2 Slide the wheel into the forks placing the brake disc into the calliper Pic 3 slide axle in Pic 4 attach the axle nut tighten Pic 5 Pic 3 Pic 4 Pic 5 ...

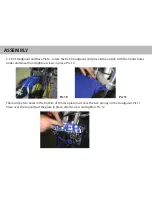
Page 17: ... the forks and place aside Place together in the following order Bottom bracket handlebars Pic 7 top bracket slide bolts in Pic 8 attach nuts and tighten finger tight Put the handle bars in the correct position and tighten nuts Pic 9 NOTE Do left bracket first and then right bracket and careful not to pinch cables Pic 6 Pic 7 Pic 8 Pic 9 ...

Page 18: ... position with the 3 bolts holes under underneath and tighten screws in place Pic 10 Pic 10 Pic 11 There will be two holes in the bottom of the race plate to sit over the two prongs on the mudguard Pic 11 Place over the top and put the plate in place attach screw and tighten Pic 12 ...

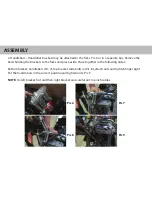
Page 19: ... rear shock in packaging and place in correct position on the frame and in Pic 13 slide bolt in tighten nut Move the swing arm down and place the bottom of the shock in correct position Pic 14 15 slide bolt in tighten nut Pic 13 Pic 14 Pic 15 ...

Page 20: ...ASSEMBLY ...
Reviews: