10 -
EDITING
FEATURES
71
10 - Editing Features
1
2
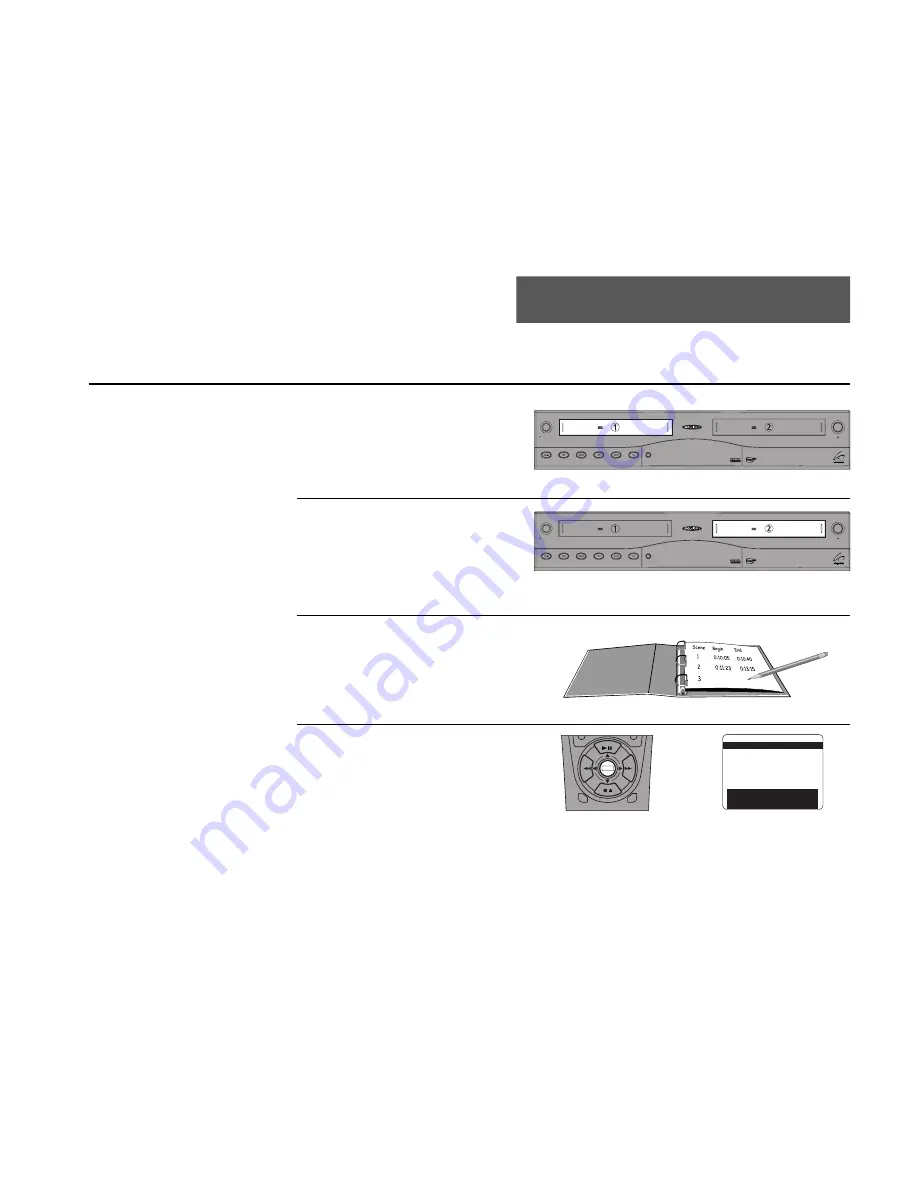
Insert Source Tape
Put the tape with your unedited source
material in Deck 1.
Insert Target Tape
Put your blank tape in Deck 2. To ensure
quality edits, it is best to record on blank or
pre-formatted tapes. Tip: You can pre-
format your tapes by recording the line
input over the entire tape with no signal.
Review Source Tape
(optional)
Make a list of the scenes you wish to use in
your final movie with their beginning and
ending tape counter positions. Reorder the
scenes if desired.
Open “Main Menu”
Press Menu.
Copy Tape
Hi-Fi
Deck
Hi-Fi
Deck
Power
Deck Select
Record
Rewind
Play
F. Forward
Pause
Stop
/
Eject
Copy Tape
Hi-Fi
Deck
Hi-Fi
Deck
Power
Deck Select
Record
Rewind
Play
F. Forward
Pause
Stop
/
Eject
3
4
There are two ways to edit
movies with the Dual-Deck
VCR:
1. You can use the 8-Scene
Editor to automatically as-
semble up to 8 scenes by
marking their beginning and
ending points; see instructions
at right.
2. You can use the Sync Edit
feature, which allows you to
manually cut unwanted scenes
while copying a tape; see page
74.
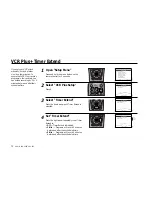
DECK1
DECK2
MENU
0000
9A
/
•E
NT
ER
MAIN MENU
1
EZ Copy
On
2 : Child Lock
Off
3 : Timer Recording
4 : 8-Scene Edit List
5 : Setup Titler Message
6 : Language/Langue/Idioma
/
To Move
To Select
MENU to Quit
Hold MENU Key For Setup
➔
➔
➔
➔
8-Scene Editor
Summary of Contents for DDV9556
Page 13: ...4 DUAL DECK USER S GUIDE...
Page 21: ...12 DUAL DECK USER S GUIDE...
Page 45: ...36 DUAL DECK USER S GUIDE...
Page 59: ...50 DUAL DECK USER S GUIDE...
Page 67: ...58 DUAL DECK USER S GUIDE...
Page 95: ...86 DUAL DECK USER S GUIDE...


