


- 2 -
WWW.GOBOSERVICE.COM
GOLIVE
KIT ZOOM
PACKAGE CONTENT
The package contains the Kit ZOOM for the GO-LIVE projectors series; the
accessory is composed by two different parts (see Fig.1):
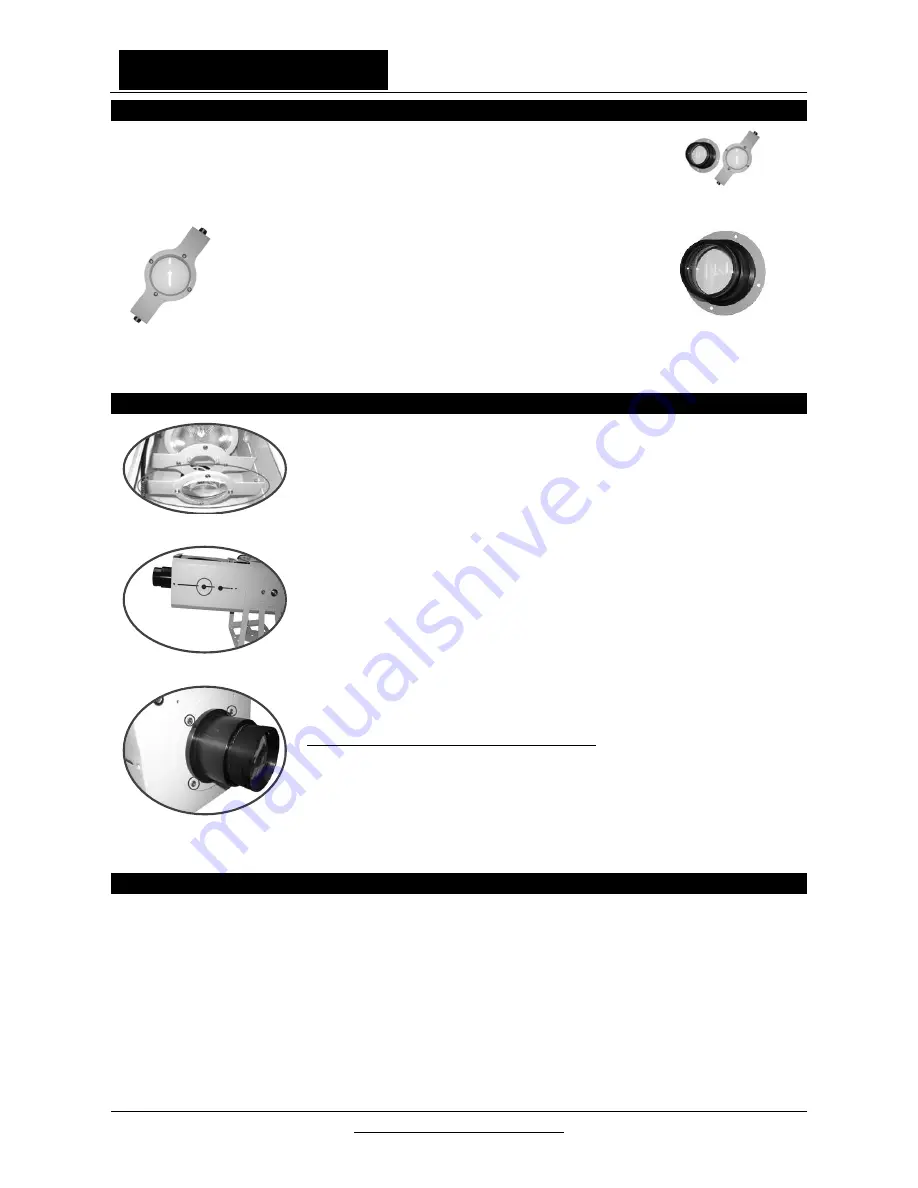
Fig.1
1.
The component 1 (Fig.2) that is the ZOOM lens that will
be mounted into the projector.
2.
The component 2 is a quality lens camera with a 160mm
optical aperture and a 16° standard light beam.
Fig.2
Fig.3
INSTALLATION
Step 1 (Positioning): place the component 1 inside the projector (as shown
in Fig.4) according to the following procedure:
1.
First, unscrew the threaded knobs of component 1;
2.
Place component 1 longitudinally inside the projector (between the
FIXED GOBO HOLDER and LENS) then rotate it so that the two side
supports of the body fit into the side guide rails of the projector;
3.
Fix component 1 to the projector by screwing the previously unscrewed
threaded knobs (as shown in Fig.5);
Step 2 (Lens Mounting): fix the component 2 using the supplied screws as
shown in Fig.6 and replacing any lens (with optical 100mm) supplied as
standard with the projector; for the mounting of lens follow the steps of
section 3.3. LENS MOUNTING OR SUBSTITUTION of projector manual
instruction.
The ZOOM kit is now mounted on projector.
Fig.4
Fig.5
Fig.6
ADJUSTMENT OF PROJECTED IMAGE
Using the two components of ZOOM kit it is possible adjust the projected image:
-
The component 1 (zoom lens) can be moved following side guide rails of the projector
-
The component 2 (lens) allows to easily focus the image.
Using the movement of ZOOM lens and FIXED GOBO HOLDER (supplied as standard with projector), it is
possible obtain the desired size for the projected image.
The ZOOM kit allows to obtain a focal lenght for the GO-LIVE projectors series from 18° until 30,5°.
Summary of Contents for ZOOM Kit
Page 4: ......


