background image

17 


3. 

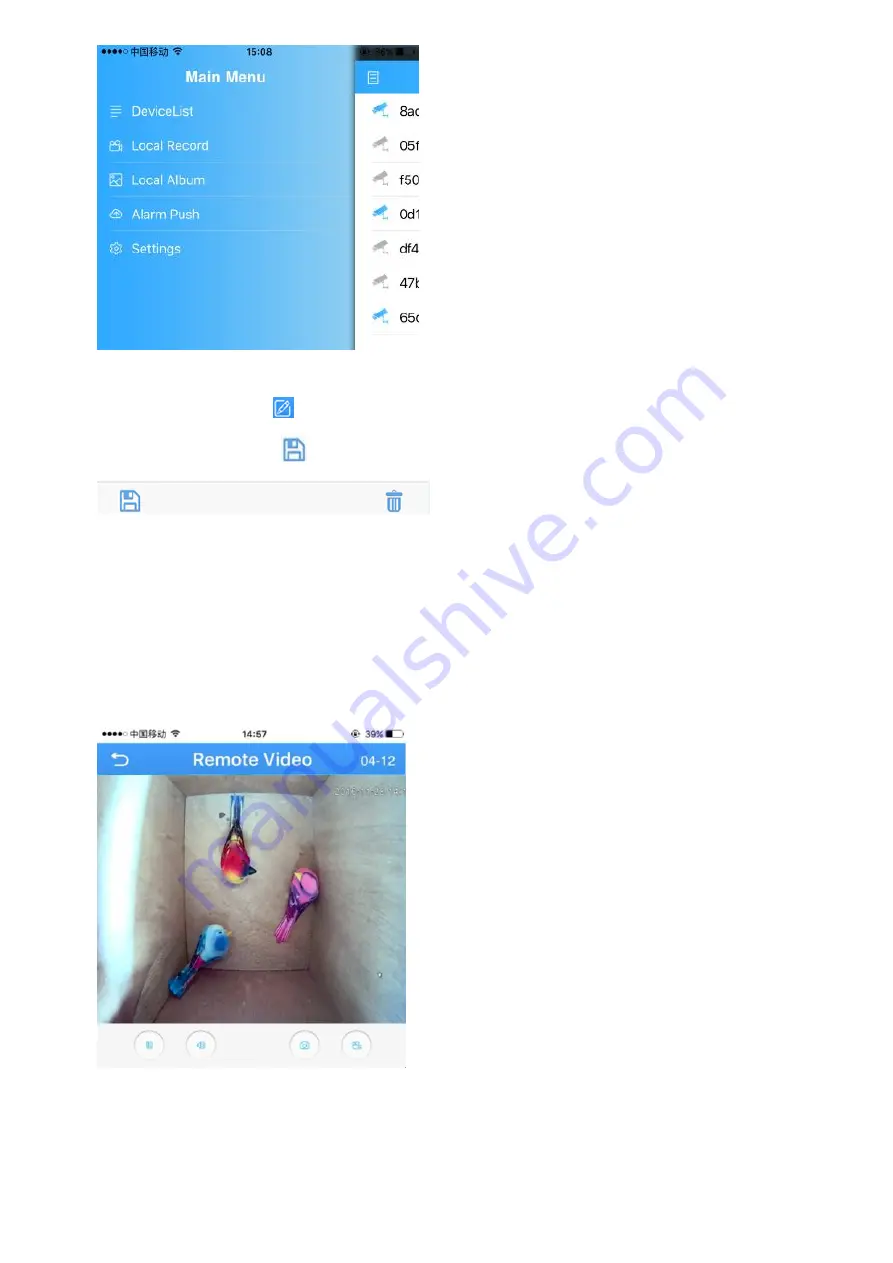
Touch “Local Album” to view the snapshot. 

4.  Press the edit icon 

on top right corner, select the snapshot to view the picture. 

5.  Press the save icon 

to save the snapshot to your phone. 


Playback video on TF memory card (cameras with microSD 

only) 


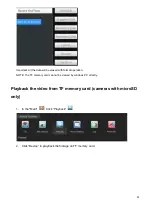
1.  Touch home icon in the live view page. 


2. 

Press “Remote playback” from the menu 

Summary of Contents for 4901-18

Page 1: ...1 en Operation and Installation Manual Wireless IP Bird Box Camera Model 4901 18...

Page 2: ...MAC 21 SYSTEM REQUIREMENTS 21 INSTALLING SOFTWARE 21 NETWORK CONNECTION AND SETTINGS 21 Connect to IP Camera 21 Optional 1 How to add the cameras to CMS5 outside of LAN 23 Optional 2 How to configure...

Page 3: ...golbongtoday For access to the quick start guide and other support information go to http www golbong com support asp To contact GOLBONG support please do one of the following a Visit http www golbon...

Page 4: ...4 Product Overview Hardware Installation Attach the External Power Adapter Connect the power adapter to the power connector on your camera then plug the power adapter into a wall outlet...

Page 5: ...Tablet Apps Connect the camera directly with app 1 Download XMEYE from apple store or google play 2 Power up the camera and wait for 2 minutes 3 Enter the WIFI setting of your smart phone A new AP sp...

Page 6: ...6 4 Connect the new AP fill in the password 1234567890 5 Login the XMEYE press the Direct Login at the right down on screen 6 Click the camera list to watch the live...

Page 7: ...e new AP should disappear on your smart phone s wifi setting The camera was switch to Network mode NOTE If you still see the AP spot disable enable the WLAN on your smart phone NOTE Press the reset bu...

Page 8: ...8 3 Click the Cloud Login on the XMEYE NOTE Click Login Problem You can register a new account 4 On the Device List page click the right top on screen...

Page 9: ...the Add Device page select the Quick Configuration 6 Fill in the password of your home router and click both Ensure the indicator and Device Operation NOTE you can ignore the remark message click it...

Page 10: ...10 7 Press Deep Config NOTE After pressing Deep Config the screen will display a sentence and click yes...

Page 11: ...icon pop up on the screen Click the icon to add the camera NOTE if you fill in the wrong password of your home router you need to press the reset button for 10 seconds Then return to the step a 9 Clic...

Page 12: ...orner to enlarge the video to full screen NOTE The users can zoom in out on the screen with fingers 3 Click SD HD to choose the video quality NOTE SD standard definition HD high definition Optional1 H...

Page 13: ...the sub stream to adapt to your network bandwidth NOTE higher frame rate and resolution require higher bandwidth Set a Password for the Camera 1 In the Live Video page click the Home icon 2 In the Men...

Page 14: ...and a new password Click Save NOTE default password is blank No need 4 Click return icon to enter Device list 5 click the edit icon a new dialog pop up 6 Select Edit 7 Name the device key in the new p...

Page 15: ...eo page press camcorder button to start recording NOTE Camcorder button will change to Blue when recording is activated 2 Press camcorder button again to save the video 3 Click return icon to enter De...

Page 16: ...ill start play the video on your phone 6 Press the edit icon on top right corner press snapshot to select the video 7 Press the save icon to save the video to your phone View snapshot at local files 1...

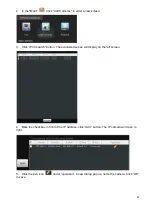
Page 17: ...icon on top right corner select the snapshot to view the picture 5 Press the save icon to save the snapshot to your phone Playback video on TF memory card cameras with microSD only 1 Touch home icon...

Page 18: ...video with motion detection You need to enable the motion recording function in the camera to see the yellow block 4 Press the speaker icon to activate the sound NOTE Your camera must support audio a...

Page 19: ...19 2 Choose either download by file or by time 3 Click the Download icon the app start downloading by file 4 Click icon twice to return to device list 5 Press the icon to enter the main menu...

Page 20: ...ially DDNS it will fail to receive the push message 1 Touch home icon in the live view page 2 Touch set Network from the menu enter a new screen 3 Slide the enable to right turn on DHCP The camera wil...

Page 21: ...connect to your system Installing Software Download the latest version of the windows PC software using the link below https goo gl NHg7C3 Network connection and settings Connect to IP Camera 1 Click...

Page 22: ...ck IPV4 search button The available devices will display on the left screen 4 Mark the checkbox in front of the IP address click Add button The IP camera will move to right 5 Click the pen icon under...

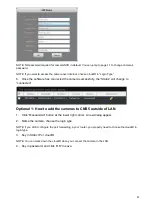
Page 23: ...will change to connected Optional 1 How to add the cameras to CMS5 outside of LAN 1 Click Manual Add button at the lower right corner A new dialog appear 2 Name the camera choose the login type NOTE...

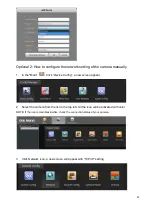
Page 24: ...Main Click Device Config a new screen appear 2 Select the camera from the list in the top left All the icon will be activated with color NOTE If the icon remain black white check the connection statu...

Page 25: ...TE If you don t know you network setting mark enable DHCP to receive the IP setting from your local network Click OK the IP camera has to reboot to receive the correct IP setting from your local netwo...

Page 26: ...m on the screen select Digital Zoom 2 Hold the left button on mouse to selected area in red square 3 Release the mouse to zoom in 4 Right click mouse again uncheck digital zoom to close the zoom opera...

Page 27: ...n click Device Config Enter Tool Manager on the right screen A new screen appear 2 In the top left menu select the camera for which you want to change the password 3 Click User Manager on the top scre...

Page 28: ...cord Click Apply button to Save NOTE this is the switch button to turn on off recording 5 Return to the live interface double click camera on the list CMS5 will start recording from the live NOTE the...

Page 29: ...yback the video on your computer 1 In the Main Click Playback icon a new screen appear 2 Select the channel from the camera list in the upper right corner 3 Select the time period in the lower right c...

Page 30: ...NOTE Click can locate the files in the PC computer 6 Choose the Time over File at the left corner the time frame will appear 7 Move the mouse to the time frame time will display in white Click the mo...

Page 31: ...r Device Config and Click Disk Manager 2 Select the memory disk from the list NOTE Only the model with TF memory card slot and the TF memory card is installed will display memory information NOTE Clas...

Page 32: ...d with format operation NOTE The TF memory card can not be viewed by windows PC directly Playback the video from TF memory card cameras with microSD only 1 In the Main Click Playback 2 Click Device to...

Page 33: ...playback 4 Select the time period in the lower right corner NOTE It only can search footage within a single day 4 Click Search The search result will display as below 5 Select the footage from the li...

Page 34: ...ly 1 Click the download icon on the time frame the software will start download the footage from the front device NOTE the icon will change to red flag when download is completed 2 Click the red flag...

Page 35: ...the download folder from Main System Config Setting Camera Parameters 1 In the Main click Device Config icon 2 Click Camera param 3 A new screen appear 3 Day night Mode Select Color the camera will a...

Page 36: ...witch the camera will switch to black and white and sense the infrared basing on the visible light illumination NOTE Select auto switch can make the covert camera see infrared on the sense at night 6...

Page 37: ...and view video using Internet Explorer However if you cannot download data such as video and images due to the increased security measure you should check the security level of your PC so that you ar...

Page 38: ...for Windows 7 or above operating systems have increased security measures to protect your PC from any malicious software being installed To have complete functionality of the web browser interface wit...

Page 39: ...e Require server verification https for all sites in this zone box 6 Enter the IP address in the Add this website to the zone field 7 Click Add and then click Close 8 Click OK in the Internet Options...

Page 40: ...the camera s IP address default is 192 168 1 10 The Login dialog box appears NOTE Ensure that the Active X controls are enabled 2 Enter your user name and password Username admin Password no require 3...

Page 41: ...interface All the designs and software here are subject to change without prior written notice All trademarks and registered trademarks mentioned are the properties of their respective owners To cont...

Reviews: