


INSTRUCTIONS FOR USE
WARNING:
Hold the plug when rewinding the cord. Do not allow the cord to whip when rewinding.
Use and function
Assembling vacuum cleaner
Note:
Always remove the power plug from the wall outlet before assembling or removing accessories.
1.) Attaching the Flexible Hose into the vacuum.
-
Connect the flexible hose into the air intake duct, push in until you hear a “click”, indicating it is in its
locked position.
2.) Fitting the tube to the curved wand/hose extension.
- Push the tube into the curved wand/hose extension.
3.) Fitting the Floor Brush to the tube.
- Push the tube into the floor brush. Adjust the telescopic tube to the desired length.
Variable suction control
Note:
Once all attachments are in place, unwind the entire length of the power cord and insert the plug into
the wall outlet. A yellow mark on the power cord shows the maximum ideal cable length.
NOTE: Do not pull the power cord beyond the red mark.
1.) Insert the power plug into the wall outlet.
2.) Press the power button / control dial to turn the vacuum cleaner “on”.
3.) To adjust the suction, turn the control dial clockwise to increase power or anti-clockwise to decrease
power on the vacuum cleaner.
4.) To rewind the power cord, press the cord rewind button with one hand and guide the power cord
with the other hand to ensure that it does not whip causing damage or injury.
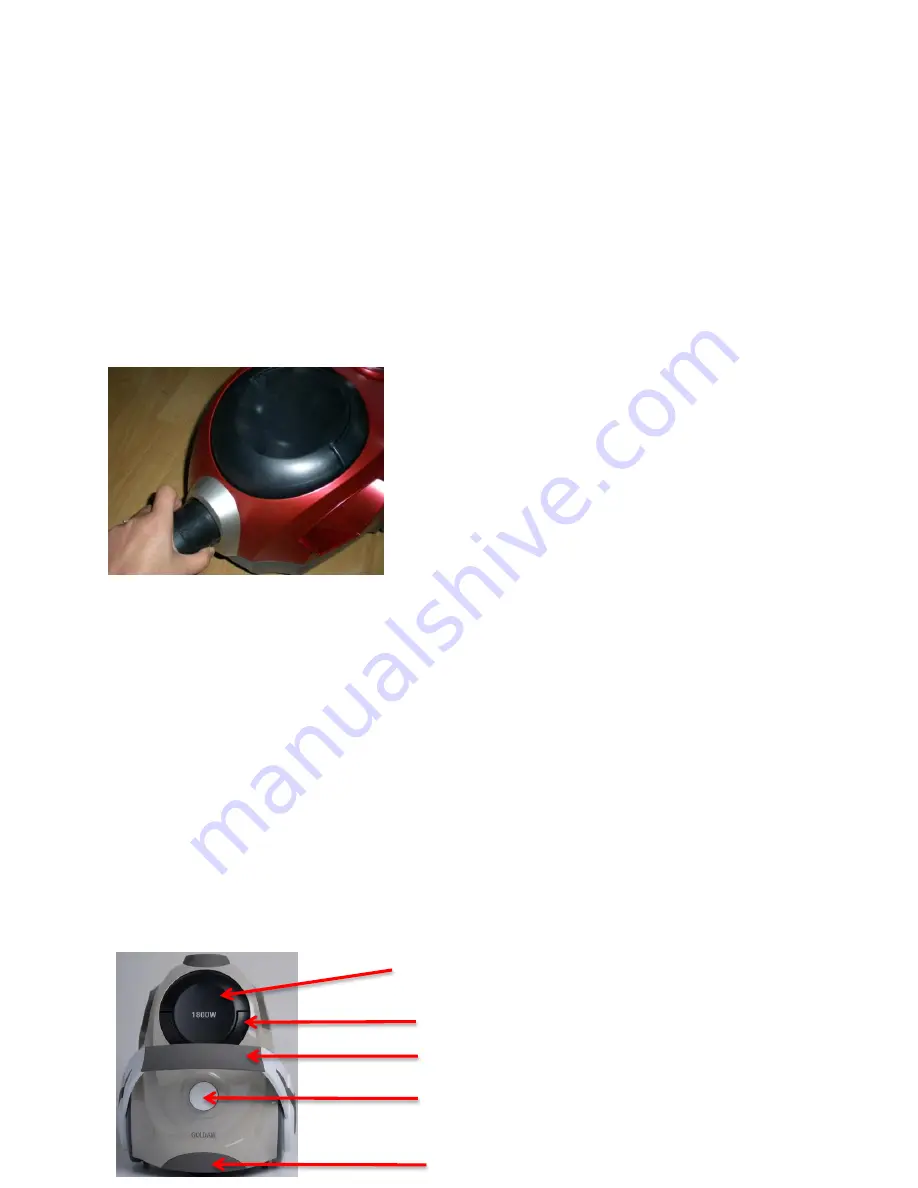
Dust Canister Handle
Handle
Cord Rewind
Dust Canister
Power Button / Control Dial


