18
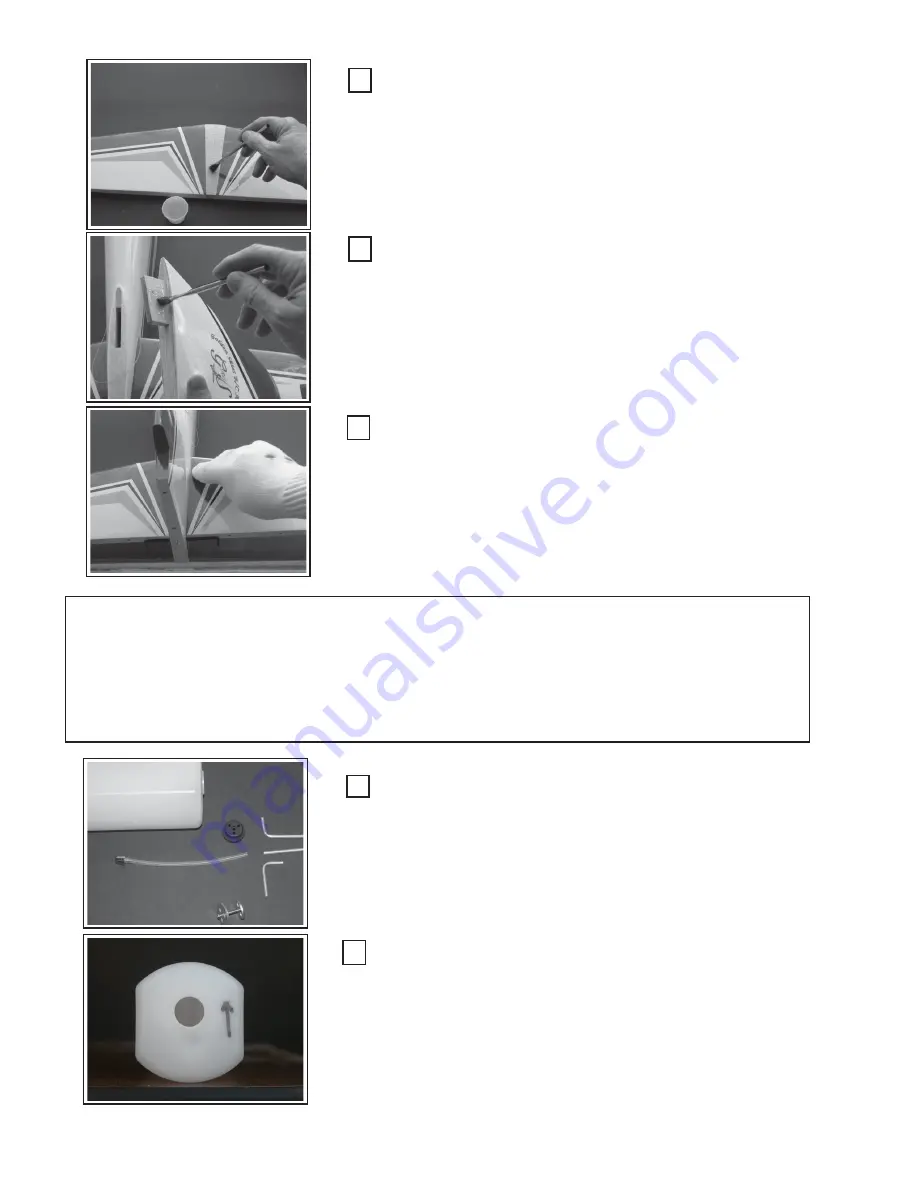
Install Horizontal Stabilizer:
Mix an ample amount of 30-minute epoxy and apply to the HS in
the bare-wood, mounting area. Apply epoxy to both top and bottom.
Slide the HS into place and align to the marks you made previously.
You may wish to recheck alignment then “pin” the HS in place for sta-
bility while the epoxy cures.
DO NOT apply epoxy to the slot in the
fuselage as it will smear epoxy on the HS as you slide it in place.
Recheck for alignment and “squareness”
Install the Vertical Stabilizer:
After dry fitting the VS and checking for fit and alignment, apply
30-minute epoxy to the “key-lock-tab” and both mating surfaces on the
VS and the fuselage. Apply epoxy in the fuselage key-slot all the way
down to the HS. Slip the VS into place, check again for alignment and
fit and pin in place as necessary. Recheck the HS alignment and VS
orthongonality with the wing in place. Adjust the HS & VS alignment to
the wing and fuselage as shown in figures 2 & 3 on page 44.
Clean-up:
Dampen a cloth with denatured alcohol and clean any epoxy that
may have squeezed out from the joints. Set aside to cure. Set the
fuselage level so that gravity applies equally to all portions of the tail
surfaces and thus does not effect the alignment while the epoxy is
setting up. Check the HS and VS alignment and adjust as necessary.
After the epoxy has cured, re-check the HS and VS alignment and fit.
Step 6: Fuel Tank Assembly:
Open the prepackaged fuel tank components and inventory the parts. Handy tools for
this assembly step are: 1) Dremel© tool with cut of wheel, tubing bender (See supple-
mental pictures 4 and 5)
Fuel Tank Parts:
The fuel tank parts are: Tank, metal tubes (2), stopper, fuel line,
clunk, front and rear stopper plates, machine bolt. There is a third metal
tube shown that is an optional fill line (not included). Bend one metal
fuel tube as shown (left). This is the vent or “muffler-Pressure” line.
The bend should reach from the stopper hole to just below the top of the
tank. The second straight-tube is for the fuel supply to the engine.
Bend the fill line (if used) to reach near the bottom of the tank.
Mark Fuel Tank Orientation:
Orient the tank as shown (left) and mark an arrow or other appro-
priate marking to denote the top of the tank. You may also mark the top
of the tank if you wish.


