20
Secure Ailerons:
Secure the ailerons in place with “Blue” masking tape in as many
places as necessary to achieve a good, low-gap, and parallel hinge line.
Repeat the aileron installation process on the other aileron.
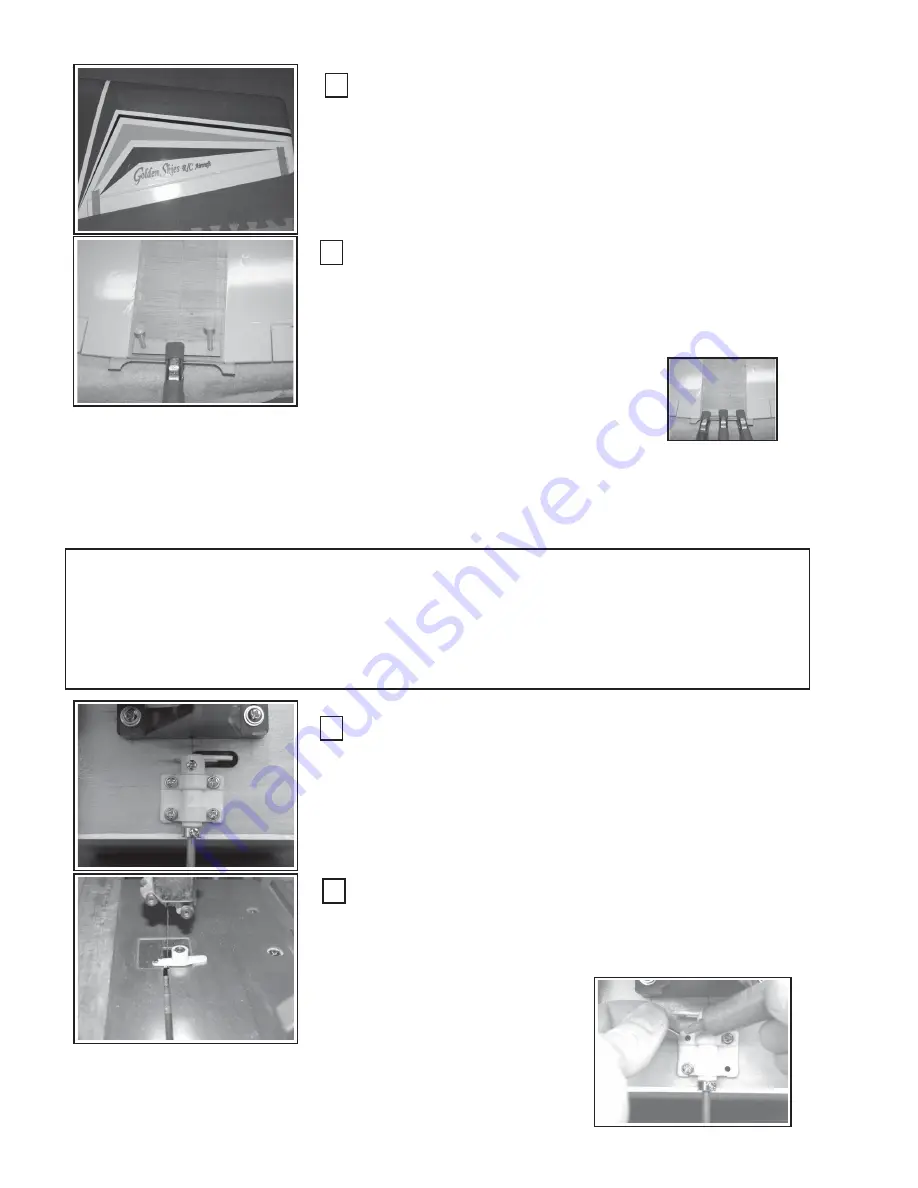
Attach Wing Bolt Plate:
Attach the wing-bolt-plate to the wing as shown using 30-minute ep-
oxy. Align the plate using the 1/4” nylon wing-bolts. Clamp in the middle,
remove the nylon bolts, and add two more clamps. Clean any epoxy from
the bolts as necessary.
Complete step 7 by attaching the elevators and the rudder to the horizontal stabilizer and
the vertical stabilizer respectively, using the same technique as used to attached the ailerons.
Allow time for the epoxy to cure. Be sure to epoxy in the U-horn to the two elevator halves.
Step 8: Nose Wheel Assembly:
Open the nose wheel assembly package. You will need: 1) nose landing gear as-
sembly, 2) Locktite ®, 3) # 2 phillips-head screwdriver, 4) Plastic push-rod and guide
sleeve.
Assemble the Nose Wheel Mount:
Assemble the nosewheel mount, control arm, wire landing gear and
collar to the fire wall as shown (left). Note the ‘tab’ on the main mount-
bracket is faced down. Mark the control arm on the left (as facing the
firewall, the one NOT in the push-rod hole area). You will be removing this
arm so take care in noting which one to cut off. The wire nose gear should
be flush with the top of the control arm.
Cut off the Nose-wheel Control-Arm:
Cut off the control-arm you marked in the step above using a saw,
diagonal cutter, or other tool as necessary. Smooth off the kerf to prevent
it from catching on anything. Reassemble using Locktite ®.


