Buzzaround XL_SG_REVA_100711
19
BUZZAROUND XL REPLACEMENT INSTRUCTIONS
DRIVEWHEEL REPLACEMENT
Tools needed: 19mm socket, frame blocks.
1. Place the freewheel lever into the engaged
position.
2. Remove the key from the key switch.
3. Place the rear of the scooter onto blocks.
1
4. Remove the hubcap.
5. Remove the nut and washer that fastens the
wheel to the axle.
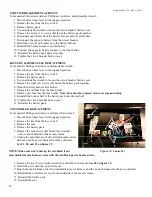
Make sure you retain the
axle key.
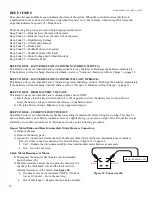
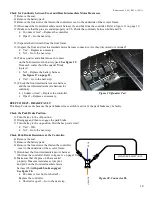
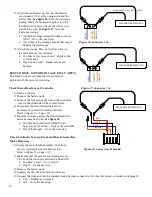
See #1 on figure 30.
6. Place a new wheel onto the axle.
Make
sure that the axle key is reinstalled in its
original position.
7. Reinstall the wheel cover and wheel hardware.
Figure 30. Drive Wheel Axle Key
8. Tighten securely.
9. Reinstall the hubcap.
DRIVETRAIN
REPLACEMENT
Tools needed: 19mm Socket
1. Place the freewheel lever in the engaged position.
2. Remove the key from the key switch.
3. Remove the seat.
4. Remove the battery pack.
5. Loosen the drive wheel nuts on both the left and right sides, which fasten the wheels to the axle.
6. Separate the front and rear frames.
7. Remove the drive wheels.
Make sure you retain the axle keys.
8. Remove the drive train from the rear frame.
9. Install the drive wheels onto the new drive train.
10. Install the new drive train onto the rear frame.
11. Connect the rear and front frames.
12. Reinstall the battery pack.
13. Reinstall the seat.
THROTTLE POT REPLACEMENT
1
Tools needed: Slotted and Phillips screwdrivers
1. Place the freewheel lever in the engaged
position.
2. Remove the key from the key switch.
3. Use a slotted screwdriver to remove the control
panel cover.
4. Remove the control panel from the tiller.
5. Disconnect the throttle pot from the control
panel harness.
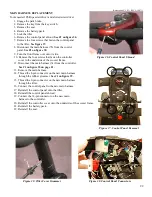
6. Remove the two screws that fasten the
throttle pot to the tiller.
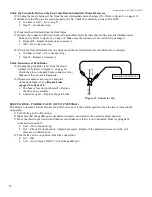
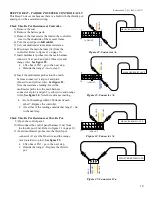
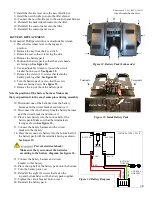
See #1 on figure 31.
2
7. Remove the two screws that fasten the
throttle lever to the throttle control lever
bracket and lift off the throttle lever.
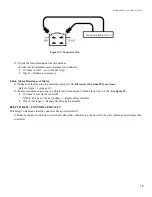
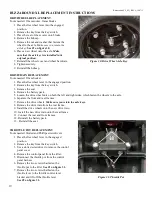
Figure 31. Throttle Pot
See #2 on figure 31.

