Technical Support:
OBJECTIVE
The objective of
KIT
1.
2.
3.
Technical Support:
OBJECTIVE
The objective of
CONTENTS
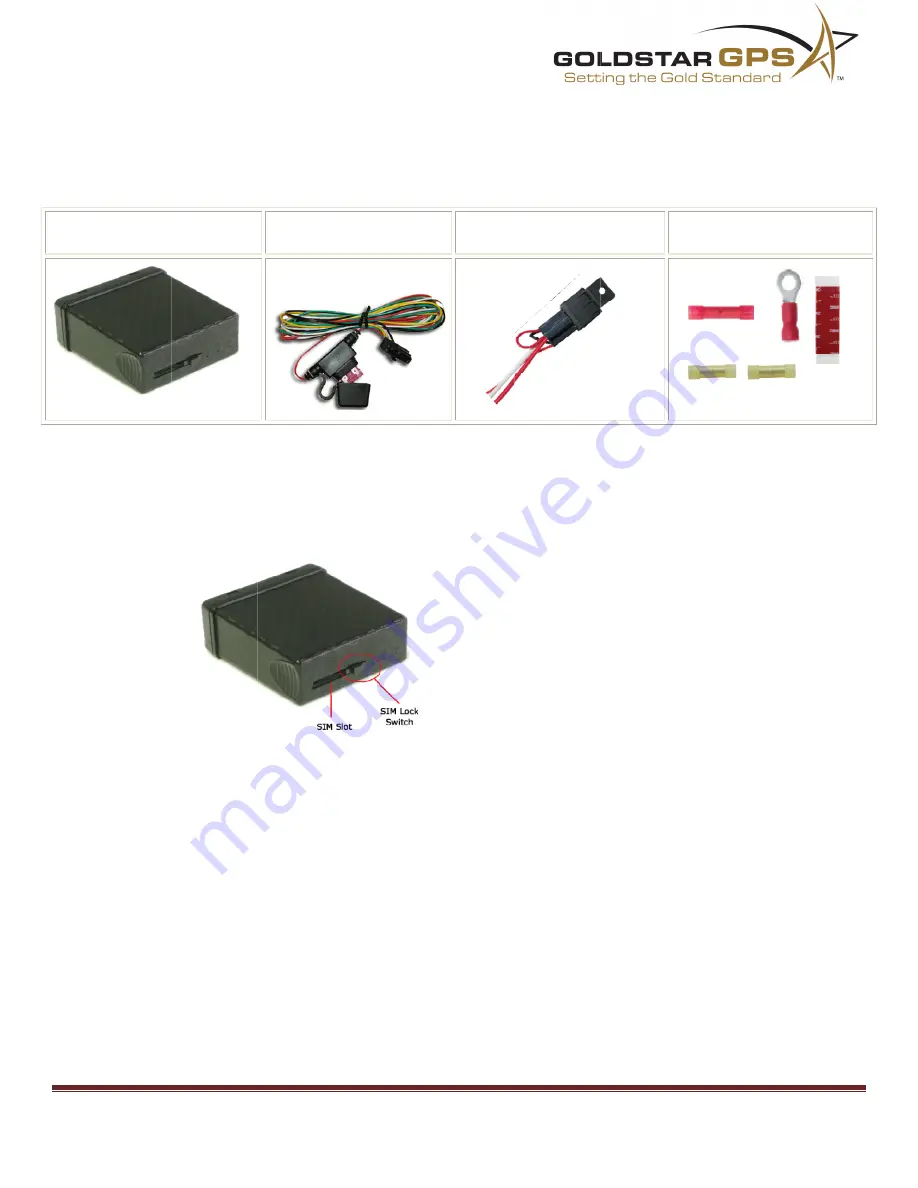
Cube II GPS
Tracking Device
1.
Select a suitable mounting location under the top dash pad
pad skin, above the g
2.
Ensure the “SIM Card Lock” is positioned to the lock per example below.
3.
WIRING CONNECTIONS. (Make connections, but do not plug into Device)
a.
BLACK WIRE
b.
RED WIRE
c.
WHITE
STARTER
d.
GREEN
W
e.
YELLOW WIRE
Technical Support: 877-563-
The objective of this document
ONTENTS
GPS
Tracking Device
Select a suitable mounting location under the top dash pad
pad skin, above the g
Ensure the “SIM Card Lock” is positioned to the lock per example below.
WIRING CONNECTIONS. (Make connections, but do not plug into Device)
BLACK WIRE
RED WIRE
12V+ Constant Input, c
WHITE WIRE
STARTER DISABLE
GREEN WIRE
Wire on the supplied
YELLOW WIRE
-0012
this document is to provide
Power Harness
Select a suitable mounting location under the top dash pad
pad skin, above the glove box, or above the gauge
Ensure the “SIM Card Lock” is positioned to the lock per example below.
WIRING CONNECTIONS. (Make connections, but do not plug into Device)
BLACK WIRE
chassis Ground, c
12V+ Constant Input, c
WIRE
connect this wire to the ignition wire
IRE
- (1 amp negative output)
on the supplied SPDT Relay and harness (See
YELLOW WIRE
- Test Wire for Starter Disable (optional)
is to provide user with information on how to install
Power Harness
Select a suitable mounting location under the top dash pad
box, or above the gauge
Ensure the “SIM Card Lock” is positioned to the lock per example below.
WIRING CONNECTIONS. (Make connections, but do not plug into Device)
chassis Ground, connect to a solid chassis ground.
12V+ Constant Input, connect to a constant 12volt power source.
this wire to the ignition wire
(1 amp negative output)
SPDT Relay and harness (See
Test Wire for Starter Disable (optional)
user with information on how to install
Relay & Socket
Select a suitable mounting location under the top dash pad
box, or above the gauge cluster.
Ensure the “SIM Card Lock” is positioned to the lock per example below.
WIRING CONNECTIONS. (Make connections, but do not plug into Device)
onnect to a solid chassis ground.
onnect to a constant 12volt power source.
this wire to the ignition wire
(1 amp negative output) Starter Disable output wire. Connect to the Orange
SPDT Relay and harness (See
Test Wire for Starter Disable (optional)
user with information on how to install
Relay & Socket
Select a suitable mounting location under the top dash pad. Ideal locations are directly under th
cluster.
Ensure the “SIM Card Lock” is positioned to the lock per example below.
WIRING CONNECTIONS. (Make connections, but do not plug into Device)
onnect to a solid chassis ground.
onnect to a constant 12volt power source.
this wire to the ignition wire.
Starter Disable output wire. Connect to the Orange
SPDT Relay and harness (See relay diagram)
Test Wire for Starter Disable (optional)
user with information on how to install the
Relay & Socket
. Ideal locations are directly under th
Ensure the “SIM Card Lock” is positioned to the lock per example below.
WIRING CONNECTIONS. (Make connections, but do not plug into Device)
onnect to a solid chassis ground.
onnect to a constant 12volt power source.
Starter Disable output wire. Connect to the Orange
diagram)
the Cube II GPS device.
Accessory Kit
. Ideal locations are directly under th
Starter Disable output wire. Connect to the Orange
Page 2
Cube II GPS device.
Accessory Kit
. Ideal locations are directly under the dash
Starter Disable output wire. Connect to the Orange
2
Starter Disable output wire. Connect to the Orange


