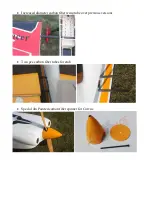
RUDDER INSTALLATION
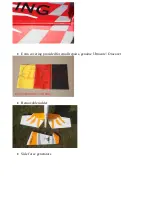
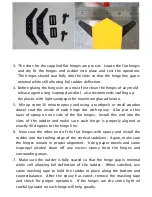
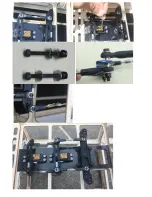
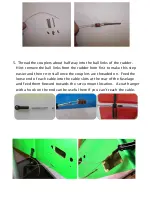
1. It is much easier to install the twin control horns before installing the
rudder. Locate the Carbon Fiber rudder control horns, ball links, and
associated bolts and nylon-insert lock nuts. Use some fine sandpaper
to roughen up the center areas of the two control horns so that the glue
adheres better. Using a sharp hobby knife cut the covering away from
the slots in the rudder and trial fit the two control horns.
2. Mix up some 30 minute epoxy and coat the inside of the slots and the
center of the control horns. Hint: a scrap piece of 1/16” ply, tooth pick,
or old hobby blade can be used to coat the inside of the rudder slots.
Slide the control horns in place and make sure they are centered
perfectly by using a ruler to measure between the pivot holes and the
hinge line. Wipe any excess glue off with isopropyl alcohol and paper
towels. Install the ball links, bolts and nuts into the holes to help assure
alignment of both control horns while the glue cures. Set aside until
cured. NOTE: There are pictures of different planes in this manual,
however, this plane’s rudder is assembled the same way.
Summary of Contents for Corvus Racer 540 120CC
Page 1: ...GoldWing RC Corvus Racer 540 120CC Giant Scale Aerobatic Aircraft...
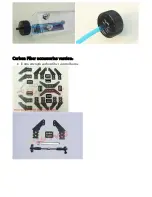
Page 10: ...Carbon Fiber accessories version Extra strength carbon fiber control horns...
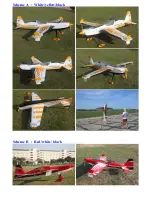
Page 13: ...Scheme A White yellow black Scheme B Red white black...
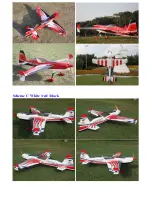
Page 14: ...Scheme C White red black...
Page 21: ......
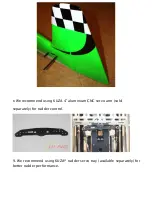
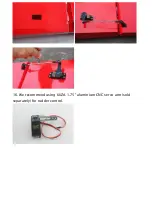
Page 23: ...16 We recommend using KUZA 1 75 aluminium CNC servo arm sold separately for rudder control...
Page 27: ......
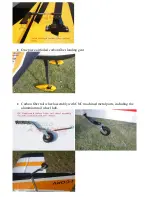
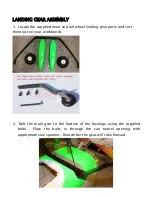
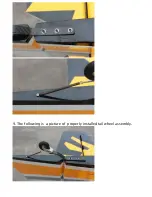
Page 30: ...9 The following is a picture of properly installed tail wheel assembly...
Page 60: ...GoldWing RC www goldwingrc com...

