7. Check the operation of the rudder using your radio and make sure
there is no binding and the cables are adjusted properly. You may have to
tighten the cables after a few flights as they may stretch slightly from the
initial installation.
WINGS ASSEMBLY
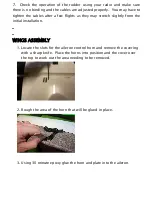
1. Locate the slots for the aileron control horn and remove the covering
with a sharp knife. Place the horns into position and the cover over
the top to work out the area needing to be removed.
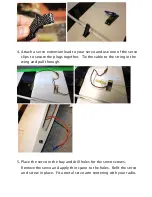
2. Rough the area of the horn that will be glued in place.
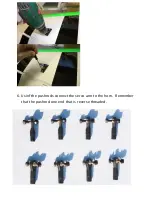
3. Using 30 minute epoxy glue the horn and plate into the aileron.
Summary of Contents for Corvus Racer 540 120CC
Page 1: ...GoldWing RC Corvus Racer 540 120CC Giant Scale Aerobatic Aircraft...
Page 10: ...Carbon Fiber accessories version Extra strength carbon fiber control horns...
Page 13: ...Scheme A White yellow black Scheme B Red white black...
Page 14: ...Scheme C White red black...
Page 21: ......
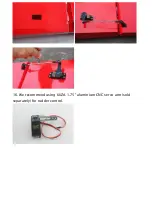
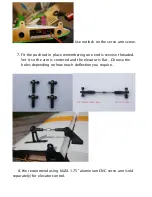
Page 23: ...16 We recommend using KUZA 1 75 aluminium CNC servo arm sold separately for rudder control...
Page 27: ......
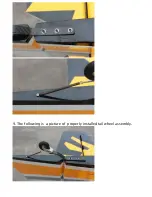
Page 30: ...9 The following is a picture of properly installed tail wheel assembly...
Page 60: ...GoldWing RC www goldwingrc com...

