Calibration Using Calibration Cross CC 30
Sensor Calibration
Page 34 (40)
at
os
_cs
_r
ev
01_en
_r
ev
-c
2012
-09
-03
The calibration cross also contains the information of two scale bars
(one on each cross axis). The scale bar information is a specified dis-
tance between defined points.
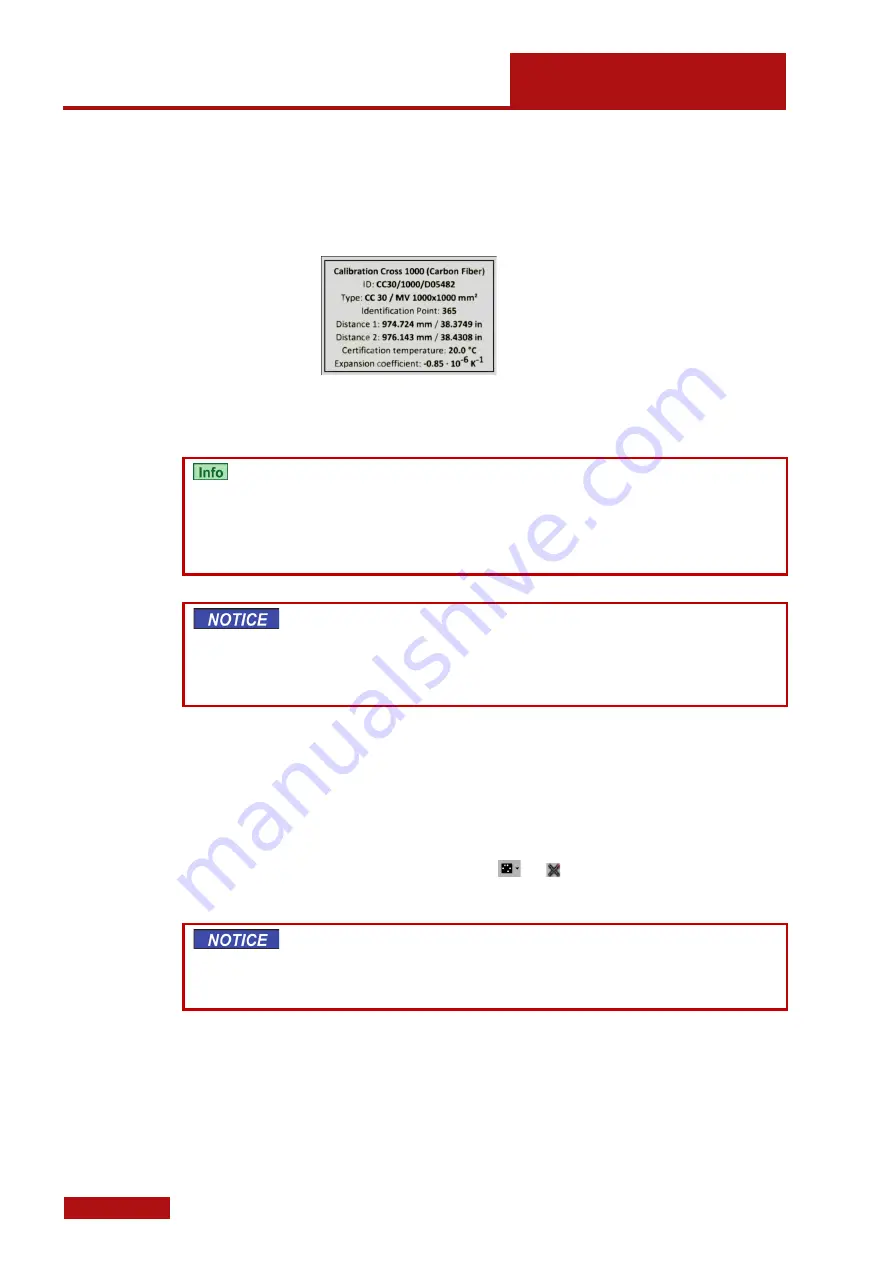
For each calibration cross there is the calibration certificate with the
calibration data. You can also see the calibration data on the rear side
of the cross.
Calibration date example on the rear side of a CC 30 calibration cross
10.4.1
Handling Instructions for Calibration Cross CC 30
The point surface of the calibration cross is very sensitive. Therefore,
never touch the surface directly with your hands.
Clean the surface of the cross using the enclosed microfiber cloth
from the standard tool box. Wipe the surface gently only. Never exert
any pressure.
The calibration cross must be totally unfolded.
If you use multiple ATOS sensors, please check that your calibration
object matches the calibration data you entered in the software.
Make sure that the calibration cross does not touch the floor during
the calibration process as otherwise deformation effects may lead to
negative impacts during the calibration.
10.4.2
Entering Calibration Data into ATOS
When using a measuring volume for the first time, you need calibrate
it and the corresponding calibration data need to be entered into the
ATOS software. If you purchased the measuring volume together with
the complete ATOS system, the calibration data is already entered.
Choose
Edit
►
Application Settings
►
Preferences
►
Templates
►
Calibration objects
►
►
Create Cross (Coded)
►
...
.
Enter all required parameters of the calibration object into the software
dialog.
Please make sure that all calibration data are entered correctly into
the ATOS software!
Otherwise your measuring system may probably provide inac-
curate measuring data!


