Sensor Calibration
Calibration Using Calibration Cross CC 30
Page 37 (44)
at
os
2-
3_r
ev02_
so
-40
0-
800
-v7
-5
-0_en_r
ev
-b
2012
-01
-03
9.4
Calibration Using Calibration Cross CC 30
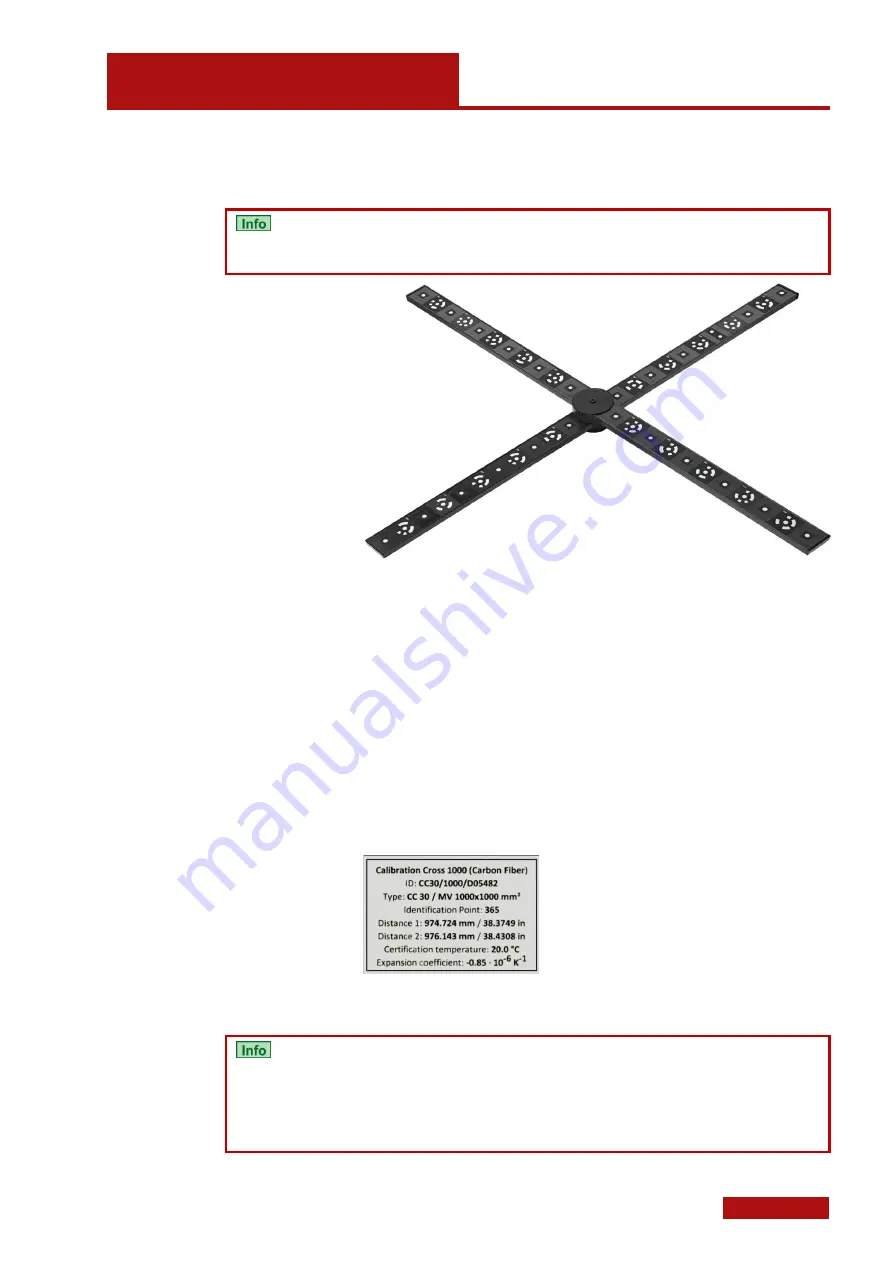
This section describes the calibration process using a calibration
cross.
Due to the size of the cross you can only calibrate the sensor in a ho-
rizontal position. Therefore it is useful to mount the calibration cross
on a stand.
Calibration cross CC 30
During calibration, the sensor configuration is determined. This means
that the camera positions and the orientation of the cameras to each
other are defined, and the image characteristics of the cameras are
determined. Based on these settings, the software calculates from the
points of the calibration object in the 2D camera image their 3D coor-
dinates. The calculated 3D coordinates are then calculated back again
into the 2D camera images. For the position of the reference points,
this results in the so-called reference point deviation (intersection er-
ror).
The calibration cross also contains the information of two scale bars
(one on each cross axis). The scale bar information is a specified dis-
tance between defined points.
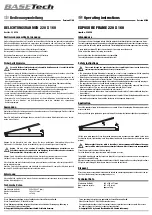
For each calibration cross there is the calibration certificate with the
calibration data. You can also see the calibration data on the rear side
of the cross.
Calibration date example on the rear side of a CC 30 calibration cross
9.4.1
Handling Instructions for Calibration Cross CC 30
The point surface of the calibration cross is very sensitive. Therefore,
never touch the surface directly with your hands.
Clean the surface of the cross using the enclosed microfiber cloth
from the standard tool box. Wipe the surface gently only. Never exert
any pressure.
The calibration cross must be totally unfolded.


