background image

3

IMPORTANT NOTES:

To receive maximum performance levels from your unit, see
the following notes:

1. Operating your unit in conditions other than those sug-

gested by the manufacturer may cause activation of safety
features that may cause the unit to function abnormally.

2. If the unit operates in conditions in excess of 80% rela-

tive humidity, condensation may collect on the surface
of the unit.  If this should happen, set the vertical air flow
louver to its maximum angle (vertical to the floor) and set
fan mode on HIGH.

MANUAL OPERATION

Manual operation can be used temporarily if the remote con-
trol is disabled or maintenance is necessary.

HIGH VOLTAGE! 

Disconnect ALL power before servicing.
Multiple power sources may be present.
Failure to do so may cause property damage,
personal injury or death.

NOTE:

 The unit must be turned off before operating the manual

control button. If the unit is operational, press and hold the
manual control button until the unit is completely turned off.

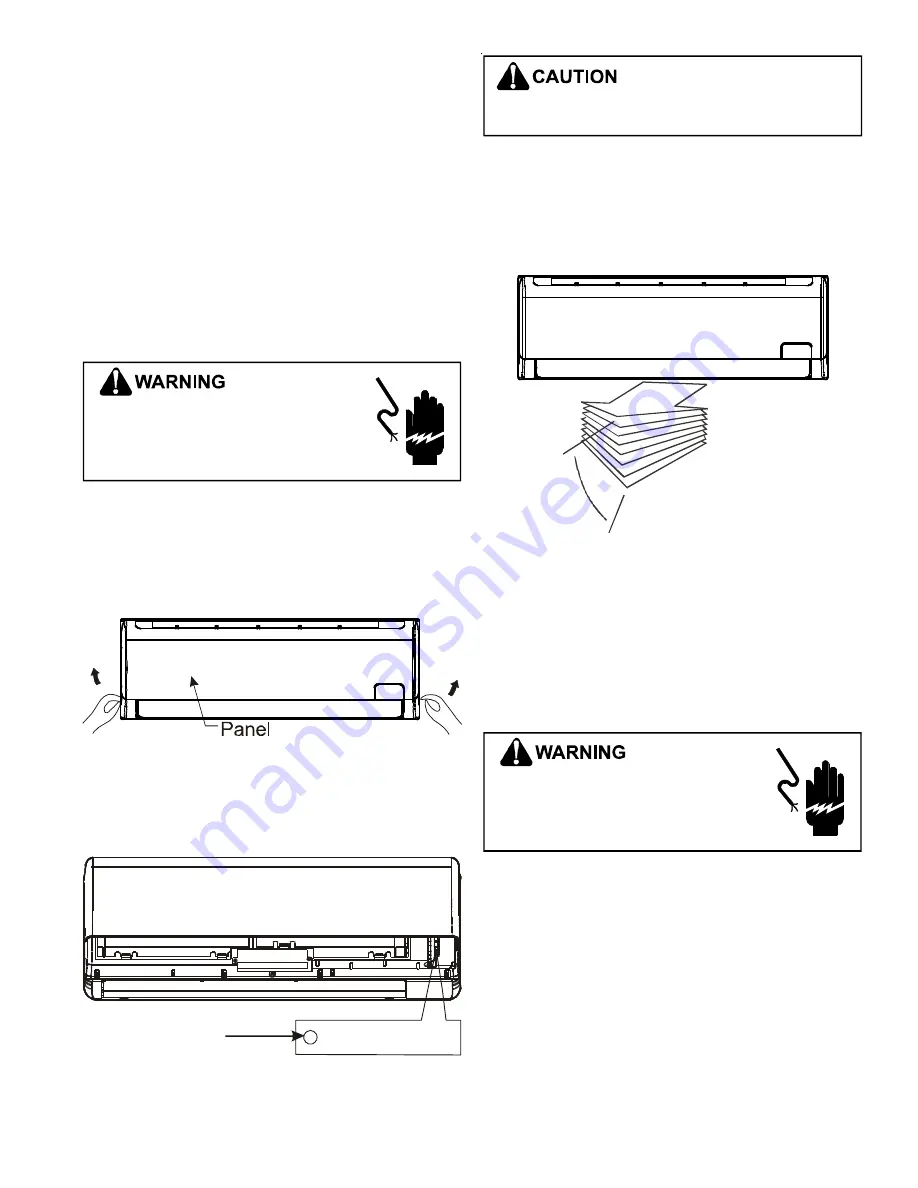
1. Open and lift up the front panel until a clicking sound is

heard and the panel remains fixed.

2. Press the manual control button once and the unit will go

into AUTO operation.  Press the manual control button
twice within five seconds and the unit will go into COOL
operation.

AUTO/COOL

Manual
Control Button

3. Close the panel to its original position.

T

HE

 MANUAL CONTROL B

UTTON


IS


USED


FOR


TESTING

PURPOSES


AND


IS


ONLY


TO


BE


USED


TEMPORARILY

.

To restore remote control operation, use the remote control
directly.

AIRFLOW DIRECTION CONTROL

Adjusting the unit’s airflow direction improperly may cause
uneven room temperature.

Range

The horizontal louver is adjusted with the use of the remote
control.  The vertical louver is manually adjusted.

To set the vertical airflow direction (up - down):

To perform this function, the unit must be in operation.  By
using the remote control, the horizontal louver can be moved
a range of 6° for each press or swing up and down automati-
cally.  Refer to the Remote Control section in this manual for
more details.

To set the horizontal airflow direction (left-right):

HIGH VOLTAGE! 

Disconnect ALL power before servicing.
Multiple power sources may be present.
Failure to do so may cause property damage,
personal injury or death.

Disconnect power to the unit. Move the vertical louver manu-
ally to adjust the air flow in the direction you prefer.

For some models, the louver can be adjusted by using the
remote control.  Please refer to the Remote Control section
in this manual for more details.

Summary of Contents for HG31ES

Page 1: ...E OR SERVICE PROCEDURES IF YOU PERFORM SERVICE ON YOUR OWN PRODUCT YOU ASSUME RESPONSIBILITY FOR ANY PERSONAL INJURY OR PROPERTY DAMAGE WHICH MAY RESULT TO PREVENT THE RISK OF PROPERTY DAMAGE PERSONAL INJURY OR DEATH DO NOT STORE COMBUSTIBLE MATERIALS OR USE GASOLINE OR OTHER FLAMMABLE LIQUIDS OR VAPORS IN THE VICINITY OF THS APPLIANCE TO PREVENT HEAT RELATED ILLNESS OR DEATH DO NOT USE THIS DEVIC...

Page 2: ...nd familiarize yourself with all the features and how they operate INDOOR UNIT defrost auto timer ion Horizontal air flow grille Connecting pipe 6 OUTDOOR UNIT DISPLAY PANEL INDICATOR LIGHTS INDICATOR LIGHTS AUTO Indicator Lighted when the unit is in AUTO operation OPERATION Indicator Lighted when the unit is in operation DIGITAL Display When the air conditioner is in operation the digital display...

Page 3: ...operation Press the manual control button twice within five seconds and the unit will go into COOL operation AUTO COOL Manual Control Button 3 Close the panel to its original position THE MANUAL CONTROL BUTTON IS USED FOR TESTING PURPOSES AND IS ONLY TO BE USED TEMPORARILY To restore remote control operation use the remote control directly AIRFLOWDIRECTIONCONTROL Adjusting the unit s airflow direc...

Page 4: ...automatic and is dependent upon the tempera ture you have selected and the room s temperature The unit will control the room temperature automati cally at approximately the temperature point you se lected If the AUTO mode isn t a comfortable setting for your room you can manually select the desired settings SLEEP Operation When the SLEEP button on the remote control is pressed during Cooling Heati...

Page 5: ...pe unit with a clean soft dry cloth Never use bleach or abrasives on the unit NOTES A cloth dampened with cold water may be used on the indoor unit if it is very dirty Dry with a soft cloth Do not use chemically treated cloths or dusters to clean the unit Do not use benzine thinner polishing powder or simi lar solvents for cleaning These may cause the plas tic surface to crack or warp Water hotter...

Page 6: ...e remote control 3 The outdoor unit requires periodic maintenance and clean ing and should be done by a qualified service technician Contact your dealer or servicer Checks Before Operation HIGH VOLTAGE DISCONNECT ALL POWER BEFORE SERVICING MULTIPLE POWER SOURCES MAY BE PRESENT FAILURE TO DO SO MAY CAUSE PROPERTY DAMAGE PERSONAL INJURY OR DEATH NEVER USE WATER TO CLEAN THE INSIDE OF THE UNIT EXPOSU...

Page 7: ...e louver returning to its original position 4 Dust is blown from the unit This is a normal condition when the air conditioner has not been used for a long time or during the first use of the unit 5 An unusual smell comes from the indoor unit This is caused by the indoor unit giving off smells ab sorbed from building material furniture or smoke 6 The air conditioner migrates to FAN ONLY mode from H...

Page 8: ...e setting is incorrect Fuse blows frequently or circuit breaker trips frequently Water liquid or other foreign objects penetrate the unit The remote control doesn t work or works abnormally If operation indicator or other indicators flash rapidly disconnect the power and then reconnect it Contact service if the rapid flashes continue after restarting If one of the following codes appear on the dis...

Page 9: ...tage of CPC Emitting Signal Transmitting Distance 8m 26 23 F 140 F 5 C 60 C Environment 2 0V Model PERFORMANCE FEATURES 1 Operating Modes AUTO COOL DRY HEAT cooling only model without heat and FAN 2 Timer Setting Function in 24 hours 3 Indoor Setting Temperature range 62 F 86 F 17 C 30 C 4 Full function LCD Liquid Crystal Display REMOTE CONTROL FEATURES O Figure 1 ...

Page 10: ...ime to 0 0 11 SLEEP Button Press this button to go into the Energy Saving operation mode Press again to cancel This func tion can only be used on COOL HEAT and AUTO modes and will maintain the most comfortable temperature for you NOTE While the unit is running under SLEEP operation mode pressing the MODE FAN SPEED or ON OFF button will cancel the SLEEP operation mode 12 TIMER OFF Button Press this...

Page 11: ...Do not dispose batteries as unsorted municipal waste Collection of such waste separately for special treat ment is necessary AUTOMATIC OPERATION Turn on the power The OPERATION indication lamp on the display panel of the indoor unit will begin to flash and will turn off after flashing 6 times 1 Use the MODE button to select AUTO 2 Push the TEMP button to set the desired temperature within a range ...

Page 12: ...adjust the TIMER ON to start the operation B Push the TIMER ON button again to set the time you want to start the operation C Push the TIMER OFF button The remote control will show TIMER OFF the last set time for STOP opera tion and the signal h will be shown on the DIGITAL display area You are now ready to reset the time to STOP operation D Press the TIMER OFF button again to set the time you wan...

Reviews: