3.1 Connecting Your Karaoke Machine to a TV
Quick Setup
3
An audio/video (AV) cable is supplied to give you the option of connecting
the unit to an external amplifier and/ or a TV to display lyrics on-screen. The
cable has three RCA jacks at each end. White and Red are for left and right
audio connections and the Yellow is for connecting the video. Some
projection TV sets do not display the standard blue background used on
most CD+Gs properly. If the background colour is inconsistent or flashing,
please try connecting your Karaoke Machine to a standard television.
3.2 Display Lyrics on a TV Screen
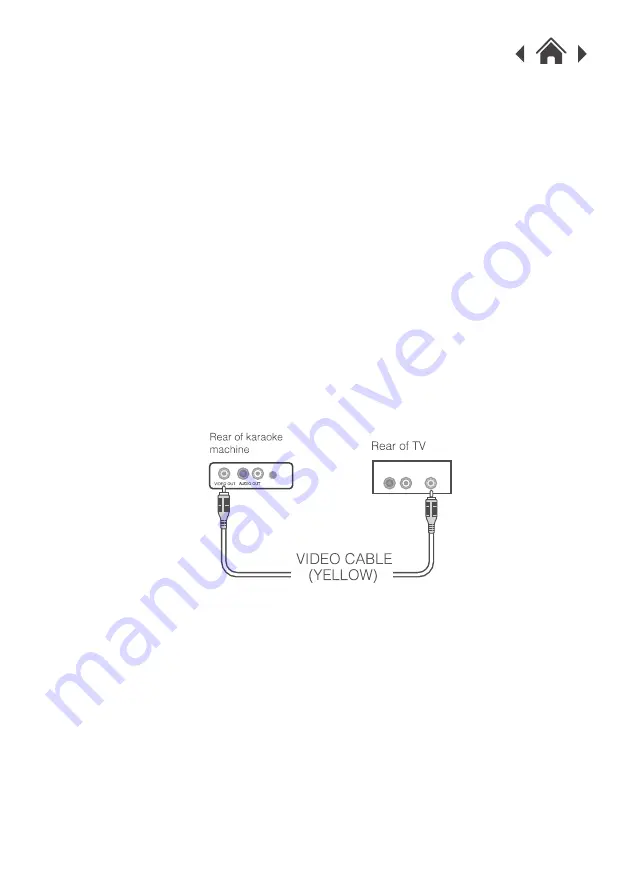
Connect the YELLOW (video) jack of the supplied AV cable to the 'VIDEO
OUT' socket on the rear of the karaoke machine.
1.
Connect the other end of the cable to a 'VIDEO INPUT' on your TV.
2.
Select the appropriate video channel on your TV to view the lyrics
on-screen. This connection will send lyrics (CD+G) only to the TV screen.
All audio will be output from the karaoke machine.
3.
3.3 TV Connection for Audio & Video
Connect the YELLOW (video) jack of the supplied AV cable to the 'VIDEO
OUT' socket on the rear of the Karaoke Machine.
1.
Connect the other end of the cable to a 'VIDEO INPUT' on your TV.
2.
Select the appropriate video channel on your TV to view the lyrics
on-screen. This connection will send lyrics (CD+G) only to the TV screen.
3.
Connect the other end of the cables to the RED & WHITE stereo inputs on
your TV. Take care to match the socket colours to the jack colours & that
the red, white & yellow sockets are all from the same TV input.
4.
AUDIO IN
VIDEO IN


