


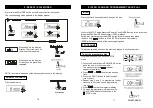

Ensure the hold switch is off.
1. Connect the earphone to the
EARPHONE socket.
2. Slide the OPEN switch to open the
CD compartment lid.
3. Adjust the VOLUME to minimum.
4. Insert the disc with the label side
Facing up.Push down in the centre
until disc is locked in place.
5. Close the lid securely until a click is
heard.
6. Press the PLAY button to start
playing.
Note:
J-ASP function will
automatically engage.
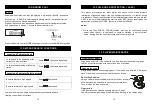
To Emphasize the bass sound
Set the BASS BOOST (DBBS) switch
to the ON position.
Note:
The bass boost performance will be
dependant on the VOLUME control
setting.
Turning Power on and off
This unit has no ON/OFF switch.
To turn on: Press
PLAY/PAUSE
(playback Starts)
To turn off: Press
STOP button
once to standby mode.
Press
STOP button
twice, to turn off the
power immediately.
Auto power - off function
When the unit is stopped (standby
mode) for approximately 1 minute,
the power is automatically turned off.
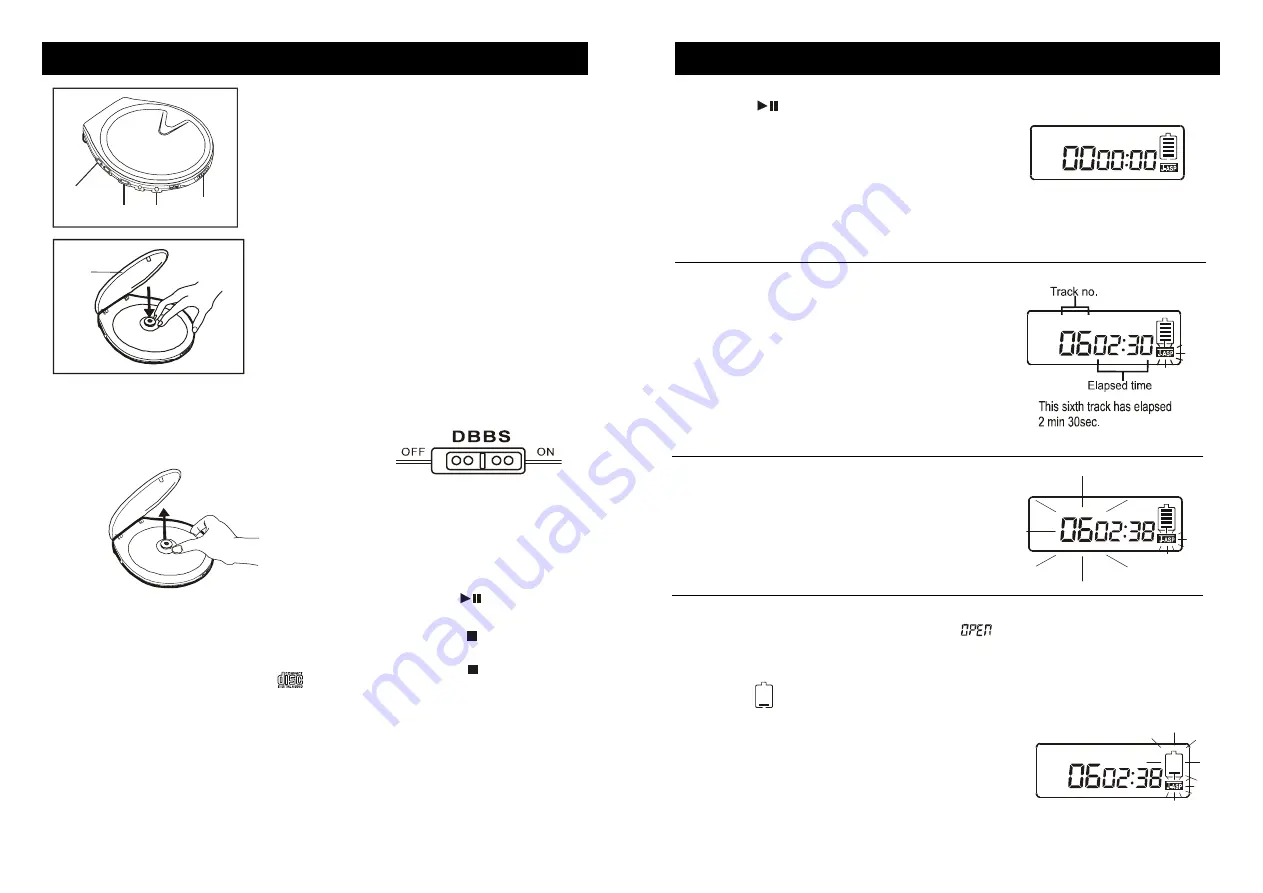
Remove the disc
Hold the edge and gently press the
centre pivot as illustrated, then pick
up the disc.
CAUTION:
Wait for the disc to stop rotating before
sliding the OPEN switch.
NOTE:
Only compact disc marked with the
logo are guaranteed to work on this player.
Home recorded disc's (CDR/CDRW )
recorded on home PC's may not play
or operate correctly. This unit can
play 3" (8cm) single CD's without an
adaptor. Do not use a CD
single adaptor for these discs.
8
When the
is pressed at initial start up
The display will briefly show as fig 1
then proceed to start playback.
Fig1
To review the total number of tracks on
the disc and total disc times, press the
STOP button once.
Note: The JOGGA buffer will fill automatically.
During PLAY mode
The track number and the elapsed playing
Time are displayed.
During PAUSE mode
The track playback is paused, the elapsed
time is flashing.
Note:
When the lid is opened during play mode "
" shows in the display indicating
the door is open.
Note:
A flashing
indication appears on the display when the batteries need to
be changed or recharged.
9
6. BASIC DISC PLAY
7.LCD DISPLAY INFORMATION
1
2
3
6
4
5


