10
5
Start
Remove your television carefully from its box.
You can keep the packaging of your television
to use in future.
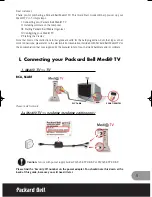
Contents of the box
Power cable
Remote control
2 batteries
Note: Scart, HDMI, VGA and PHONO
cables are not supplied with the TV.
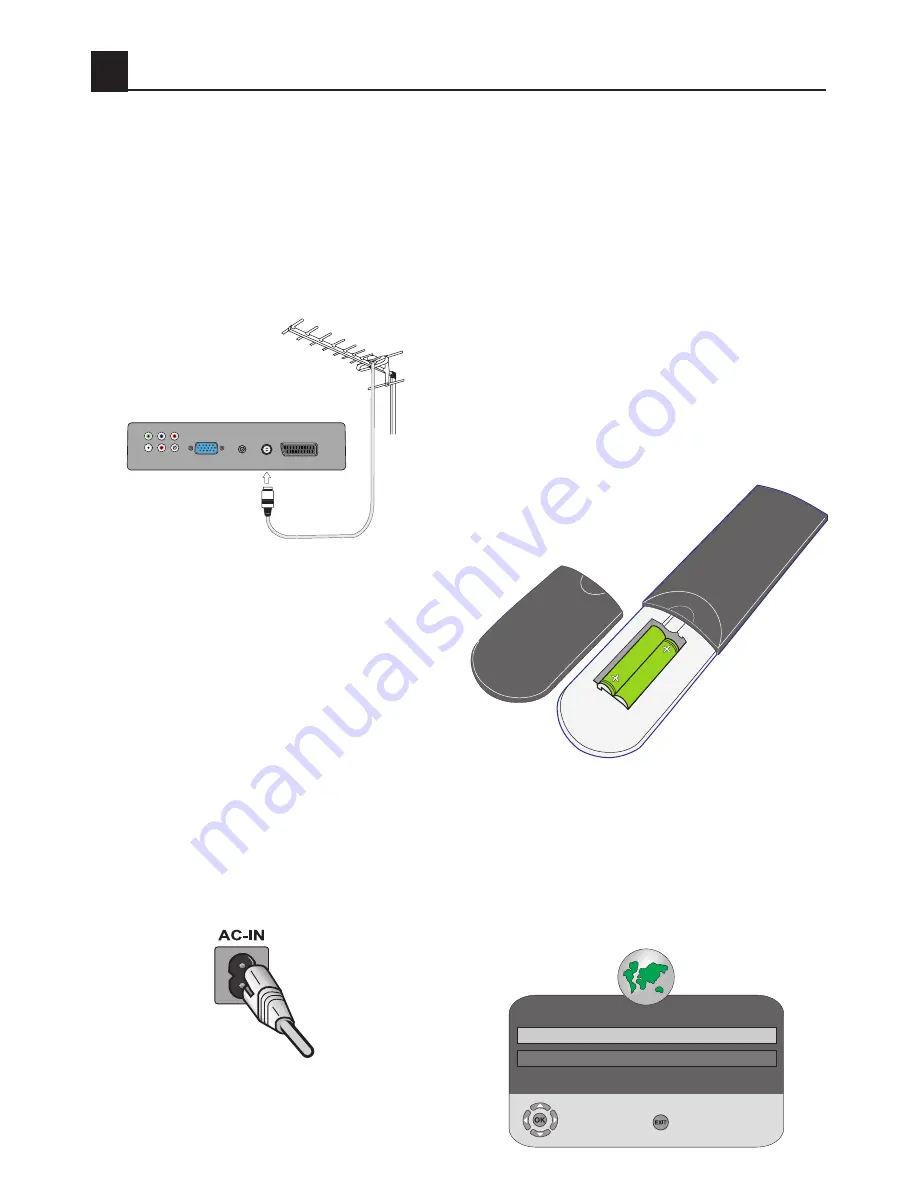
5.1-Aerial connection
Connect the aerial plug directly to the aerial
socket located on the back panel of the TV.
Motorized vehicles, energy lines and
telecommunication lines affect your reception.
Therefore, be careful to install your aerial
away from such obstructions. Do not make
your aerial cable longer than required and do
not coil it. Make sure that it is not pinched
passing through a window or door. Your
aerial and cable might be affected by natural
phenomena such as rain, wind, smoke and
humidity over time. Periodically check your
aerial and cable feed.
5.2-Powering on your TV and
the initial use
1.
Connect the supplied mains ceble to the
mains input socket located on the back panel
of the TV.
3.
To power on your television, press any
numerical key or
P+
or
P-
keys on the remote
control.
Note:
If you are not going to use your
television for a long time, unplug its power
cable from the socket.
5.3-Batteries
Open the lid of the battery compartment
and make sure that you have placed the
batteries in the correct direction. For this
remote control, UM-4, IEC R03 or AAA 1.5 V
batteries are suitable.
Do not throw your old batteries into the fire,
discard them in a dedicated waste area for
this purpose.
Do not mix used batteries with new ones or
different types of batteries together.
Typical remote range is 8 Metres when used
directly in front of the TV. The range will be
reduced when used at an angle to the TV.
5.4-Turning on your television
for the first time and tuning
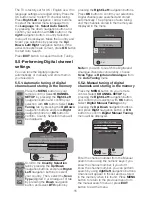
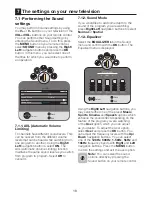
Installation Guide
menu will be displayed on
the screen when you turn on your television
for the first time.
Installation Guide
Language Settings
English
Auto tuning
Select
Exit
2.
Connect the mains cable / plug a 230VAC
mains socket ensuring that the socket is
switched on.
Summary of Contents for GML26W37HDF
Page 35: ...Y3B 801...


