background image

AUTOMATIC LEVEL CONTROL (ALC)

NOTE:

This set has the latest Automatic Level Control circuitry, therefore, it is not necessary to
adjust the VOLUME control when recording. This circuit automatically records at the correct
level and prevents over loading.

While recording you may adjust the VOLUME control as required without affecting

the recording operation.

Press the CD button to select CD operation.
Load a cassette into the cassette compartment with the full reel on the right.
Insert the compact disc from which you wish to record and close the CD door.

Œ



Ž



‘
’
“

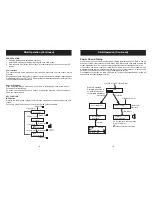
TO RECORD FROM THE BUILT-IN RADIO

TO RECORD FROM COMPACT DISC

/

(

)

Œ



Ž





Press the RADIO button to select the radio operation and tune to the desired station.
Load a cassette into the cassette compartment, with the full reel on the right.
Press the cassette RECORD button until it locks in the down position PLAY button is

depressed at the same time) and recording will start.
To end the recording press the cassette STOP EJECT button. If this button is not
pressed the recording will stop automatically when the end of the tape is reached.

To listen to your recording, press the TAPE button, press the cassette REWIND button

until the start point of the recording is reached, then press the STOP button and the PLAY
button. Use the VOLUME control to adjust the playback level.

On each end of the tape there is a tape leader and no recording will take place over
this portion of the tape. If you wish recording to take place as soon as the RECORD
button is pressed,

ensure that the leader is wound past the record head.

Press the cassette PAUSE button on the tape deck.

Press the cassette RECORD and PLAY buttons so they lock in the down position (The

unit is now in recording standby mode).
Start the CD playing by pressing the CD PLAY PAUSE

button.

Press the cassette PAUSE button again and then recording begins.

To end the recording, press the cassette STOP/EJECT button.

NOTE:

(

please

/

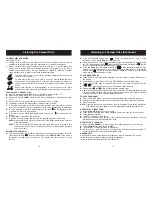
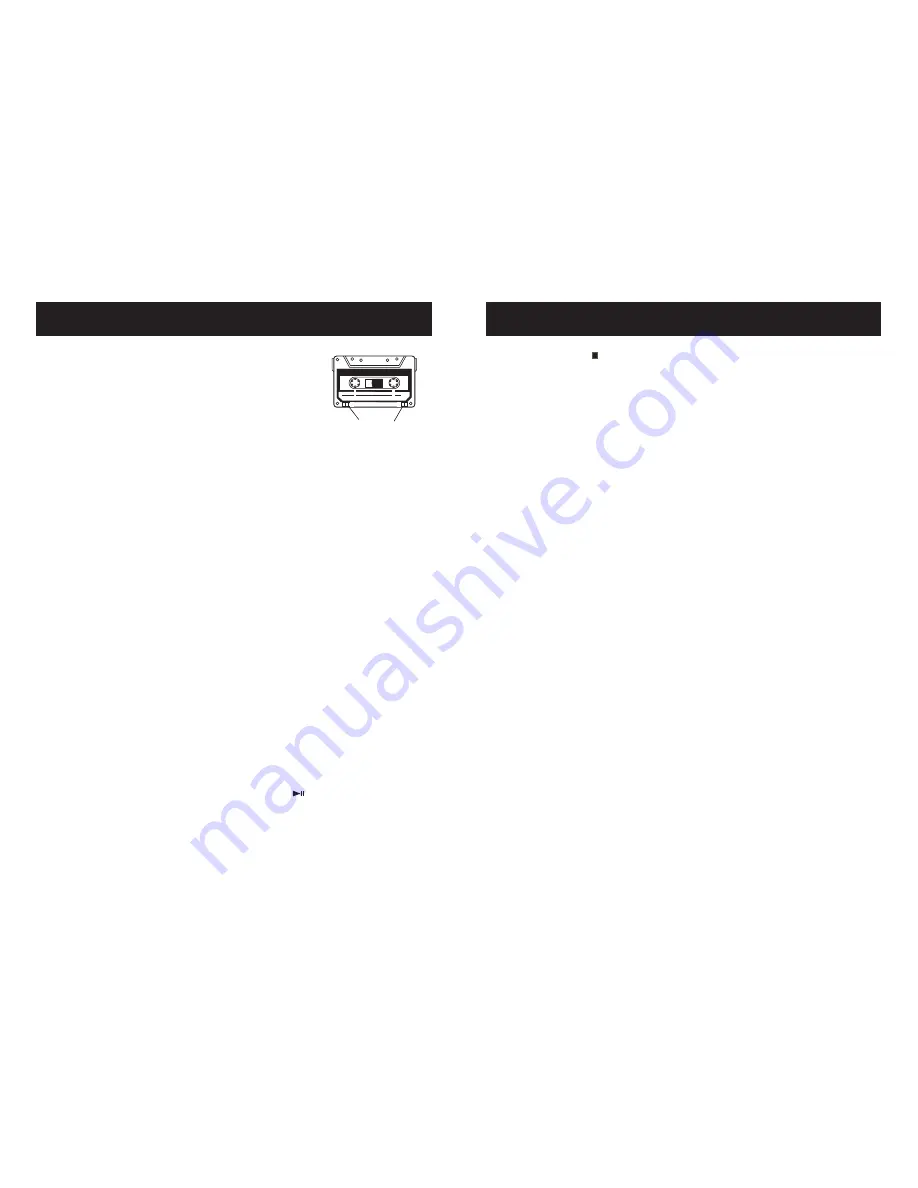
To record on a protected cassette, seal the open slots
with adhesive tape.

Adhesive tape

Cassette Operation (Continued)

Cassette Operation (Continued)

”
•

Œ



Ž





Press the Tape button .

Load the cassette which you wish to record on into the guides on the cassette door

(Full reel on the right hand side)
Press the cassette RECORD button and speak into the built-in microphone on the top
right of the unit.

Press the CD STOP (

) button and then press the Tape button.

To listen to your recording, press the REWIND button to return to the point where the

recording started and then press the PLAY button.

Press the STOP EJECT button to end the recording.

Rewind the tape and then press the PLAY button to listen to your recording.

If the sound becomes muffled or in any case after every 15 hours of op ration, clean the
pinch roller, capstan, erase head and record play head by using a tape cleaning cassette
available from all good audio stores.

Never touch any of the parts described above with a metal object. Do not insert a cassette

until the cleaned parts are completely dry.

MAINTENANCE

CAUTION

TO RECORD FROM THE BUILT-IN MICROPHONE

.

/

e

/

14

Goodmans Product Information Helpline 0870 873 0080

15

Goodmans Product Information Helpline 0870 873 0080

Summary of Contents for GPS285DAB

Page 1: ...o a Compact Disc Cassette Operation DAB Operation Product Specifications Goodmans Product Information Helpline 0870 873 0080 1 Goodmans Product Information Helpline 0870 873 0080 On unpacking the unit the following should be located within the packing 1 x Main Unit 1 x Remote control 1 x Detachable mains power cord with 3 pin plug 1 x Digital radio questionaries 1 x Digital one station leaflet 1 x...

Page 2: ...ub 120 Rock band concert thunderclap 140 Gunshot 2 feet away 180 Rocket Launching pad Level dB Example Important Safeguards PRE FITTED MAINS PLUGS WARNING For your convenience a mains plug has been fitted to this appliance For your safety please observe the following information 1 Should the fuse in the plug remove the plug from the wall socket and replace the fuse with a 3 Amp ASTAapproved to BS ...

Page 3: ...Don t allow electrical equipment to be exposed to rain or moisture Never let anyone especially children push anything into holes slots or any other opening as this could result in a fatal electric shock Never guess or take chances with electrical equipment of any kind It is better to be safe than sorry TO REDUCE THE RISK OF FIRE OR ELECTRIC SHOCK DO NOT EXPOSE THIS APPLIANCE TO RAIN OR MOISTURE DA...

Page 4: ...7 48 49 50 1 EARPHONE SOCKET 2 SETUP BUTTON 3 INFO BUTTON 4 AUTO TUNE BUTTON 5 BASS BOOST BUTTON 6 FOLDING HANDLE 7 TAPE INDICATOR 8 CD DOOR 9 FM TELESCOPIC ROD AERIAL 10 CD REPEAT BUTTON 11 CD PROGRAM BUTTON 12 CD STOP BUTTON 13 MW INDICATOR 14 FM INDICATOR 15 FM STEREO INDICATOR 16 DIAL SCALE 17 VOLUME CONTROL 18 DAB UP BUTTON 19 DAB DOWN BUTTON 20 SELECT BUTTON 21 BAND BUTTON 22 RADIO BUTTON 23...

Page 5: ... unit malfunction Press Power button to turn the unit on after the power has been connected and then press the Radio button or the TUNER key on the remote controller Select the desired band with the BAND button Adjust the volume level to a comfortable listening level To turnoff the radio press the POWER button to turn the unit to STAND BYmode The built in MW antenna and external FM TELESCOPIC ANTE...

Page 6: ...Listening to a Compact Disc 10 Goodmans Product Information Helpline 0870 873 0080 11 Goodmans Product Information Helpline 0870 873 0080 Ë Ì Í Ê Ë Ì Í If the CD Backward Search Skip Button is pressed twice or more in rapid succession play will go one track per press Whilst in the pause mode it is also possible to select the beginning of a track by using the CD Forward Search Skip Button and CD Ba...

Page 7: ...s still on therefore do not keep the unit in pause mode for too long a time as it can cause damage to the cassette mechanism The cassette mechanism has a built in automatic stop During playing recording the unit will automatically stop when the end of the tape is detected Press the TAPE button to select TAPE operation Press the cassette PLAYbutton to start the tape playing Adjust the VOLUME contro...

Page 8: ... as the RECORD button is pressed ensure that the leader is wound past the record head Press the cassette PAUSE button on the tape deck Press the cassette RECORD and PLAY buttons so they lock in the down position The unit is now in recording standby mode Start the CD playing by pressing the CD PLAY PAUSE button Press the cassette PAUSE button again and then recording begins To end the recording pre...

Page 9: ...the type and quality of material being transmitted Displays the signal error rate for the signal to which you are tuned As a guide values from 0 to 15 indicate good reception 16 to 30 borderline reception and 31 or more poor reception This error rate can be improved by adjusting the aerial position using the Tuning aid option This unit enables you to receive and listen to DAB radio programmes Digi...

Page 10: ...Press Info Press Info Press Info Scrolling DLS Service Type Program Type Time and Date DAB Operation Continued DAB Operation Continued Power On and Tuning On first power up or if a factory reset has been initiated the display will show DAB while it is scanning to find all the stations available When the DAB services have been acquired the screen will display Now Tuning and tune to the first statio...

Page 11: ...ons and the manual tuning bar will be displayed so that you can adjust your aerial When scrolling through stations the following indicators may be seen They can be seen individually or as any combination together BBC5Live Classic FM BBCSprtx Classic FM Virgin Classic FM Service not available Radio 1 Classic Radio 1 Classic 2 Heart icon denotes favourite station Number 2 denotes station stored in P...

Page 12: ...check for the best position for the antenna As the antenna is moved the indicator will fluctuate according to the change in signal strength To exit this menu press Select 1 Press the UP and Down key to scroll through different channels and push the Up and Down key to select one the list includes all channels UK Stations are in the range 11B to 12D You see a signal quality display The empty block i...

Page 13: ...atively the station you wish to assign can be displayed in the second line of the display when you are browsing stations Again press and hold the Preset button 1 10 for two seconds In both cases a confirmation message will show that the preset has been saved Once assigned to a station the preset button can be pressed and the radio will tune to the required station If you are browsing stations a pr...

Page 14: ... broadcast from the DAB stations can be recorded with a tape in the same way as the ordinary radio stations and CDs DAB Operation Continued Product Specifications Dimension Power consumption Power requirements Output level Speakers Frequency range Receiving bands MW FM No of channels Wow and flutter Frequency response D A conversion Approx 504 L X302 W X221 H mm 22W AC 230V 50Hz Earphone 20mW x 2 ...

Reviews: