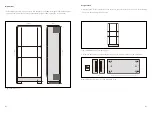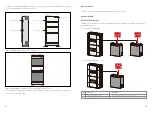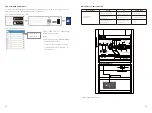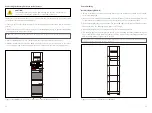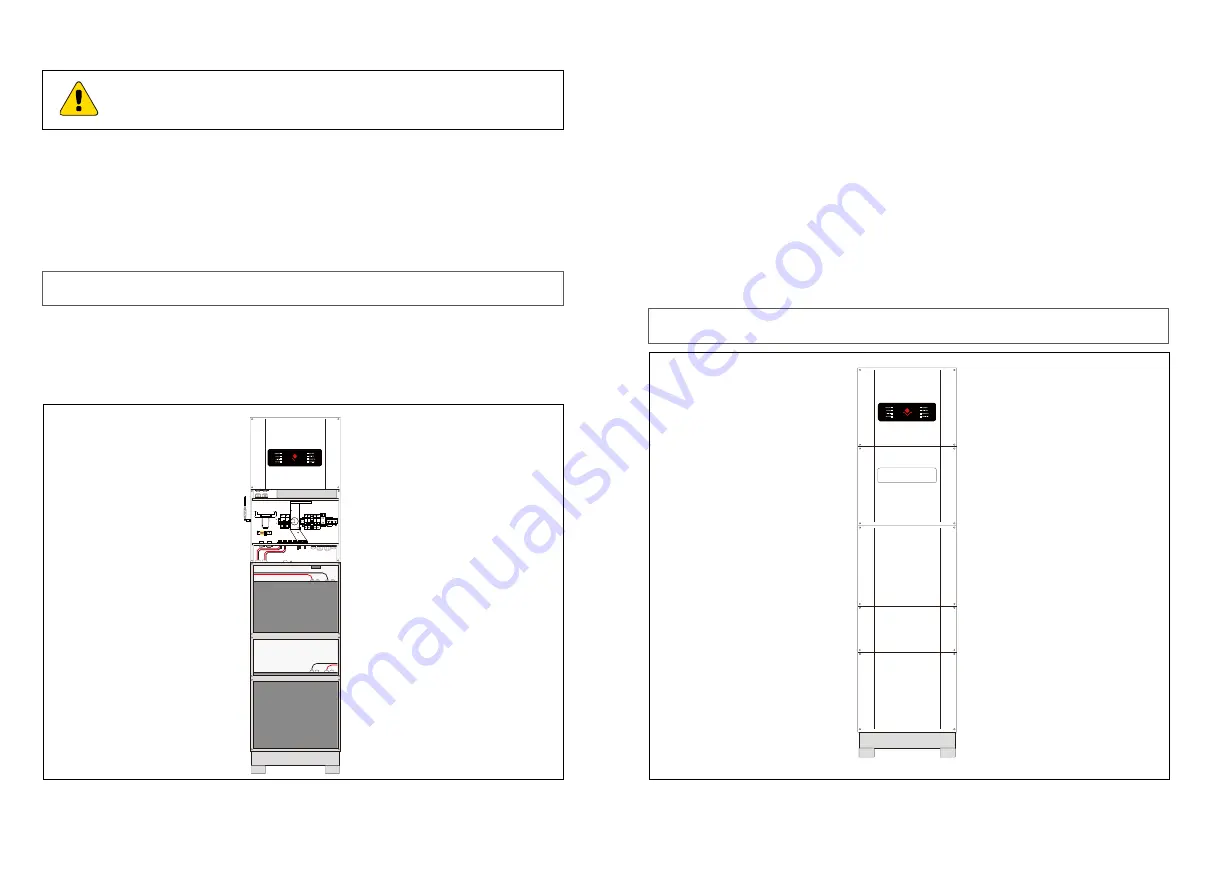
Figure 12: BCL0096 Battery Enclosure connected to Inverter (GoodWe SECU-A).
Figure 13: The completed installation of BCL0096
ON
Connecting the Battery Enclosure to the Inverter
Commissioning
The inverter should be powered down during this process. Please refer to
the Inverter’s installation Manual for the shutdown sequence.
The Battery Enclosure is now ready to be connected to the Inverter mounted on the same wall
above the Battery Enclosure as per figure 13.
Please note you should refer to the Inverter’s installation manual for details on how to mount the
Inverter.
1.Connect the Amphenol connectors, on the top of the Battery Enclosure, to the matching battery
connectors at the base of the Inverter.
Note:
You need to check the Inverter’s commissioning steps to complete the commissioning of
the whole system,
2.Connect the Battery Enclosure’s earth lead to the earth terminal inside the Inverter.
3.With the Inverter’s BoS box and the Battery Enclosure’s front cover still open, turn on the Invert-
er and subsequently close the battery breaker in preparation for the commissioning process.
CAUTION!
GoodWe Battery (SECU-A)
1.Ensure all the BMS connections have been done as per the instruction provided in this installa-
tion manual (page10)
2.You don’t need to assign the battery (ADD) addresses manually as the master battery will do this
for you (provided the BMS wiring is done per the instruction in this installation manual.
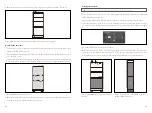
3.Press the Battery Breaker on all batteries. The green LED light should light up. (Please note that
the batteries won’t be discharging any power at this stage).
4.Press the Battery Switch on the master battery. That will start all batteries.
5.The ‘Battery’ light on the Control Board should be on, indicating that BMS communication has
been established between the master battery and the Inverter and at this stage you should be
able to see the battery on the portal in the APP.
Note: You need to check the Inverter’s commissioning steps to complete the commissioning of
the whole system as per the Inverter’s manual.
11
12


