2
EN
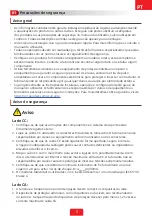
Product:
1. Do not apply mechanical load to the terminals, otherwise the terminals can be damaged.
2.
All labels and warning marks should be visible after the installation. Do not scrawl, damage,
or cover any label on the device.
3. Do not touch the running equipment to avoid being hurt as its temperature may exceed
60℃. Do not install the equipment at a place within children's reach.
4.
Unauthorized dismantling or modification may damage the equipment, the damage is not
covered under the warranty.
5. If there is any radio or wireless communication equipment below 30MHz near the inverter,
you have to:
• Install the inverter at least 30m far away from the wireless equipment.
•
Add a low pass EMI filter or a multi winding ferrite core to the DC input cable or AC output
cable of the inverter.
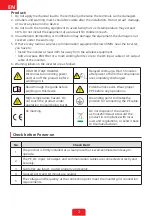
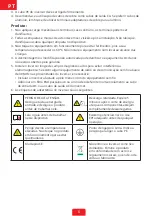
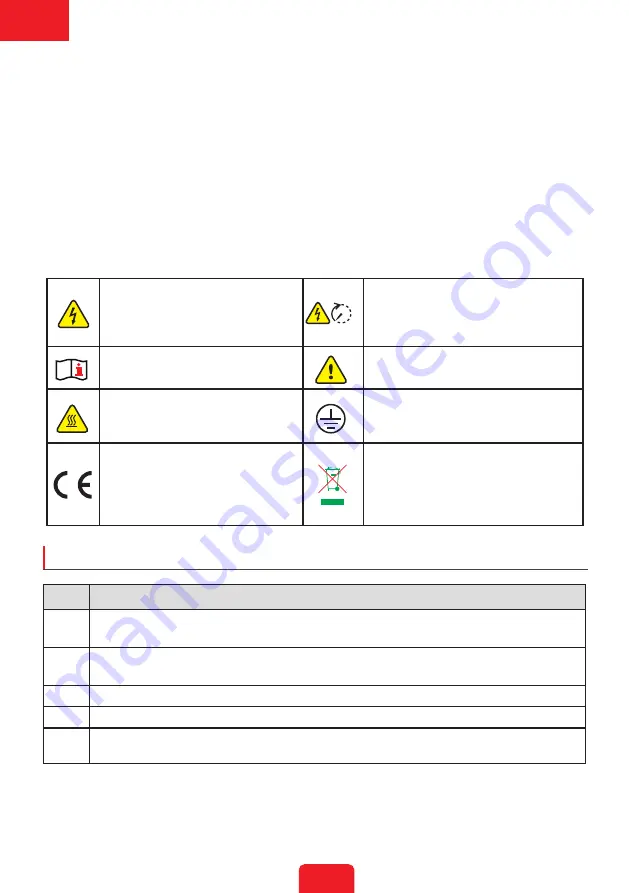
6. Warning labels on the inverter are as follows.
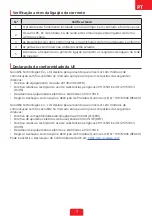
Check before Power-on
No.
Check Item
1
The product is firmly installed at a clean place that is well-ventilated and easy-to-
operate.
2
The PE, DC input, AC output, and communication cables are connected correctly and
securely.
3
Cable ties are intact, routed properly and evenly.
4
Unused ports and terminals are sealed.
5
The voltage and frequency at the connection point meet the inverter grid connection
requirements.
HIGH VOLTAGE HAZARD.
Disconnect all incoming power
and turn off the product before
working on it.
Delayed discharge. Wait 5 minutes
after power off until the components
are completely discharged.
Read through the guide before
working on this device.
Potential risks exist. Wear proper
PPE before any operations.
High-temperature hazard. Do
not touch the product under
operation to avoid being burnt.
Grounding point. Indicates the
position for connecting the PE cable.
CE marking
Do not dispose of the inverter
as household waste.Discard the
product in compliance with local
laws and regulations, or send it back
to the manufacturer.
5min
Summary of Contents for EH Series
Page 1: ...V1 0 2022 11 30 GW6000 EH EH Series Quick Installation Guide Grid Tied PV Inverter ...
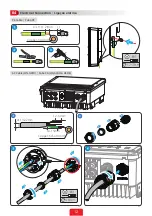
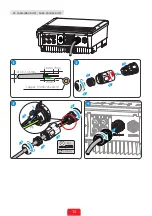
Page 14: ...13 AC Cable BACK UP Cabo CA BACKUP Copper 5 3mm2 S 6mm2 23mm 18mm 7mm Φ 6 5 13 5mm ...
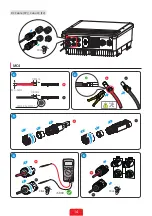
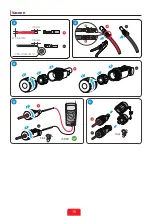
Page 16: ...15 Vaconn 1 2 3 4 2 3 4 1 3 580V Click Click 1 1 4 5 2 2 2 5mm2 S 4mm2 Φ 5 5 8mm 7 8mm 7 8mm ...


