STEP 6 - ELECTRICAL POWER CONNECTION
STANDARD
6.1
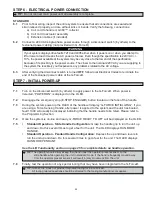
Prior to final wiring, inspect the entire system to ensure that all connections are seated and
strain relieved properly, and are without kinks or bends. Verify the following connections:
a) Coil cord to handle or G360™ collector
b) Coil cord to actuator assembly
c) Extension cables (if included)
6.2
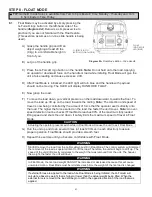
Connect a 220 VAC single-phase power source through a disconnect switch (by others) to the
festooned power cabling (not provided with G-Force®).
WARNING
If your system displays drive faults 7219 and 4005 either when it powers on or when you attempt to
lift or lower a load it means the AC power is too low. Even though the specification is 220 VAC +/-
10%, the power available at the system may be very close to the low end of the specification
because of its proximity to the power source. The closer to the nominal 220 VAC you are supplying to
the system the less likely you’ll experience any problems related to the AC voltage.
6.3
After verifying the disconnect switch is turned
OFF
, follow local Electrical Codes to terminate the
end of the festooned power cable at the G-Force®.
STEP 7 - INITIAL POWER-UP
7.1
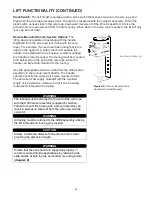
Turn on the disconnect switch (by others) to apply power to the G-Force®. When power is
detected, “POWER ON” is displayed on the OLED.
7.2
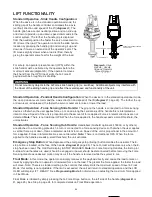
Disengage the emergency stop (E-STOP ENGAGED) button located on the face of the handle.
7.3
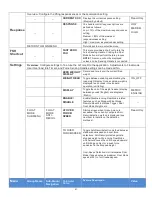
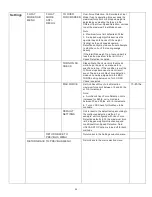
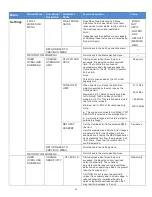
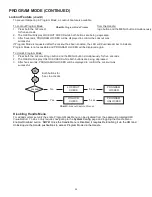
During the system power up the OLED at the handle will display “G-FORCE INITIALIZING”. If you
are using a Force Sensing Handle, after power is applied to the system and the unit has booted,
fault 11009 will usually be displayed indicating that the handle needs to be tared. Please refer to
the Programming Section,
7.4
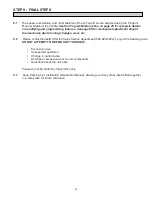
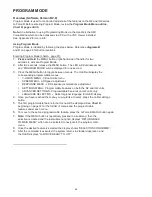
Once the system is on-line and ready, G-FORCE READY TO LIFT will be displayed on the OLED.
7.5
• Standard Operation - Slide Handle Configuration:
Grasp the handle grip to run the unit up
and down. Do this several times to get a feel for the unit. The OLED displays RUN MODE
HANDLE.
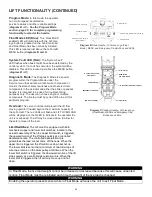
• Standard Operation - Pendant Handle Configuration:
Depress the up and down levers to
run the unit up and down. Do this several times to get a feel for the unit. The OLED displays
RUN MODE PENDANT.
See the Lift Functionality section on page 25 for complete details on handle operation.
7.6
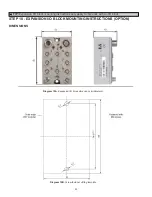
Finally, test the operation of any special tooling that may have been integrated to the G-Force®.
TIP:
Do not connect main power until all assembly is complete.
TIP:
The operator should always keep their hand under the operator present sensor on the
slide handle while operating the unit in standard mode. If the hand is frequently moved away
from the operator present sensor it will result in jerky movement from the unit.
TIP:
Gorbel, Inc., does not provide integrated tooling for the G-Force®.
All tooling related questions should be directed to the tooling manufacturer or supplier.
20

