3
Be careful when releasing the pressure and
opening the pressure cooker; there is a danger of
scalding. Do not use force to open the lid.
To avoid hazard, do not connect the appliance to
an external timer or a remote control system.
This equipment is labelled in compliance with the
European Directive 2002/96/EC on waste electric
and electronic equipment. The Directive specifies
the requirements for collection and management
of waste electric and electronic equipment
effective in the entire European Union.
Caution!
Place the appliance on a level and stable surface.
The appliance is intended solely for household
use.
Do not use attachments, accessories, or other
parts provided by other manufacturers not
expressly recommended by Gorenje In case of
use of such attachments or accessories, the
warranty shall be void.
Preparing for use
1. Remove the packaging
2. Clean the appliance as instructed in the
chapter
"Cleaning"
.
3. When inserting the inner potl, make sure the
bottom is clean. When the inner pot is inserted
into the pressure cooker, rotate it slightly in
both directions to make sure it sits correctly in
place.
4. Make sure the sealing ring is correctly
installed. To check whether the sealing ring is
correctly installed, fill one third of the cooking
pot with water and set the pressure holding
time to 15 minutes.
5. When the time runs out, release the steam by
setting the safety steam release valve into
Exhaust position, and wait for the floating
valve to drop.
6. Wait until the appliance cools down and clean
it.
Using the appliance
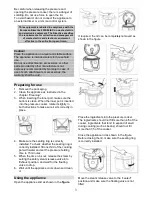
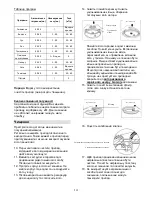
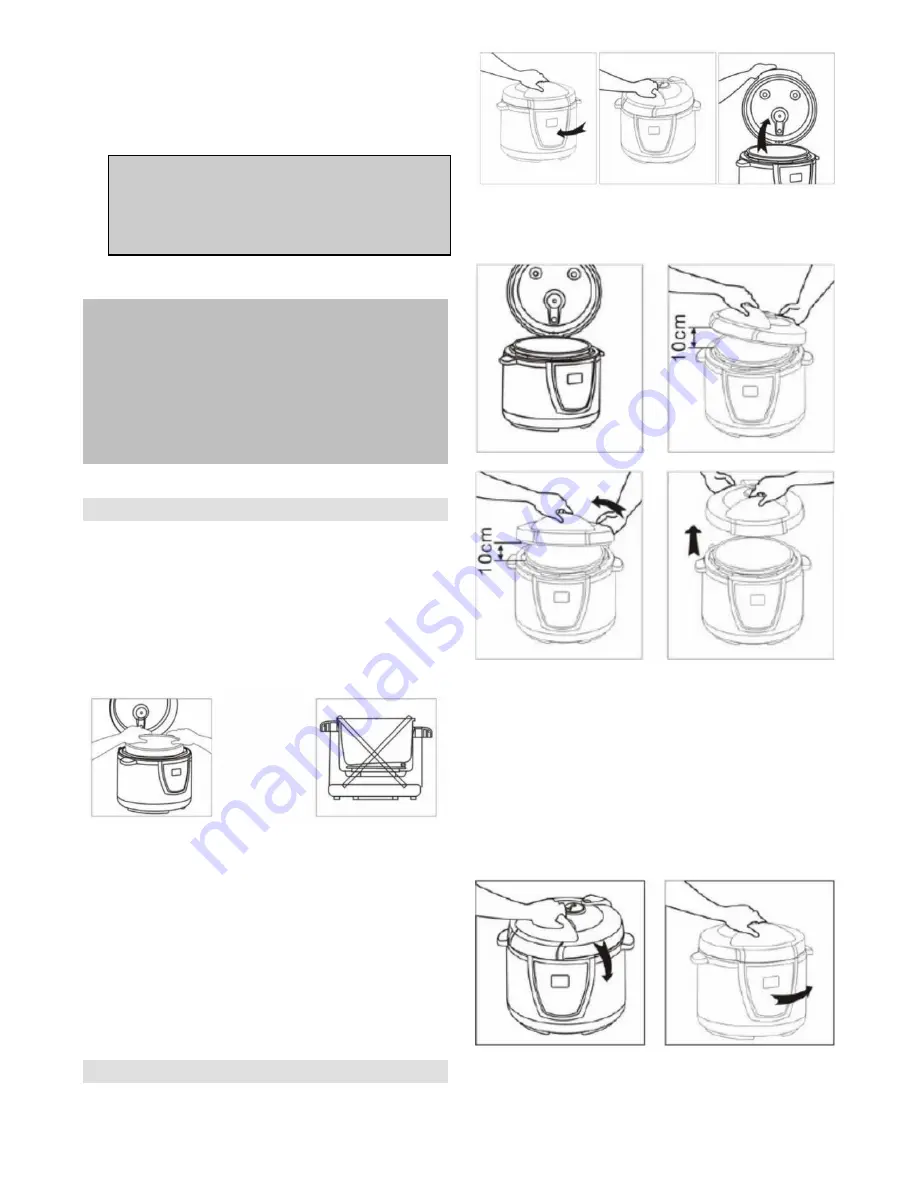
Open the appliance slid as shown in the
figure
.
If required, the lid can be completely removed as
shown in the figure.
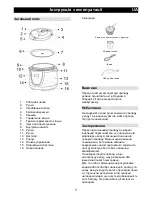
Place the ingredients into the pressure cooker.
The ingredients should not fill more than 4/5 of the
cooker. Ingredients that tend to expand of swell
during cooking (such as beans) should not fill
more than 1/5 of the cooker.
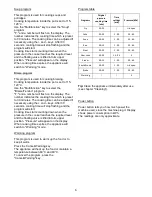
Close the appliance lid as shown in the figure.
Before closing the lid, make sure the sealing ring
is correctly installed.
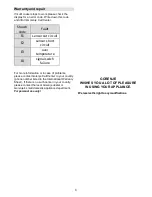
Move the steam release valve to the
"sealed"
position and make sure the floating valve is not
lifted.


