background image

• 

The bottles on the top drawer, directly under 
the light, will be exposed to a slightly higher 
temperature when the light is on. Position your 
wines accordingly and remember to turn off the 
light when it is no longer needed.

• 

Keep wines that you plan to use for everyday 
drinking and entertaining on the front half of the 
drawers where labels are completely visible. 
Place wines for aging or longer term storage in 
the rear.

• 

Do not allow children to climb, stand or hang on 
the appliance drawers. They could seriously injure 
themselves and possibly cause damage to the 
appliance.

The drawer fronts on the wine store are un

fi

 nished 

wood. Wooden parts are protected with a foil which 
is to be removed. During use, oil from hands may 
accumulate and stain the wood.

 Natural wood may vary slightly in grain 

and color.  

Be sure that nothing obstructs the required air 

fl

 ow 

openings in the front of the cabinet.
For best performance, brush or vacuum lint and dirt 
from the condenser once a year. 
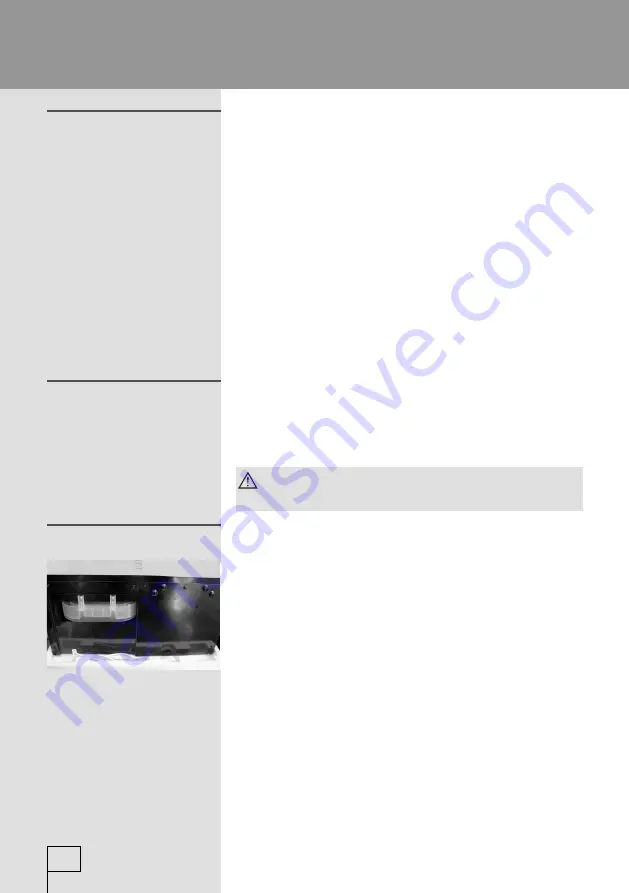
Remove the cover from the bottom rear of the wine 
store to access the condenser. 

14

Loading tips and 
suggestions

Wood drawer fronts

Condenser

Summary of Contents for XWC660E

Page 1: ...Instructions for Use Wine Store...

Page 2: ...be used exclusively for the storage of wine Wine Store used in households is intended for storing wine at temperatures higher than 0 C Figure of the Appliance 3 Before Putting Into Use 4 Energy Savin...

Page 3: ...pped with various accesories depending on the model of the appliance The rating plate of the appliance with information specific to the model you purchased is located in the interior of the appliance...

Page 4: ...foam drawer stops Remove all packing material and tape Before using be sure all packing materials and tape have been removed If you are discarding an old refrigerating freezing appliance remove the do...

Page 5: ...appliance Before you begin The door swing is reversible Change the door swing before installing the appliance Locate the parts package and instructions supplied with the product Connect power Plug the...

Page 6: ...properly energy consumption will be substantially higher To restore efficiency replace the door gasket The condenser grill located on the exterior rear wall should always be kept clean free of dust a...

Page 7: ...e hazards involved Children shall not play with the appliance Cleaning and user maintenance shall not be made by children without supervision For the sake of the environmental protection be careful no...

Page 8: ...to damage the insulation or refrigeration tubes at the rear wall during the installation cleaning and disposal of the appliance Warning Do not use any electrical devices inside the appliance except f...

Page 9: ...In case the distance to the heat emitting device is too short it may require the installation of an insulation panel Place the appliance firmly on a solid base The appliances have adjustable legs Use...

Page 10: ...cket Required nominal voltage and frequency are indicated on the rating plate The connection to the mains supply and earthing have to be made according to current standards and regulations The applian...

Page 11: ...ustments The factory setting is the RED WINE setting 12 C The RED WINE setting will provide a storage temperature of approximately 12 C which is optimum for the storage of red wine Press the RED WINE...

Page 12: ...l be cooler than temperatures at the top of the cabinet Position your wine inventory accordingly i e white wines in the cooler zones and red wines in the warmer zones Note On all three temperature sel...

Page 13: ...loading any bottles Pull the drawers out all the way to the STOP position and push back in several times to make sure tabs snap into place 8 necked bottles can be loaded into each of the five top dra...

Page 14: ...or hang on the appliance drawers They could seriously injure themselves and possibly cause damage to the appliance The drawer fronts on the wine store are unfinished wood Wooden parts are protected wi...

Page 15: ...clear water Never use abrasive scouring powders Varnished surfaces are cleaned with soft cloth and an alcohol based cleaning agent for example glass cleaners You may also use alcohol ethanol or isopr...

Page 16: ...Replace with a 15 watt appliance bulb Bulb lamps used in this appliance are special purpose lamps selected for household appliances use only They are not suitable for household room illumination If th...

Page 17: ...Check if the socket is powered and make sure the appliance is switched on thermostat knob in operating position Continuous Operation of the Cooling System The door is frequently opened or left open f...

Page 18: ...ondition and has no impact on the life cycle of the appliance Immediately after starting the appliance the operation of the compressor and the flow of refrigerant may be louder than usual This is not...

Page 19: ...l be on right side of the door hinges will be installed on the left side of the case Remove the door stop and cam riser on the original bottom right side of the door Remove the fill plug on the top ri...

Page 20: ...allation Remove 3 screws from the upper hinge with the attached key Remove the decorative cover unscrew 3 screws at the back and 2 screws in the front Lift off the hinge screws will be used to install...

Page 21: ...screw it down Check to be sure screws are tight and that the door is straight and does not sag The door should swing freely The toekick has a cutout on the left and right sides Remove the plug on the...

Page 22: ...sed at an ambient temperature between 10 C and 32 C SN N ST This appliance is intended to be used at an ambient temperature between 10 C and 38 C SN N ST T This appliance is intended to be used at an...

Page 23: ......

Page 24: ...VC 166 E en 10 14...

Reviews: