OM-04386
GMS SERIES
PAGE E-8
MAINTENANCE AND REPAIR
lated components, then proceed as follows with
pump disassembly.
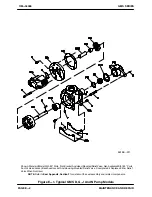
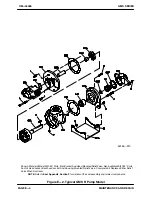
Remove the nuts (D) and slide the stuffing box
(04N) off the rotor shaft assembly (03A). Remove
the stuffing box gasket (05P).
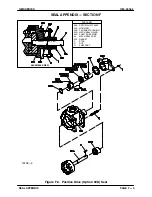
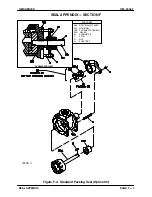
Remove the seal assembly (05) and related com
ponents as described in
Seal Appendix, Section
F
.
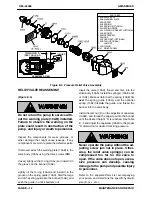
Backhead Removal (06, R Size Only)
(Figure E‐2 Only)
Disengage the screws (B) securing the backhead
(06A) to the housing assembly (04) and separate
the assemblies. Remove and discard the gasket
(06B).
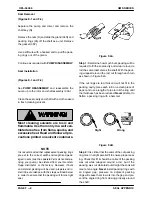
NOTE
The shaft bushing (04B) may be damaged during
removal. Do not remove the shaft bushing unless
replacement is required.
If your pump is equipped with a graphite or silicon
carbide shaft bushing (04B), the old bushing can
be removed by breaking it into pieces using a ham
mer and chisel.
Use caution
not to damage the I.D.
of the backhead.
If your pump is equipped with a bronze shaft bush
ing, the bushing must be machined out of the
backhead.
Use caution
not to damage the I.D. of
the backhead.
Rotor/Shaft Removal (03)
Slide the rotor/shaft assembly (03A) out of the
housing (04A). Due to close machine tolerances
and assembly practices, the rotor/shaft is available
only as an assembly. Further disassembly is not re
quired.
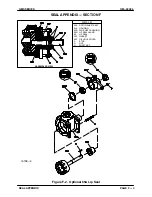
Seal Removal (05)
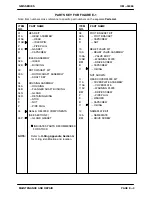
The seal assembly (05) is available in a variety of
configurations. Check the
Parts List
furnished with
your pump to identify the seal, then refer to
Seal
Appendix
,
Section F
, for removal of the seal and
related components.
Housing Assembly (04, D, G, J, N Sizes Only)
(Figure E‐1 Only)
NOTE
The shaft bushing (04B) may be damaged during
removal. Do not remove the shaft bushing unless
replacement is required.
If your pump is equipped with a graphite or silicon
carbide shaft bushing (04B), the old bushing can
be removed by breaking it into pieces using a ham
mer and chisel.
Use caution
not to damage the I.D.
of the housing.
If your pump is equipped with a bronze shaft bush
ing, the bushing must be machined out of the
housing.
Use caution
not to damage the I.D. of the
housing.
PUMP REASSEMBLY
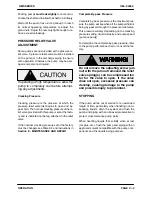
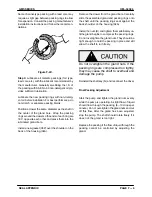
Use caution when handling the idler (02A)
and the rotor shaft assembly (03A). These
parts have sharp edges which will grow
sharper with use.
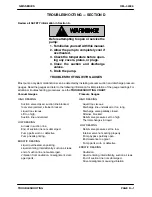
Cleaning and Inspection
Most cleaning solvents are toxic and
flammable. Use them only in a well ven
tilated area free from flame, sparks, and
excessive heat. Read and follow all pre
cautions printed on solvent containers.
Clean and inspect the pump parts (except the seal
assembly) with a cloth soaked in fresh cleaning
solvent. Inspect all parts for excessive wear or for
any nicks or burrs. Remove nicks or burrs using
emery cloth or a fine file. Replace any parts that are
badly worn or damaged.
Clean and inspect the seal assembly as indicated
in the appropriate section of the
Seal Appendix,
Section F
.


