13
Hazardous machinery
can cause personal
injury or death.
WARNING
Extreme heat can
cause personal injury
or property damage.
WARNING
WARNING
DO NOT OPERATE UNIT WITH-
OUT SAFETY GUARD IN PLACE.
TO DO SO CAN CAUSE SEVERE
PERSONAL INJURY.
NOTICE: PUMP MUST BE COMPLETELY PRIMED
BEFORE OPERATION.
DO NOT OPERATE PUMP AT OR
NEAR ZERO FLOW. TO DO SO
CAN CAUSE EXTREME HEAT,
DAMAGE TO THE PUMP, INJURY
OR PROPERTY DAMAGE.
Start the pump, keeping the on-off valve down-
stream from the pump closed. Open the on-off valve
gradually. The pump must run smoothly and noise-
lessly. If necessary, reprime the pump. Check the cur-
rent absorbed by the motor and, if necessary, adjust
the setting of the thermal relay. Any air pockets
trapped inside the pump may be released by loosen-
ing the air screw for all e-SV pumps.
If a pump installed in a location where
freezing may occur remains inactive, you
must drain it through the drain plugs. This opera-
tion is not necessary if a suitable antifreeze has been
added to the water.
Make sure that the drained liquid does not
cause damage or injuries.
After stabilizing the system at normal operating
conditions, check piping for correct alignments. If
necessary, adjust pipe supports.
HAZARDOUS MACHINERY.
MOTOR THERMAL PROTEC-
TORS CAN RESTART MOTOR
UNEXPECTEDLY AND WITH-
OUT WARNING, CAUSING
SEVERE PERSONAL INJURY.
See the “ENGINEERING DATA” section in this
manual for the recommended maximum pump starts
per hour.
DISCONNECT AND LOCKOUT
ELECTRICAL POWER BEFORE
ATTEMPTING ANY MAINTE-
NANCE. FAILURE TO DO SO
CAN CAUSE SHOCK, BURNS OR
DEATH.
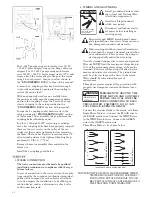
Check pump rotation by observing the motor fan or
the coupling THROUGH the coupling guard. DO
NOT confuse the flow arrows, stamped on the pump
body, with the rotation arrows on the coupling and
motor adapter. Three phase motors only – If rotation
is incorrect, have a qualified electrician interchange
any two of the three power cable leads.
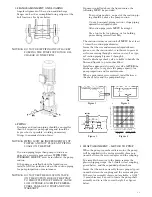
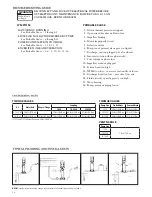
3. PRIMING/VENTING
For installations with the liquid level above the pump:
Close the discharge valve.
Remove the vent plug.
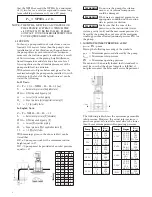
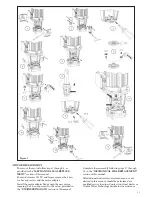
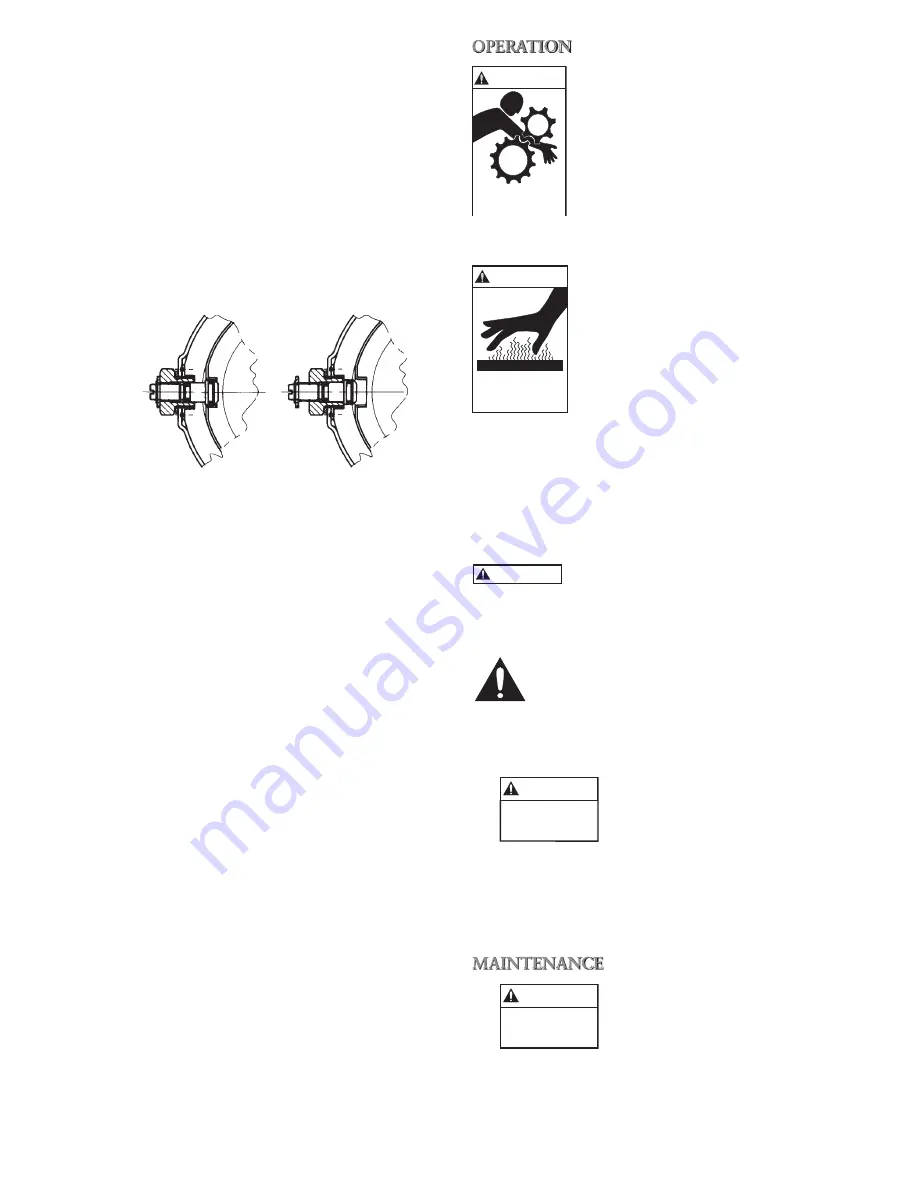
For models 1SV, 3SV and 5SV only, it is neces-
sary to fully unscrew the pin located in the
drain plug. See figures below.
For sizes 10SV-125SV the vent plug is supplied
with an internal needle valve, so it is not neces-
sary to remove the vent plug. Simply unscrew
the needle valve half way to open the valve to
allow air to escape. (For sizes 33SV-92SV, if the
pump is supplied with a cartridge seal, remove
the vent plug located on the gland plate beneath
the coupling.)
Open the suction valve until liquid flows out of
the vent plug opening.
NOTICE: DO NOT REMOVE AND REPLACE DRAIN
PLUG WITH ANOTHER PLUG OR PIPING
FIXTURE FROM ANY OTHER MANU-
FACTURER, OR SIGNIFICANT LOSS OF
PUMP PERFORMANCE MAY OCCUR AS A
RESULT.
NOTE: Place a loose rag over the open vent port to pre-
vent large amounts of liquid from being sprayed
on the pump and adjacent equipment.
Care should be exercised if you are pumping
hot water or chemicals to avoid personal injury.
Install and torque the vent plug to the values
provided in the “ENGINEERING DATA” sec-
tion of this manual. Close the drain plug pin
(1SV, 3SV and 5SV only) and open the dis-
charge valve.
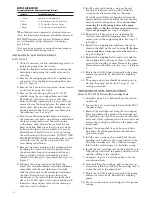
For installations with the liquid level below the pump:
Install foot valve at suction end.
For models 1SV, 3SV and 5SV only, it is
necessary to fully unscrew the pin located in the
drain plug. See figures above.
With the provided plastic funnel, completely fill
the casing with liquid.
Install and torque the vent plug, close the drain
plug pin (1SV, 3SV and 5SV only) and open the
suction valve.
WARNING
Hazardous
machinery
WARNING
Hazardous
voltage
DRAIN PLUG
WITH PIN CLOSED
DRAIN PLUG
WITH PIN OPEN

