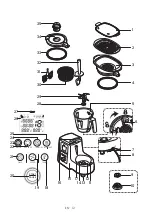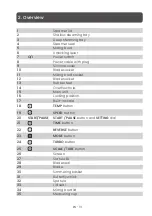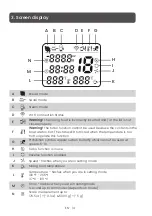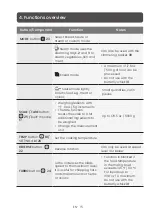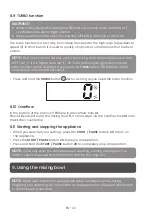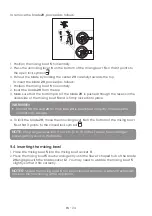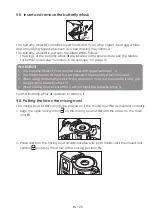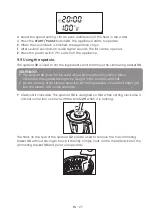
26
EN -
Only when the mixing bowl lid
34
is correctly closed can the appliance start.
NOTES:
•
To facilitate the closing of the lid, put a few drops of oil on a cloth and rub it on
the seal
33
.
•
The appliance can only be started when the mixing bowl lid
34
is locked into
place correctly.
•
To make the mixing bowl lid
34
properly lock in place, it is helpful to press lightly
on the lock symbol
while closing the lid.
•
If the mixing bowl lid
34
has not been put on correctly, the symbol
will
appear on the screen
26
.
•
When the appliance is started, the mixing bowl lid
34
is automatically locked.
•
The
status
LED
27
is blue when the lid is closed and red when it is open (see
“Electronic lock” on page 18).
9.7
Using the measuring cup
The measuring cup
35
is used to close the lid of the mixing bowl
5
. It can be removed
to add ingredients to the mixing bowl and as a measuring cup.
•
To close the mixing bowl
5
, place the measuring cup
35
, with the opening at the
bottom, into the mixing bowl lid
34
and turn clockwise to lock it in place.
WARNING!
Prior to removing the measuring cup
35
, you must reduce the speed setting 1, 2 or
3, so that no food can spill out.
•
To add ingredients, the measuring cup
35
can be removed briefly.
•
To measure ingredients, turn the measuring cup
35
upside down and add the food.
The values can be read in ml or oz from the outside.
9.8 Cooking and steaming with the simmering basket
1.
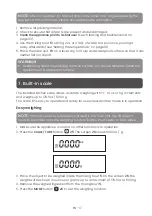
Fill at least 16.8 oz / 500 ml of water into the mixing bowl
5
. Only fill so much water
into the mixing bowl
5
that the maximum filling volume of 2.2 L / 2.3 QT will not be
exceeded when the food is added.
- If the entire food is covered by water, it will be cooked.
- If the food is not completely covered by water, it will be steamed.
2. Place the food into the simmering basket
30
.
NOTE:
Always make sure that the filling level does not exceed the maximum
3.
Place the simmering basket
30
into the mixing bowl
5
.
4.
Close the mixing bowl
5
with the mixing bowl lid
34
and the measuring cup
35
.
5.
Use the power switch
7
to switch on the appliance.
6.
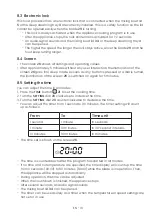
Use the
TIME
button
21
to set the time.
7.
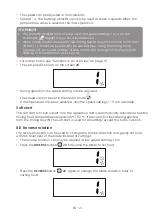
Use the
TEMP
button
18
to set the desired temperature, e.g., 212 °F / 100 °C for
cooking. The screen
26
shows the time set and the selected temperature.
capacity.

