25
EN
• Generally no oil is required for preparing food. You can add oil to your food to en-
hance the taste by spraying your food with a little oil from the oil atomiser. In addition,
marinated food or food in breadcrumbs can also be prepared.
• Cooking times are dependent on the size and quantity of the food and on the cooking
temperature. However, in general the cooking times are shorter than in a convention-
al oven. Start with shorter cooking times and then adapt the cooking times to your
personal taste.
• For the preparation of frozen products, follow the time and temperature specifi cations
of the manufacturer. To get a crispy result, never add fat when preparing mass-pro-
duced frozen products as they have generally already been pre-fried. The prepara-
tion time may be reduced slightly. Check whether your food is already fully cooked
before the stated cooking time has expired.
• With some food (e.g. chips and similar items) it is advisable to mix the food around
from time to time to obtain an even cooking result. To do this, remove the drawer from
the device and shake the food about slightly to mix it all up. Then re-insert the drawer
and continue the cooking process.
Use
PLEASE NOTE!
■
Do not leave the device unattended during use!
■
The drawer is hot after being removed from the device! Only ever place it on a
heat-resistant surface!
■
Make sure that the drawer has been inserted correctly. The device cannot be switched
on if the drawer is not inserted.
■
Do not overfi ll the drawer so that the hot air can circulate optimally inside the device.
It should be no more than 2/3 full.
■
Do not place food that is wrapped in cling fi lm or in plastic bags in the drawer.
■
Make sure that the food that you would like to prepare does not come into contact
with the heating elements of the device.
This device works with hot air. It is not a conventional fryer in which food is
deep-fried using lots of oil! In general, you can prepare all dishes that can
also be prepared in a conventional fan oven. For good results, please read
the “Tips” chapter.
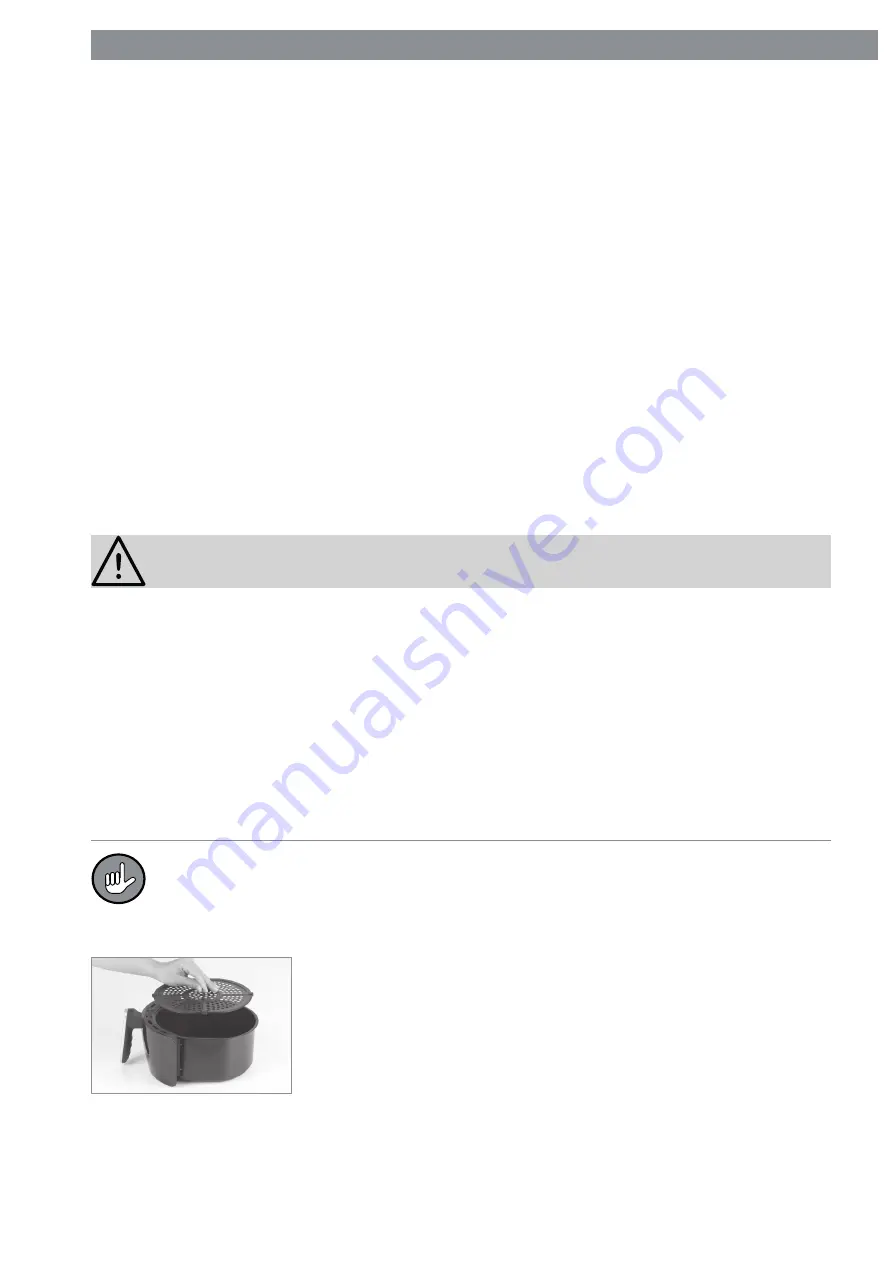
1. Insert the rack (
5
) into the drawer (
7
).
2. Place the food that is to be prepared into the drawer.
3. Insert the drawer into the device.
4. Use the temperature control dial (
8
) to set a cooking tem-
perature between 80°C and 200°C.
5. Use the timer (
9
) to set a preparation time (1 – 60 minutes) in order to start the cook-
ing process. After the timer has been activated, the operating lamp (
3
) lights up to
indicate that the device has been switched on. The temperature control lamp (
2
) also
lights up as soon as the device starts heating up.


