OPERATION MANUAL - Trailer Refrigeration Unit
arktik 1600N • 1600 N/T • 2000N • 2500N • 2000P • 2500 N/K • 2000 P/K
50.04.504 / 1.0
Copyright by GOVI GmbH 2021. The reproduction of this document or any part thereof is prohibited. We reserve the right to make technical changes during the course of further developments.
22
Page
6.
Secure the trailer refrigeration unit with the aid of fixing bolts (1) on
the trailer,
see section 6.2 Additional Parts and Equipment
.
7.
Remove eye bolts with the carrying ropes and fasten again the main
cover (3) using the screws.
8.
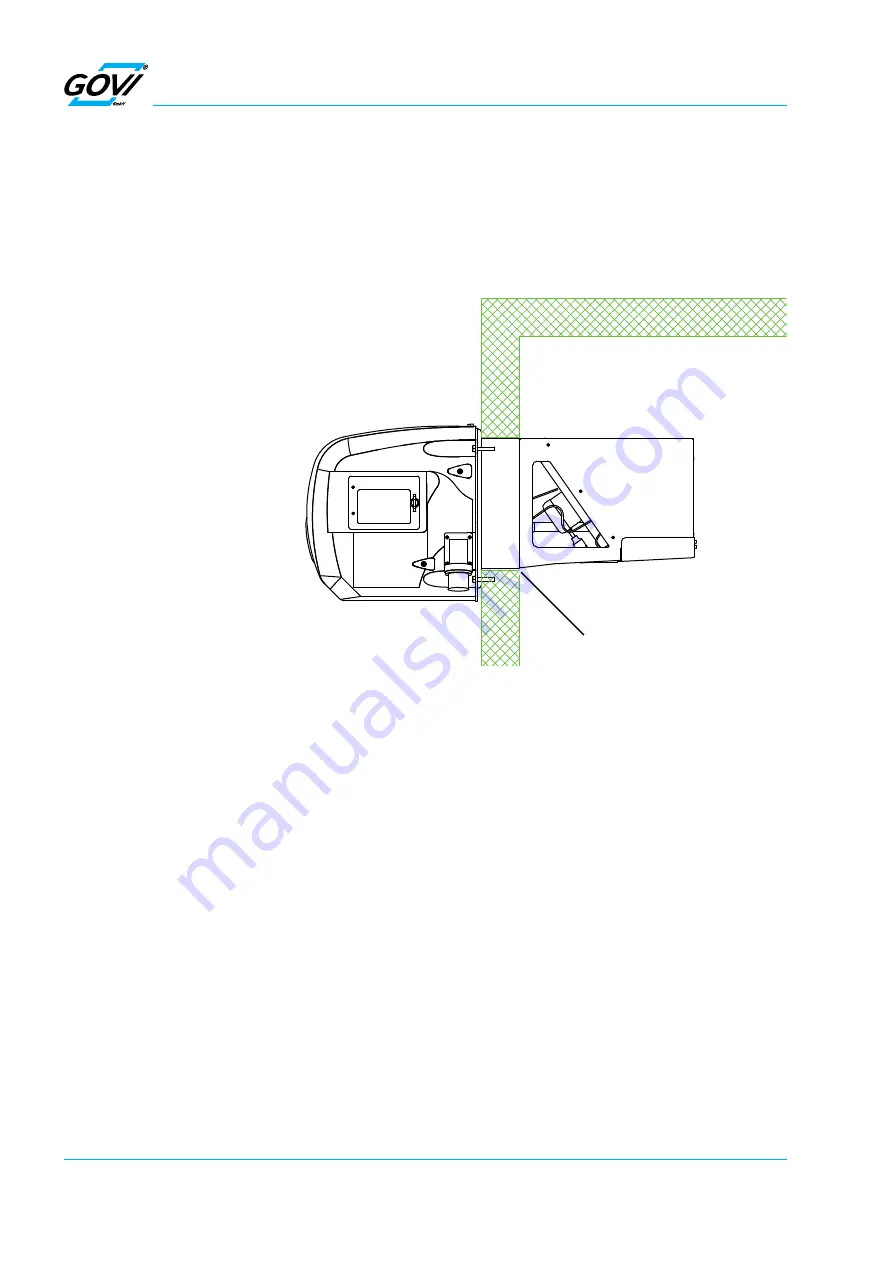
Inside the refrigeration unit, seal the gap (A) between the front wall
of the trailer refrigeration unit and the trailer edge using silicone.
9.
If necessary, connect a condensed water drain hose at the bottom
of the condenser and make sure that it is not kinked or is positioned in
an inclined way,
see section 6.2 Additional Parts and Equipment
.
6.5
Installation of Accessories
It is not necessary to open the unit when installing the lighting system.
The power supply connection has been prefitted at the factory.
The connected cable for the interior lighting is located on the
evaporator side panel.
Fig. 6-6 Sealing inside
of the trailer
A. Gap
A


