

Summary of Contents for TEC50
Page 1: ...TEC50 INSTRUCTION MANUAL...
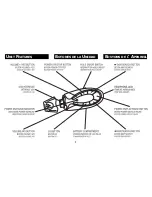
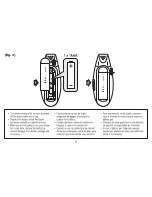
Page 3: ...1 UNIT FEATURES BOTONES DE LA UNIDAD BOUTONS DE L APPAREIL...
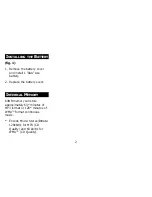
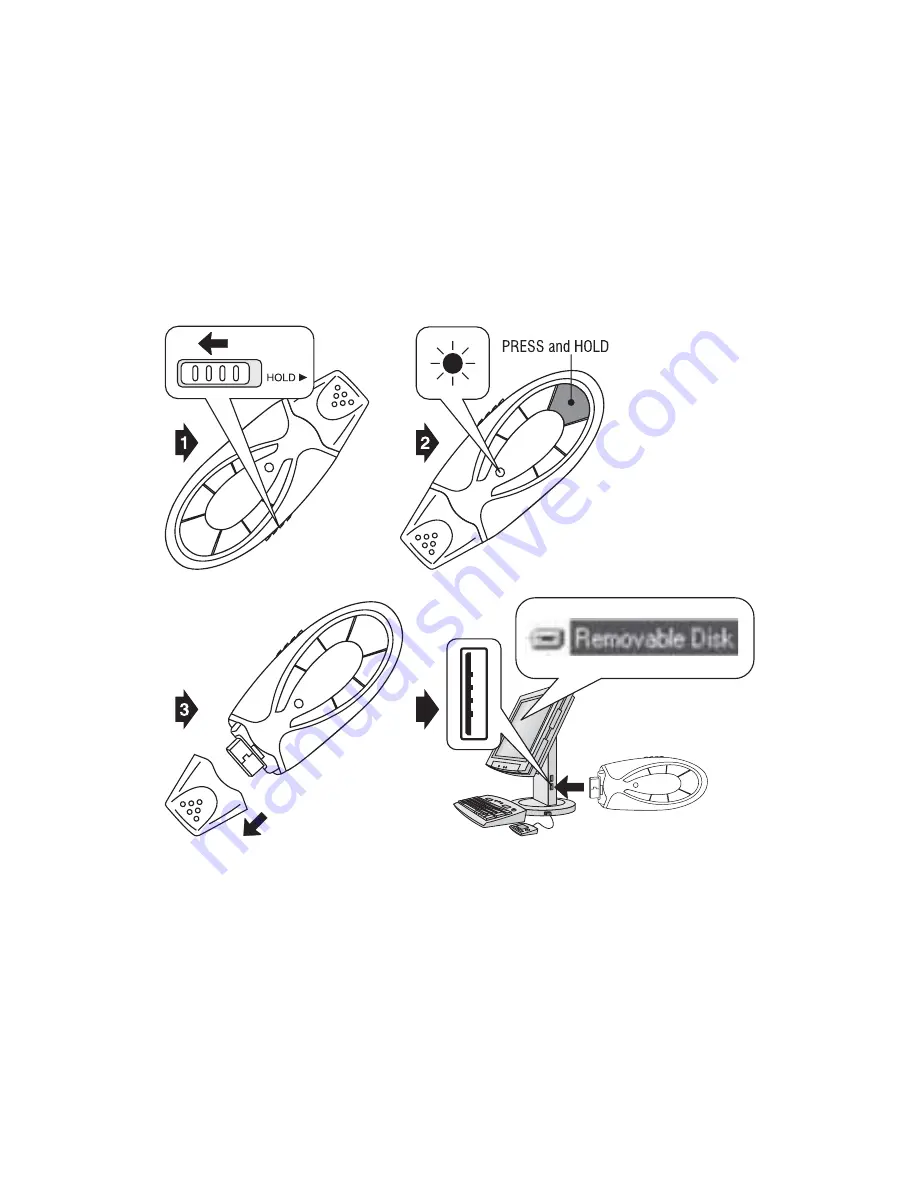
Page 5: ...3 fig 1...
Page 7: ...5 fig 2...
Page 9: ...7 fig 3...
The GPX TEC50 is a versatile electronic device perfect for outdoor activities. Ensure you make the most of its features by downloading the Instructional Manual for free from 88.208.23.73:8080. This comprehensive manual will guide you on how to maximize the potential of your GPX TEC50. Download it now and enjoy your adventures!
Page 1: ...TEC50 INSTRUCTION MANUAL...
Page 3: ...1 UNIT FEATURES BOTONES DE LA UNIDAD BOUTONS DE L APPAREIL...
Page 5: ...3 fig 1...
Page 7: ...5 fig 2...
Page 9: ...7 fig 3...


