10
(ID: 040708)
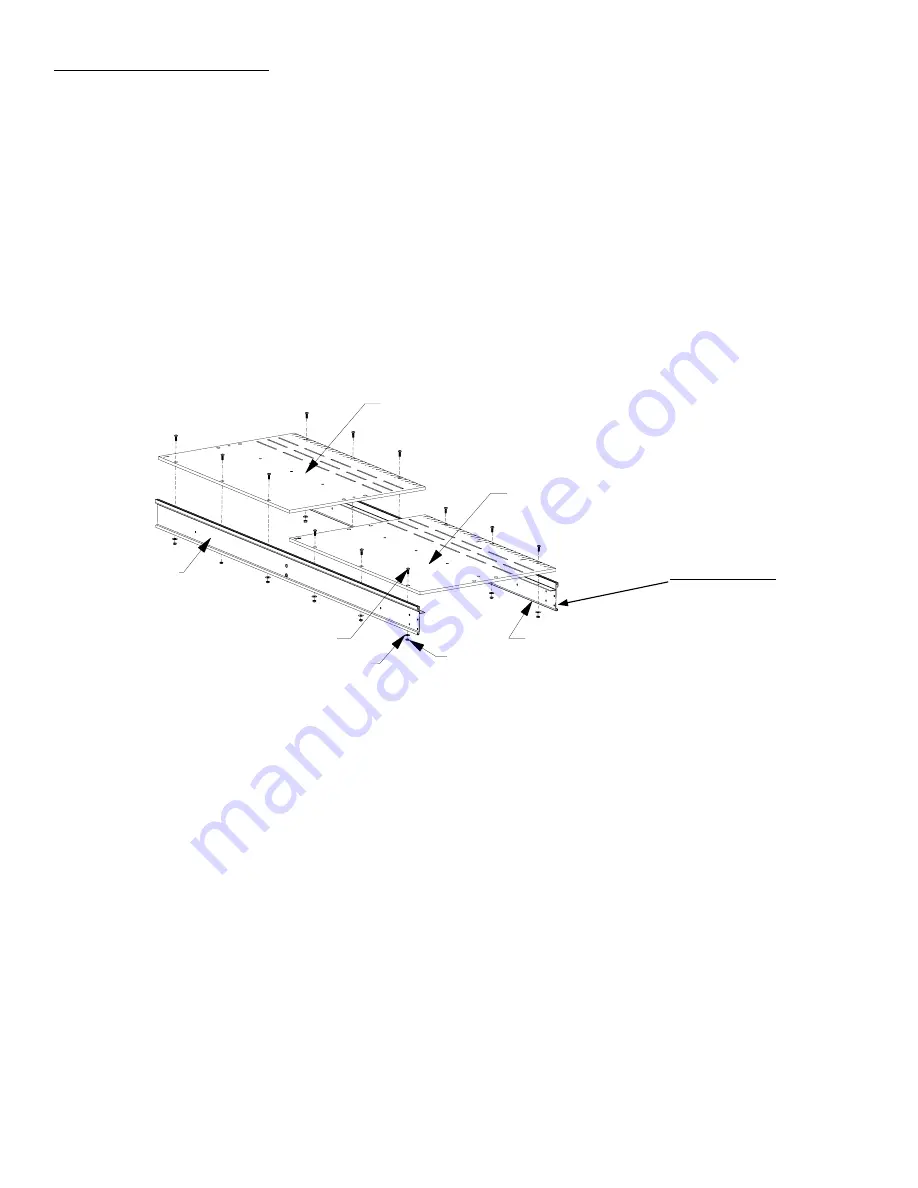
1/4" X 3/4"Phillips
Pan Head Screw
3/16" Flat Washer
1/4" Jam Nut
Table #2
Table #1
• Put a phillips pan head screw through the middle hole on the Table #1 through the front crib table aluminum
track support. Next, place a M5 flat washer and M6 jam nut on the end of each screw. Tighten these nuts
completely.
• Put a phillips pan head screw through the other two holes on the top of Table #1, and then put a flat washer
followed by a jam nut on each end.
• Follow the above steps to attach the front crib table aluminum track support to the Table #2.
• Follow the above steps to attach the back crib table aluminum track support to the Table #1 and #2.
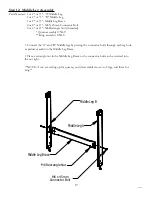
Step 4: Table Assembly
Parts Needed: 1- Table #1
1- Table #2
1*- Table #3
1**- Table #4
1- Front Crib and *Queen and **King Table Aluminum Track Support
1- Back Crib and *Queen and **King Table Aluminum Track Support
12 or 18* or 24**- M6 x 20mm Phillips Pan Head Screw
12 or 18* or 24**- M5 Flat Washer
12 or 18* or 24**- M6 Jam Nut
* Queen assembly ONLY
* King assembly ONLY
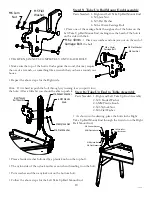
• Place the Table #1 on the front crib table aluminum
track support (as pictured left). NOTe: ** You might
want to stand the table on it’s side to make it easier to
tighten the nuts.**
•IMPORTANT! Carefully identify your Front
and Back Crib Track Supports based on the
position of the holes. NOTe: The Crib
Back Track Support mounts to
Crib Front Track Support
Crib Back Track Support
the “slotted” side of the table. Be
sure the “extra two holes” are on
the end of Table #2. (See picture
to the left).
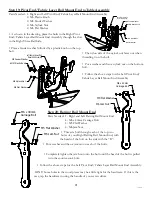
HINT: Some holes in the wood pieces may be a
little tight for the hardware. If this is case, tap the
hardware in using the handle of your screw driver.
M5 Flat Washer
M6 x 20mm Philips Pan
Head Screw
M6 Jam Nut


