24
(ID: 040708)
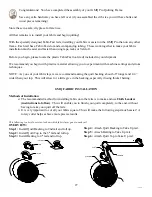
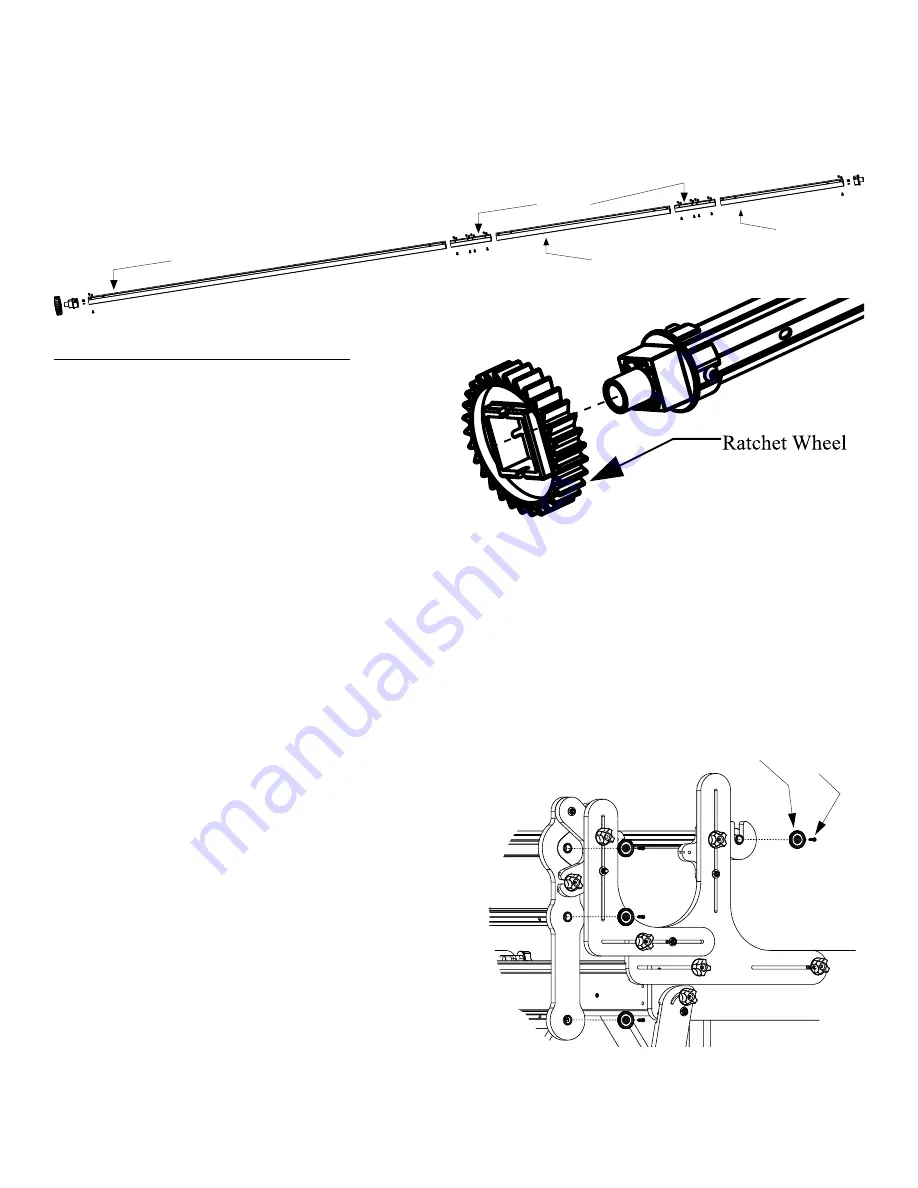
Coupler
King Size Rail
70” Rail
34” Rail
24” Rail
End Cap Shoulder
#8 x 1-1/8” Screw
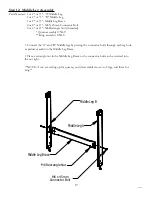
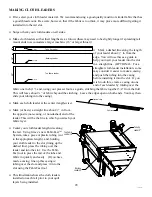
• Place the ratchet wheel on three of the square plastic cap, and then place all your rails on the floor where they can
lay flat.
• Take the rail without the ratchet wheel on it and place it in the bottom of the Batting Rail Mount end, with the
square end cap on the left side of the frame.
• Place an end cap shoulder in the hole on the outside of the square end cap. You will then screw the end cap
shoulder to the square plastic cap, but just enough for the screw to be inside the end cap.
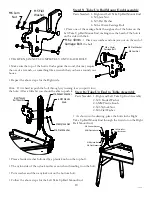
• Place an end cap shoulder in the hole on the outside of
the round end cap. You will then screw the end cap shoulder
to the round plastic cap, but just enough for the screw to be
inside the end cap.
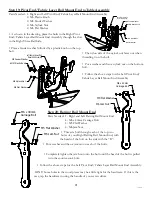
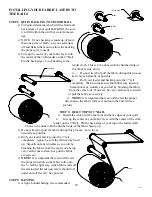
• Take a rail with the ratchet wheel on it and place it in the
middle of the Batting Rail Mount end. MAKe SURe THe
RATCHeT WHeeL TeeTH ARe FACING AWAY
FROM THe FRAMe, as pictured on the next page.
Note- The Take-Up Rail is 1.5” diameter. All the rest of
the rails are 2” diameter.
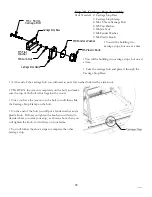
• If you are setting up your frame in king size, follow the same previous steps to attach an additional coupler onto
the 34” and 24” rails.
• When you have the two rails attached you will put the round end caps in the end of the 24” Rail in the same
manner as you did the square end caps.
Step 23: Rails to Frame Assembly
Parts Needed: 3- Ratchet Wheels
8 - M4 x 20mm Screw
8 - end Cap Shoulders
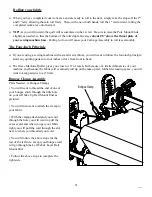
**To make it easier to put your rails in you could loosen both knobs on your Left and Right Take Up Sides.
This will allow you to move your Take Up Sides away from your frame slightly, making it easier to insert your
rails on your frame.
Note:
The Take Up Rail (inside the throat of
your machine) is the 1.5” rail. This rail allows
more quilt to roll up and not be as bulky.
M4 x 20mm screw


