31
(ID: 040708)
Bungee Clamp
Rolling your fabric
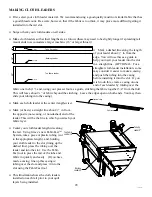
When you have completed your work area and are ready to roll to the next, simply take the stops off the 2
nd
and 3
rd
rails, allowing them to roll freely. Then, with one or both hands, roll the 1
st
rail forward, rolling the
completed work area onto that rail.
TIP!
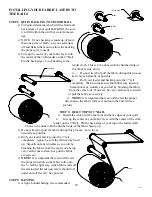
As you roll forward, the quilt will accumulate on the 1st rail. Be sure to raise the Pole Mount Ends
slightly as needed, so that the bottom of the rolled up fabric stays
about 1/8” above the throat plate of
your sewing machine base.
Failing to do so will cause your Carriage Assembly to roll less smoothly.
The Four-Inch Principle
If you are using a sewing machine with a smaller size throat, you will want to follow the four-inch principle:
Limit any quilting pattern to four inches or less from front to back.
The Grace Machine Quilter gives you close to 16” of reach, but because of a limited throat size of your
machine, and because the fabric will eventually roll up on the take up rail, further decreasing space, you will
want to keep patterns to a 4” limit.
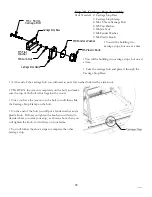
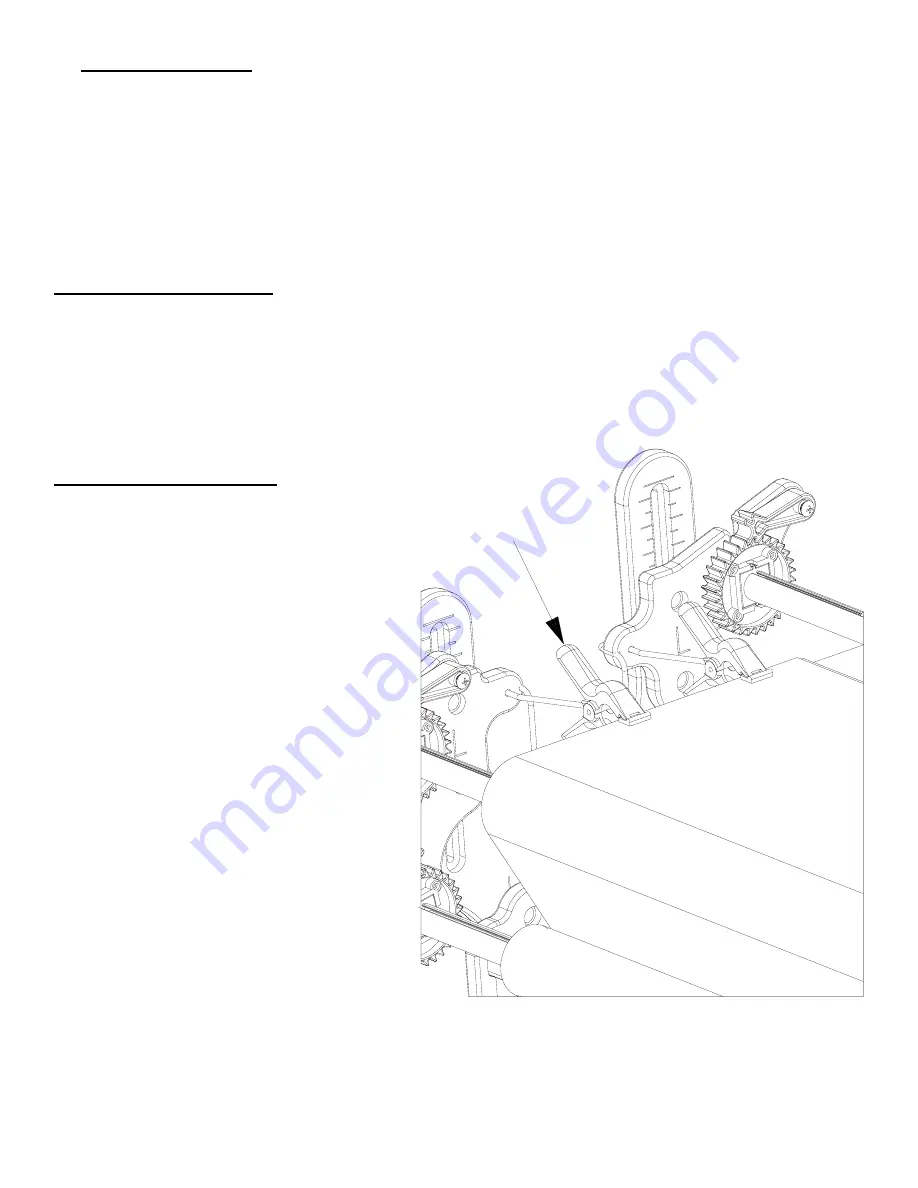
Bungee Clamp Assembly
Parts Needed: 4- Bungee Clamps
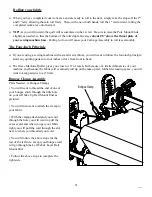
• You will want to thread the end of one of
your bungee cords through the little hole
on your left Take Up Rail Mount End, as
pictured.
• You will then want to attach the clamp to
your fabric.
• With the clamp attached and your cord
through the hole you will want to pull the
excess cord and when you get your fabric
tight you will pull the cord through the slot
next to where you threaded your cord.
• You will follow the above steps for the
rest of the left side, except your bungee cord
will go through the Left Fabric Layer Rail
Mount End.
• Follow the above steps to complete the
right side.

