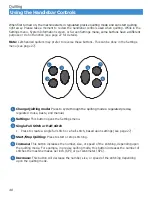
46
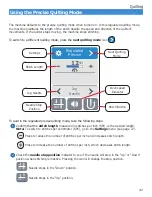
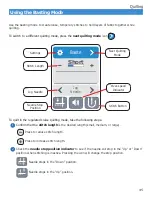
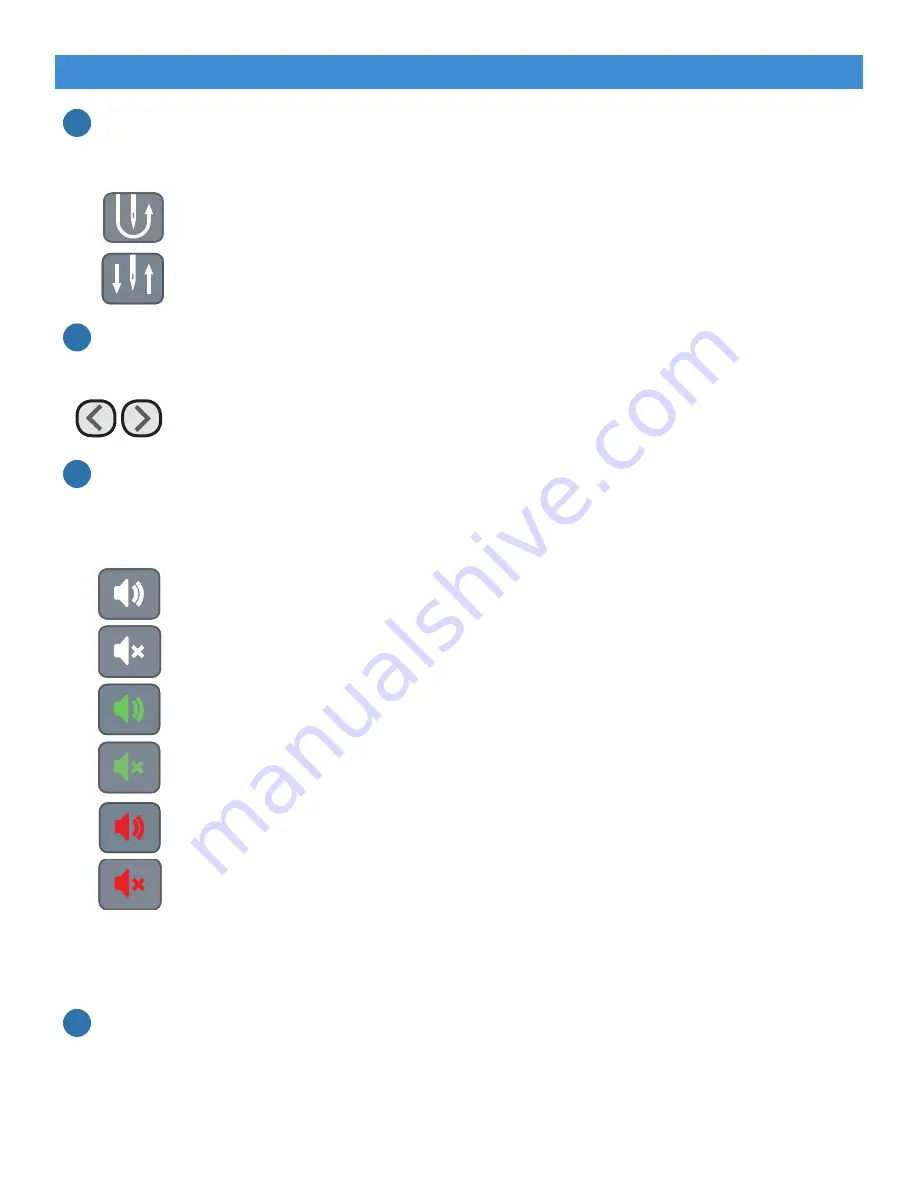
3. Check the stitch button icon. When stitching is inactive, pressing this button or the stitch
button on the handlebars will create a single full stitch or a half-stitch, depending on the icon
displayed. To change the type of stitch, go to the Settings menu (see page 27).
• Press to create a full stitch.
• Press to create a half-stitch.
4.
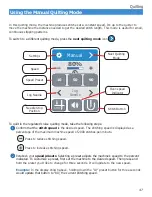
Position the quilting machine over the quilt. If needed, use the needle jog buttons to move the
needle closer or further from the fabric in small increments to help place your first stitch.
• Press to move the needle up or down in small increments.
5.
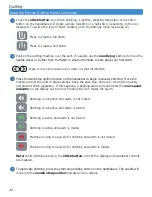
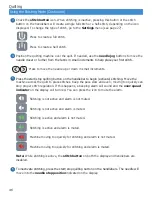
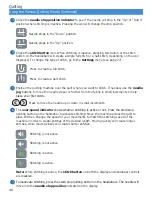
Press the start/stop quilting button on the handlebar to begin (activate) stitching. Move the
machine across the quilt to place stitches. Keep the pace slow and even; moving too quickly can
stop proper stitch regulation. If this happens, a beeping alarm will sound and the over-speed
indicator on the display will turn red. You can press the icon to mute the alarm.
• Stitching is not active and alarm is not muted.
• Stitching is not active and alarm is muted.
• Stitching is active and alarm is not muted.
• Stitching is active and alarm is muted.
• Machine moving too quickly for stitching and alarm is not muted.
• Machine moving too quickly for stitching and alarm is muted.
Note: While stitching is active, the stitch button on both the display and handlebars are
disabled.
6.
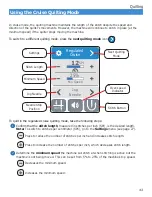
To inactivate stitching, press the start/stop quilting button on the handlebars. The needle will
move into the needle stop position indicated on the display.
STOP
Regulated
Precise
Jog
Needle
12
SPI
STOP
Regulated
Precise
Jog
Needle
12
SPI
STOP
Regulated
Precise
Jog
Needle
12
SPI
STOP
Regulated
Precise
Jog
Needle
12
SPI
Using the Basting Mode (Continued)
4
3
5
6
Quilting

