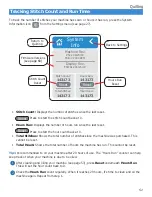
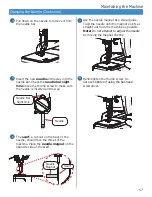
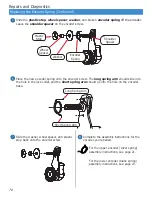
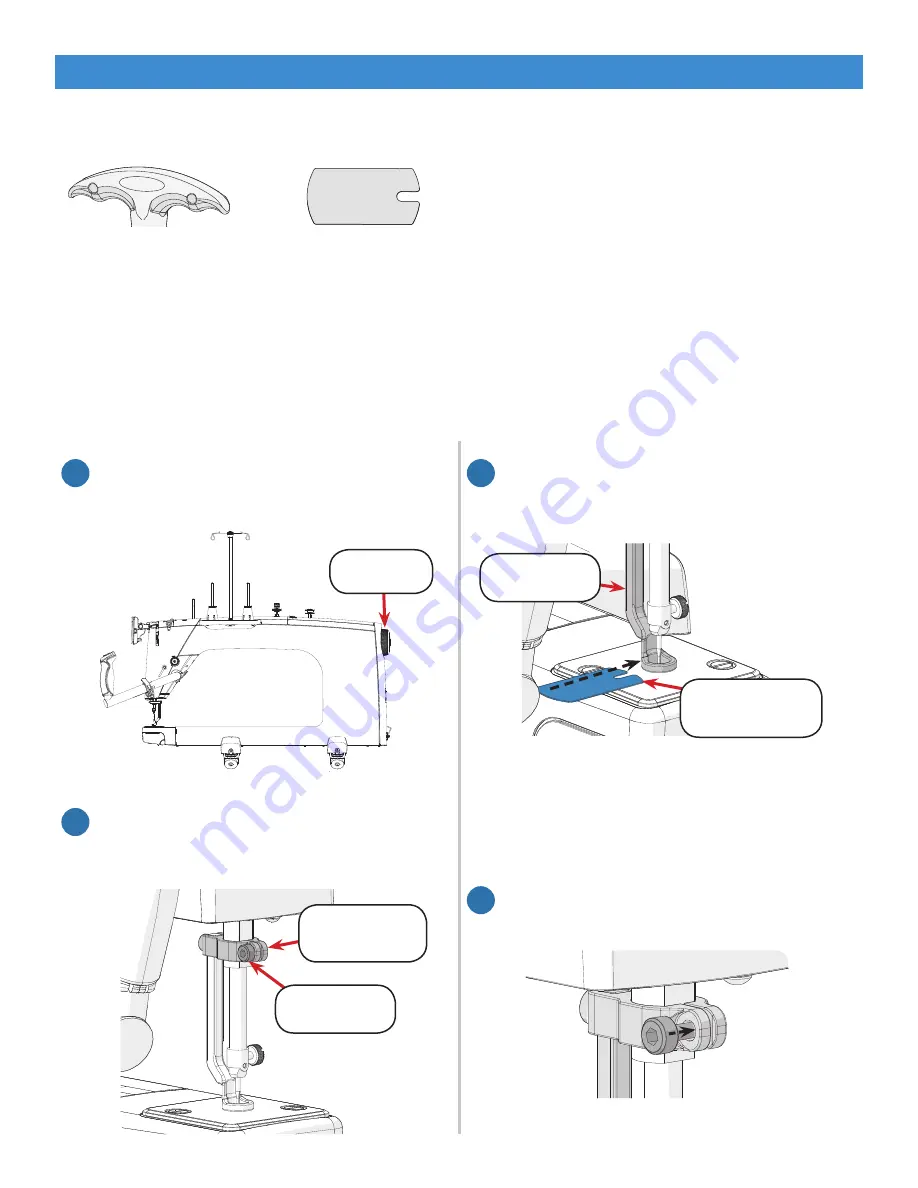
59
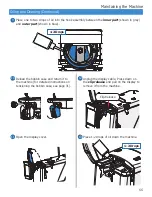
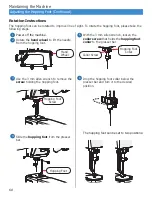
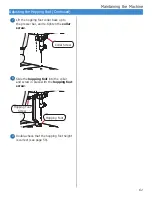
3. Slide the hopping foot height gauge
underneath the hopping foot so that the
needle slides into the height gauge groove.
Note: The height gauge prepares the
machine for standard sized quilt batting and
two layers of fabric. For thicker quilts, stack
sheets of printing paper over the gauge to
increase room underneath the hopping foot.
4.
Re-tighten the hopping foot screw.
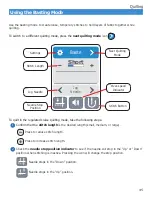
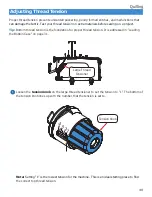
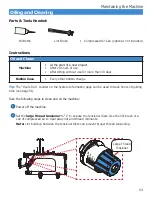
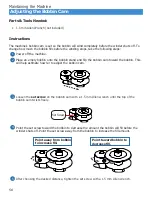
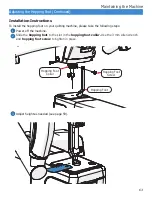
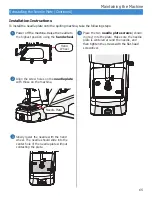
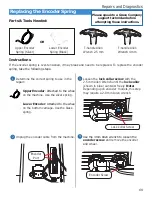
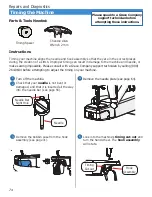
Parts & Tools Needed:
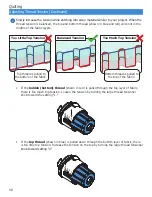
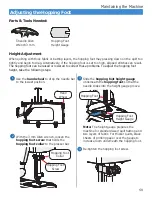
Adjusting the Hopping Foot
Height Adjustment
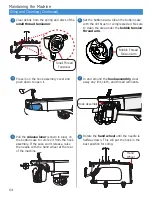
When quilting with thick fabric or batting layers, the hopping foot may pressing down on the quilt too
tightly and begin to drag. Alternatively, if the hopping foot is set too high, skipped stitches can result.
The hopping foot can be raised or lowered to correct these problems. To adjust the hopping foot
height, take the following steps:
Hopping Foot
Height Gauge
3 mm
T-handle Allen
Wrench 3 mm
Hopping Foot
Collar
Hopping Foot
Screw
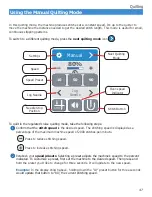
1. Use the
hand wheel
to drop the needle bar
to the lowest position.
2. With the 3 mm Allen wrench, loosen the
hopping foot screw
that holds the
hopping foot collar to the presser bar.
Hopping Foot
Height Gauge
Hopping Foot
1
4
2
3
Hand
Wheel
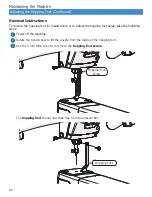
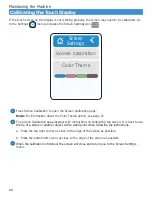
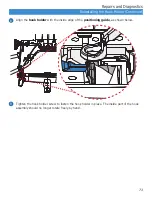
Maintaining the Machine


