Step 6: Brace Assembly (con’t)
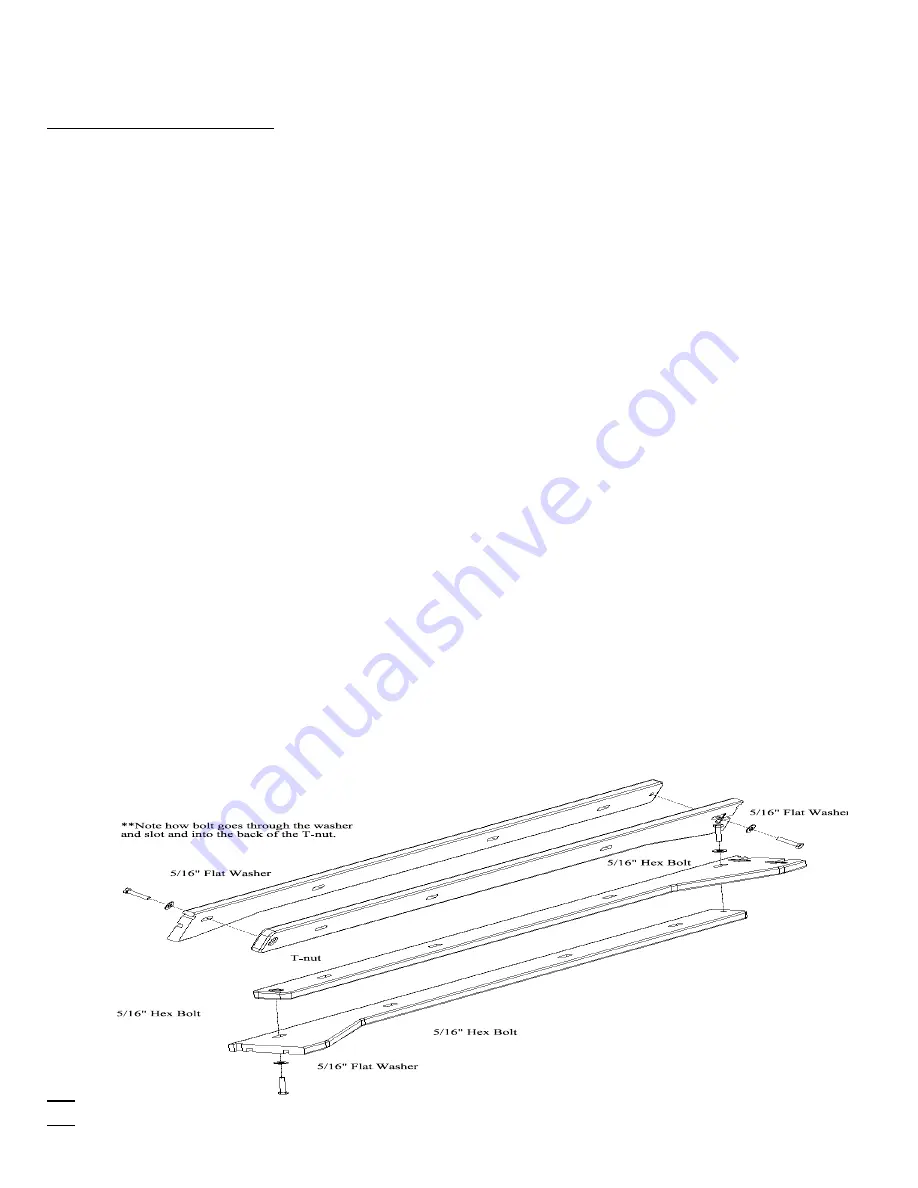
Parts Needed: 2 - Upper Braces
2 - Lower Braces
4 - 5/16" x 1 ½” Hex-Head bolt (larger)
4 - 5/16" Washer (Larger)
***NOTE: WHEN PAIRING UP YOUR BRACES, THE GOLD INSERTED METAL T-NUTS MUST
ALWAYS FACE OUTSIDE AND BE VISIBLE AFTER ASSEMBLY IS COMPLETE. FAILING TO DO
THIS WILL CAUSE THE T-NUTS TO LOOSEN AND EVENTUALLY FALL OUT!***
<
*TIP - Be sure to pair upper brace to upper brace and lower to lower.
<
Decide which size quilt frame you want to put up (see sizes in diagram of previous page).
<
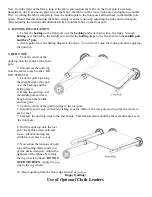
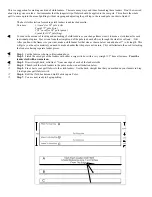
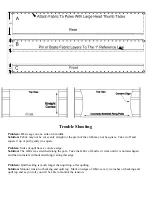
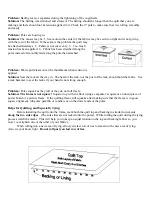
Follow the line up of holes as indicated in the pictures according to the size of the frame that you are
assembling. Notice the position of the inserted metal T-Nuts. Be sure they are facing outside.
<
Put the 5/16" washer on the 5/16" x 1 ½" bolt and start it through the slot first, continuing through the
round hole into the inserted metal T-nut.
<
By hand, begin to tighten all the bolts onto the threads of the T-nuts. Do not tighten the bolts with a
socket wrench at this point. Leave them loosely holding the parts together. (They will not be completely
tightened until the poles are installed).
<
*TIP - Double check to be sure the metal T-Nuts are visible, facing outside.
Ste
p 7


