joint.**
Base Feet
<
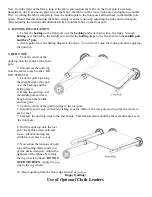
As shown in drawings, position carriage bolt ends through holes in base legs.
<
For ease of tightening, thread flat washers and lock nuts onto the bottom carriage bolts first.
<
Next, thread the
washers and wing nuts
on the top carriage
bolts.
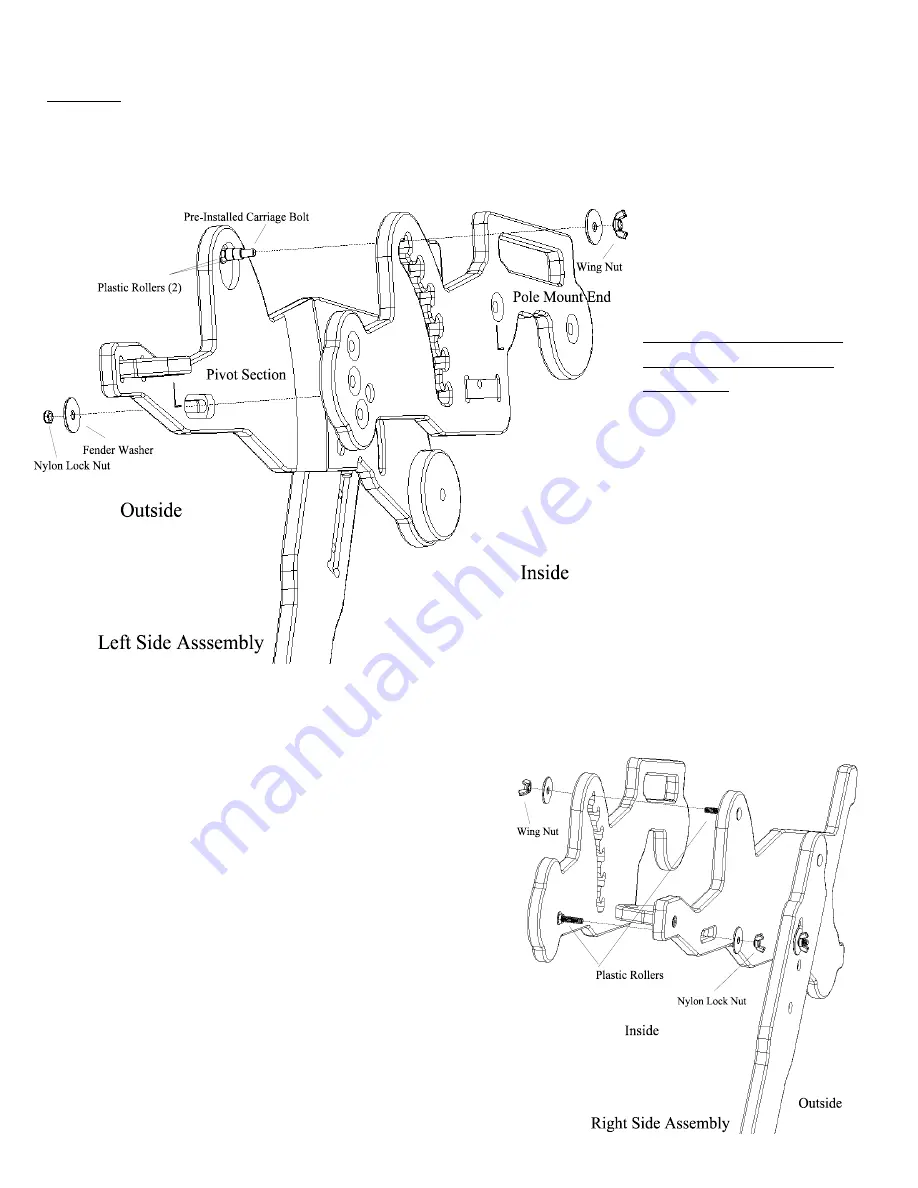
Step 5: Pole Mounting
Ends to Pivot Section
Assembly
Parts Needed:
Right and Left
Diagonal Stand Assembly
(from Step 4)
2 - Wing Nuts
4 - Large Fender
Washers
2 - Nylon Lock Nuts
<
Before beginning, be
sure the Plastic Rollers
are in place on the
carriage bolts as
directed in Steps 2 and
3.
<
The carriage bolt in the Pivot Section goes into the
Rachet Slot of the Pole Mounting End.
<
The Pole Mounting End’s carriage bolt fits into the
horizontal slot (next to the “L” or “R”) in the Pivot
Section.
<
With the End pieces fastened, place a large fender
washer onto both carriage bolts.
<
Thread a wing nut on the top (inside) carriage bolt
(ratchet slot).
<
Thread a nylon lock nut on bottom carriage (outside)
bolt.
<
**Nylon side of nylon lock nuts faces out when
threading onto the Bolt end.**


