Note: in order to use a DMX
controller you must make sure the
back panel is in DMX mode. To do
this press “MENU” until the LED
screen reads [A001], and the press
“ENTER” to confirm.
Channel
Function
CH1
Dim
CH2
Red
CH3
Green
CH4
Blue
CH5
Strobe
CH6
Preset
CH7
Speed
I.Operation
This light has 4 functions:
1. DMX512 with 7 channels
2. Automatic operation
3. Sound Activated
4. Master/slave
III. DMX Channel List
(For use with controller) IV. Specifications
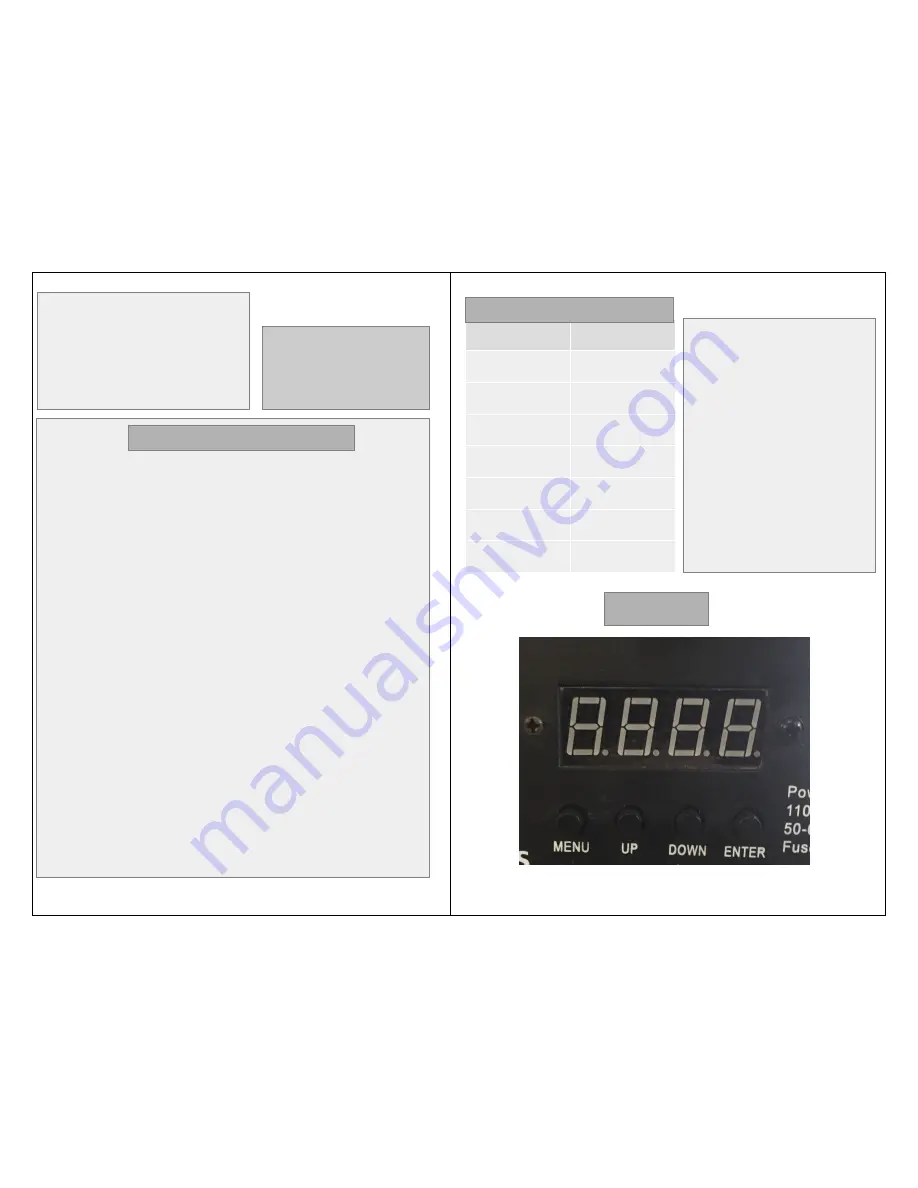
II. Menu:
Menu Panel
(located on back)
●
DMX512 with 7 channels,
Automatic operations, Sound
activated, and Master/slave
●
Super bright 3W LED Lamp
12 Red, 12 Green, 12 Blue.
●
Color temperature less than
6000K
●
0 – 100% light dimmer
●
Multi-flash effect 1 – 10 time
per sec open/close
●
Low power consumption. Est.
100,000 hour life span
●
Voltage: AC90V-240V/50 or
60Hz
●
Power: 120W
1. [A001]: This is the DMX Function of this fixture. You can press “UP” or “DOWN” to set it
from [A000] up to [A512], and then press “ENTER” to confirm it. This function allows you to
put the light fixture in DMX mode so that you may use a controller if needed.
2. [ADYE]: Is the DMX come back mode. You can press “UP” or “Down” to set it from
[ADNO] to [ADYE] to choose if the light can come back to DMX mode automatically when
there is DMX signal or not. Press “ENTER” to confirm it. This is the power setting save
feature. This will allow your settings to come back to how you left them if you lose power.
3. [AU01]: These are the preset colors. You can press “UP” or “DOWN” to set it from
[AU01] up to [AU07], then press “ENTER” to confirm it. Each number is a different preset
color you can use.
4. [FFxx]: Is the color alternating feature. You can press “UP” or “DOWN” to set the speeds
from [FF00] up to [FF99], then press “ENTER” to confirm it. This feature automatically
cycles the light through different colors.
5. [EExx]: Is the color cross fade in/fade out. You can press “UP” or “DOWN” to set the
speed from [EE00] up to [EE99], then press “ENTER” to confirm it. In this setting the light
will cycle through preset colors with a fade effect. The fade will blend with the previous
color before fully changing.
6. [CCxx]: Is the color fade in/fade out. You can press “UP” or “DOWN” to set the speed
from [CC00] up to [CC99], then press enter to confirm. In this feature the colors will
automatically cycle but the color will fade completely out before allowing the new color to
fade in.
7. [Fxxx]: Is the strobe effect. You can press “UP” or “DOWN” to set the speed from [F000]
to [F255] and then press “ENTER” to confirm. This allows you to change the speed at which
the light blinks. Use the color mixing listed below to choose what color you would like to
have strobe.
8. [SOUD]: Is the sound activated strobe effect. You can press “UP” or “DOWN” to set it
from [SOUD] to [SOND] to choose the sound activated strobe effect. This effect will make
the light blink when a noise is picked up by the internal microphone in this fixture.
9. [SOND]: Is the sound activated automatic operation effect. This features will change the
light in it's cycle every time the internal microphone in this fixture picks up a noise.
10. [Rxxx]: Is the red color dim. You can press “UP” or “DOWN” to set it from [R000] up to
[R255] to dim the red color, then press “ENTER” to confirm it.
11. [Gxxx]: Is the green color dim. You can press “UP” or “DOWN” to set it from [G000] up
to [G255] to dim the green color, then press “ENTER” to confirm it.
12. [Bxxx]: Is the blue color dim. You can press “UP” or “DOWN” to set it from [B000] up to
[B255] to dim the blue color, then press “ENTER” to confirm it.
.
(For use without controller)


