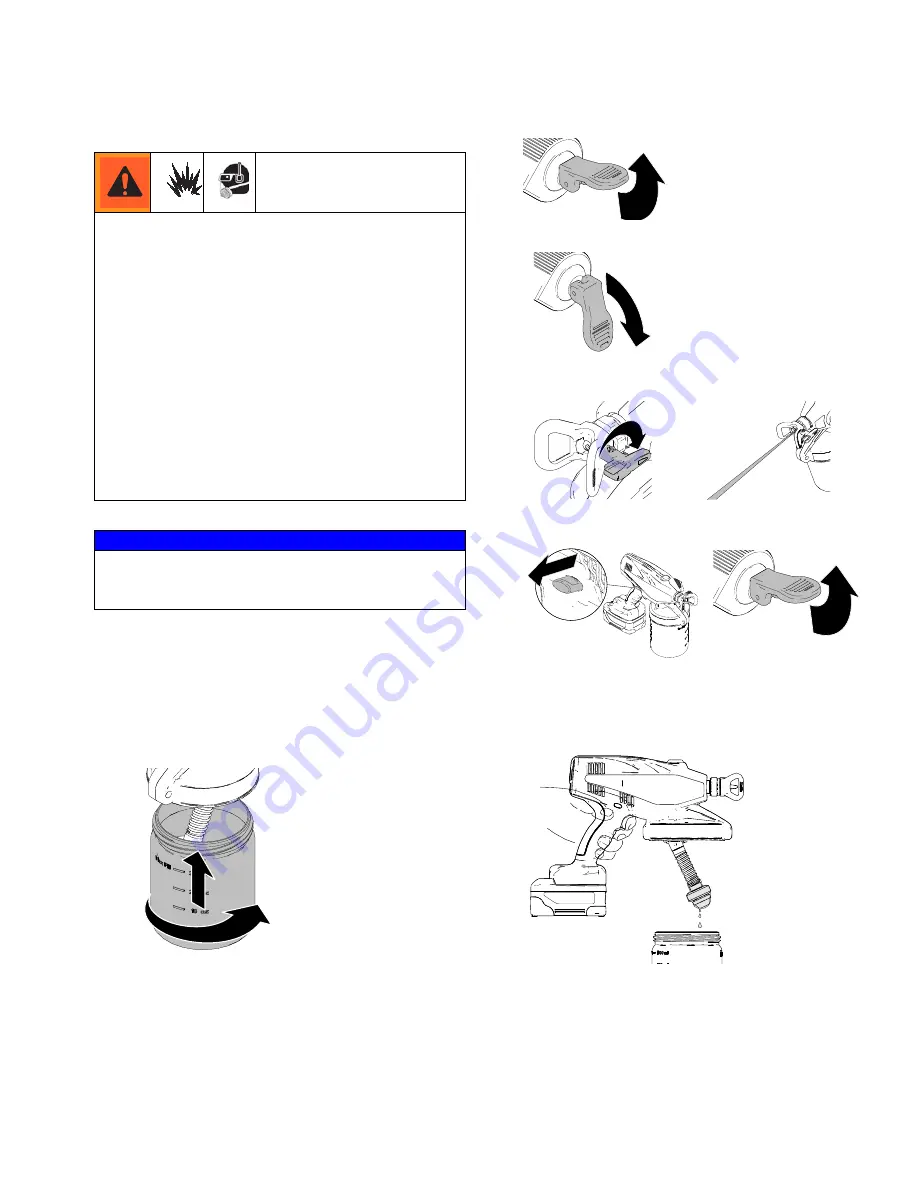
Sprayer Setup
10
3A2853C
Sprayer Setup
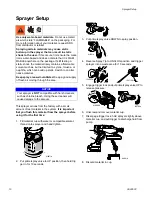
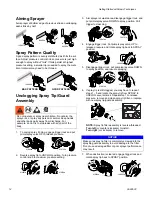
This sprayer arrives from the factory with a small
amount of test material in the system.
It is important
that you flush this material from the sprayer before
using it for the first time:
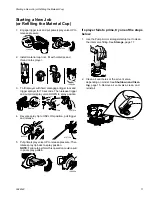
1.
Fill material cup with water or compatible solvent,
thread onto sprayer and hand tighten.
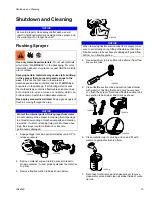
2.
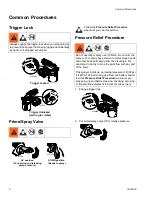
Put prime/spray valve to UP position, then hold trig
ger in for 10 seconds.
3.
Put prime/spray valve DOWN to spray position.
4.
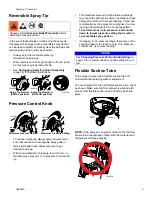
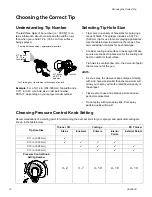
Reverse Spray Tip to UNCLOG position and trigger
sprayer into a waste area for 10 seconds.
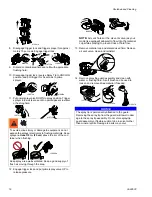
5.
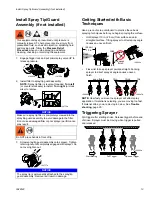
Engage trigger lock and put prime/spray valve UP to
release pressure.
6.
Unscrew and remove material cup.
7.
Disengage trigger lock, hold sprayer slightly above
material cup, and pull trigger to discharge fluid from
pump.
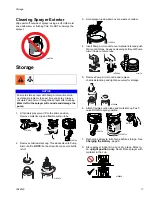
8.
Discard material in cup.
Use only water-based materials.
Do not use materi
als which state “FLAMMABLE” on the packaging. For
more information about your material, request SDS
from distributor or retailer.
Spraying certain materials may cause static
build-up in the sprayer that can result in static
shock to the user.
If this occurs, first ensure the mate
rial is water-based and does not state that it is FLAM
MABLE anywhere on the package. If still feeling a
static shock, the material likely contains a flammable
solvent such as, but not limited to, xylene, toluene, or
naphtha, which can build up static. Switch to an alter
native material.
Keep spray area well-ventilated.
Keep a good supply
of fresh air moving through the area.
NOTICE
Your sprayer is
NOT
compatible with harsh cleaners
such as chlorine bleach. Using these cleaners will
cause damage to the sprayer.
ti18871a
ti14999a
ti16700a
ti15425a
ti16701a
ti15491
ti16713a
ti14991a
ti14999a
ti14994a
ti18866a
ti16700a
ti18861a
Summary of Contents for 16N664
Page 33: ...Notes 3A2853C 33 Notes...


