21
309077
Installation
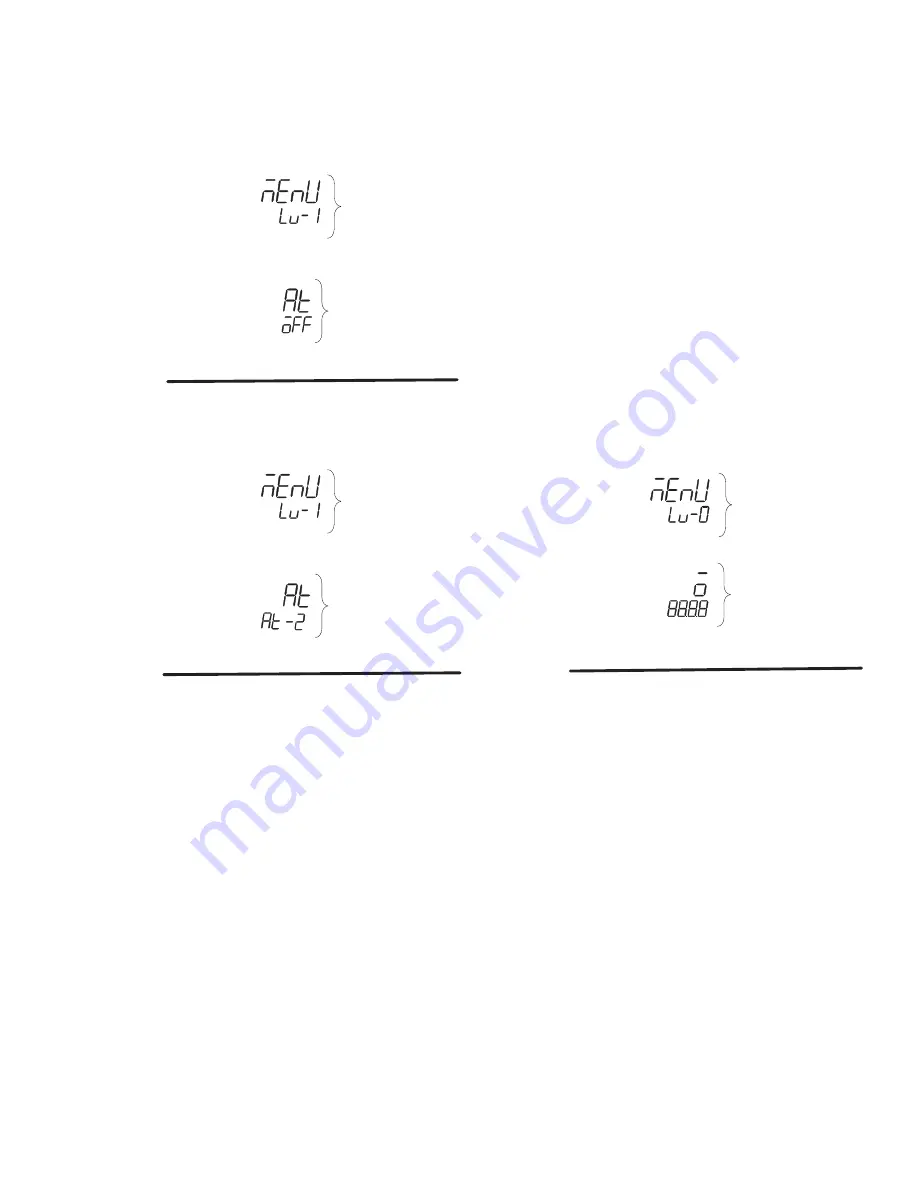
6. Using the down arrow key (Y), change display 2 to
show the auto tune OFF function, as shown in Fig.
16.
Fig. 16
FUNCTION
MODE
AUTO TUNE
FUNCTION
LEVEL
MODE
7. Press the up arrow key (Z) twice to display the
AT-2 function (Fig. 17).
Fig. 17
FUNCTION
MODE
AUTO TUNE
TYPE-2
SETTING
LEVEL
MODE
8. Wait two to three seconds for the AT light (Fig. 6)
to start flashing. This indicates the start of the
auto tune process.
When the AT light stops flashing, the auto tune
process is complete.
NOTE:
The auto tune type 2 process can take from 5
minutes to 2 hours to complete.
9. Change from the function mode to the level mode
using the mode key (X).
10. Change display 1 to show the Level 0 mode, as
shown in Fig. 18.
11. Change from the level mode to the function mode
using the mode key (X).
12. Using the down arrow key (Y), change display 2 to
show the temperature display function, as shown
in Fig. 18.
13. Return the controller to the temperature display
mode. This step does not interrupt or affect the
auto tune process for any controller (Fig. 18).
Fig. 18
TEMPERATURE
DISPLAY
FUNCTION
FUNCTION
MODE
LEVEL
MODE
14. Repeat steps 1 through 13 to auto tune the other
five controllers.
15. Go to the next procedure: recording the site P, I,
and D settings.
Summary of Contents for 309077
Page 9: ...9 309077 Typical Installation 4 Regulator Air Control Module Fig 2 O C D I A E B 9402A ...
Page 47: ...47 309077 Notes ...
Page 64: ...64 309077 Schematics 122 122 ...
Page 65: ...65 309077 Schematics 121 121 TEMPERATURE CONTROL TEMPERATURE CONTROL ...
Page 66: ...66 309077 Schematics 170 170 TEMPERATURE CONTROL TEMPERATURE CONTROL TEMPERATURE CONTROL ...
Page 68: ...68 309077 Schematics ...
Page 69: ...69 309077 Notes ...


