41
309077
Service
Replacing Heat Sensors
Perform the following procedure to replace a sensor:
WARNING
The material and equipment will be
hot!
To reduce risk of injury, wear eye
protection, gloves and protective clothing
when installing, operating, or servicing
this dispensing system.
1. If the material drum has already been removed
from the supply unit, go to step 2. If you need to
remove the material drum, perform steps 1
through 4 of the procedure in
Changing Empty
Drums
on page 29.
2. Make sure the ram hand valve is in the OFF posi-
tion.
WARNING
ELECTROCUTION HAZARD
To reduce risk of injury or damage to
equipment, make sure the main discon-
nect is OFF before continuing with this
procedure.
3. Turn OFF the main electrical disconnect.
4. Turn the system CONTROL ON switch to OFF.
5. Loosen the conduit locknut (120).
6. Remove the sensor (90) from the follower plate.
7. Loosen the cord grip (100), located under the junc-
tion box.
8. Remove the junction box’s cover.
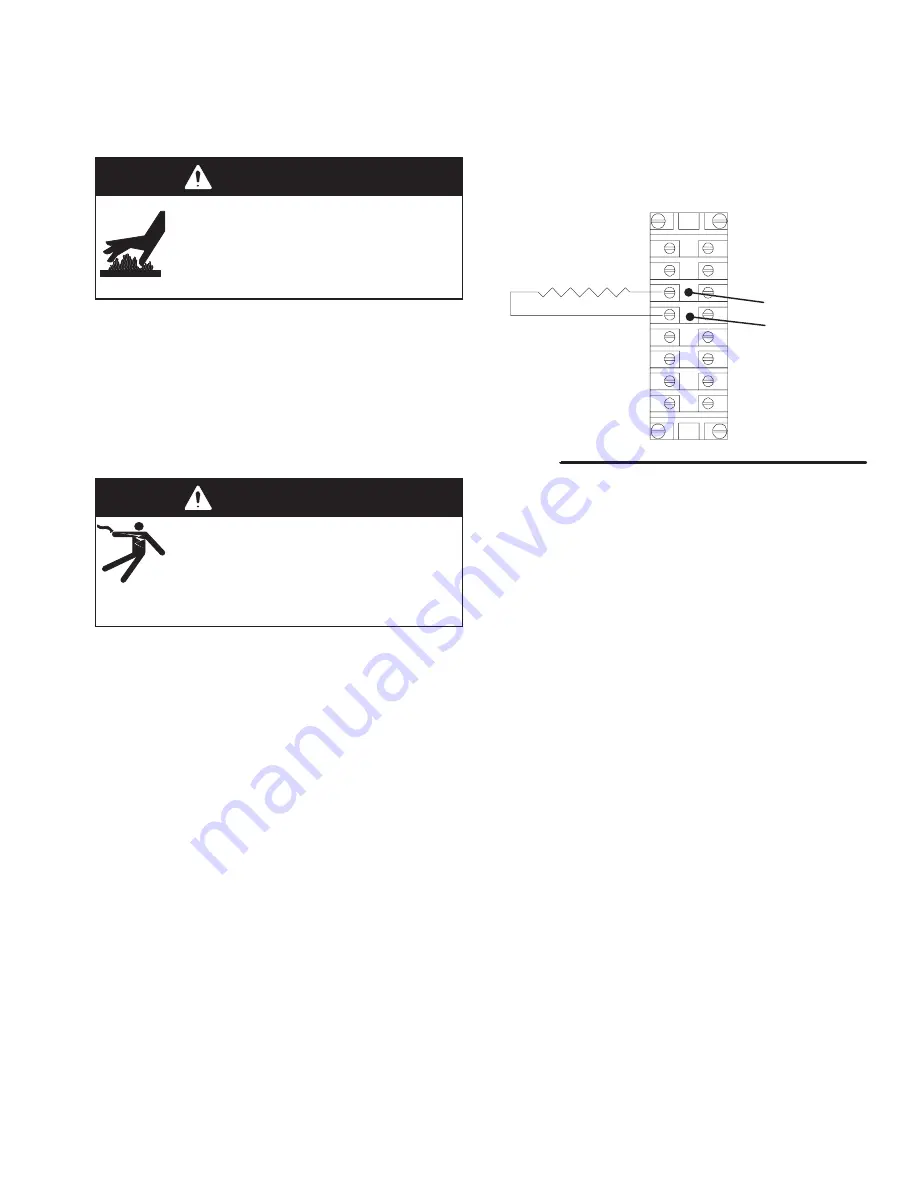
9. Disconnect the 2 sensor wires from the junction
box. See Fig. 33.
Fig. 33
1321
1331
10. Connect the 2 wires from the new sensor to the
terminals in the junction box.
11. Replace the junction box cover.
12. Coat the sensor with non-silicone heat-sink
compound.
13. Slide the cord grip o-ring (110) back into the cord
grip (100) and then tighten the cord grip under-
neath the junction box.
14. Slide the new sensor into the sensor opening in
the follower plate.
15. Tighten the conduit locknut (120).
Summary of Contents for 309077
Page 9: ...9 309077 Typical Installation 4 Regulator Air Control Module Fig 2 O C D I A E B 9402A ...
Page 47: ...47 309077 Notes ...
Page 64: ...64 309077 Schematics 122 122 ...
Page 65: ...65 309077 Schematics 121 121 TEMPERATURE CONTROL TEMPERATURE CONTROL ...
Page 66: ...66 309077 Schematics 170 170 TEMPERATURE CONTROL TEMPERATURE CONTROL TEMPERATURE CONTROL ...
Page 68: ...68 309077 Schematics ...
Page 69: ...69 309077 Notes ...


